All posts by Annaka

I am a software engineer, YA fantasy writer, and gardener.

Bird List May 21, 2022

I’m continuing to enjoy the Merlin bird app. I also enjoy watching the birds around the house. We have robins nesting in a big rhodie; I think the eggs have hatched, since I’ve been seeing the robins come in regularly with worms.

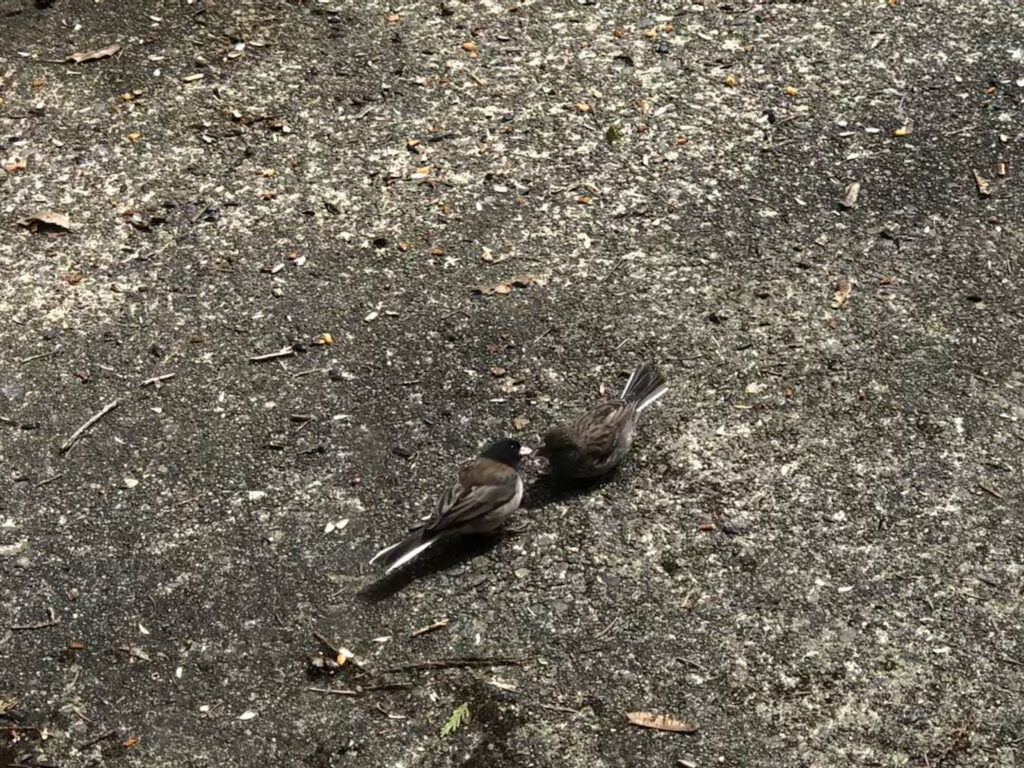
We also have Juncos that fledged recently. The parents come for the suet and black oil sunflower seed. The babies, who look more like finches at this point, cluster around begging. They’re starting to pick and peck on their own, at least some.

This week’s bird list (unverified audio ID in italic; newcomers in bold):

  • Anna’s Hummingbird
  • Barred Owl
  • Black headed Grosbeak
  • Brown Creeper
  • Chickadee, Black-capped
  • Chickadee, Chestnut-backed
  • Chipping Sparrow
  • Crow, American
  • Evening Grosbeak
  • Flycatcher, Pacific Slope
  • Golden-crowned Kinglet
  • Junco, Dark-eyed
  • Mallard
  • Nuthatch, Red-breasted
  • Pine Siskin
  • Red Crossbill
  • Robin
  • Song Sparrow
  • Stellar’s Jay
  • Swainson’s Thrush
  • Towhee, Spotted
  • Warbler, Wilson’s
  • White-crowned sparrow 
  • Western Tanager
  • Wood Duck
  • Wren, Bewick’s
  • Wren, Pacific
  • Vireo, Warbling

Unlikely IDs by Merlin:

  • Spotted Sandpiper

Birds who were here last week who I didn’t see and Merlin didn’t hear this week (any in italics were just based on Merlin, and could be mis-IDs):

  • Brown-Headed Cowbird
  • Finch, Purple
  • Goldfinch, American
  • Warbler, Hermit
  • Warbler, Yellow-rumped

Birds, Birds, Birds

Last week, one of the authors I follow on Twitter (Ursula Vernon) mentioned a birding app that could ID birds based on song.

I promptly downloaded Merlin, and have been having a blast.

I can just stand in the morning chorus, and it picks out what birds it hears. You can also explore the songs of birds, or look up birds based on appearance and other characteristics. It’s quite wonderful!

I’m going to start doing a weekly bird list. Many of these will be from auditory ID (thanks, Merlin!), but I’ll also include any that I identify visually.

  • Anna’s Hummingbird
  • Barred Owl
  • Brown Creeper
  • Brown-Headed Cowbird
  • Chickadee, Black-capped
  • Chickadee, Chestnut-backed
  • Crow, American
  • Finch, Purple
  • Flycatcher, Pacific Slope
  • Golden-crowned Kinglet
  • Goldfinch, American
  • Junco, Dark-eyed
  • Nuthatch, Red-breasted
  • Pine Siskin
  • Robin
  • Song Sparrow
  • Stellar’s Jay
  • Towhee, Spotted
  • Warbler, Hermit
  • Warbler, Wilson’s
  • Warbler, Yellow-dumped
  • Western Tanager
  • Wood Duck
  • Wren, Pacific
  • Vireo, Warbling

We have had some ups and downs with birds this year, but I was happy to see a Junco feeding its baby yesterday!

Occasional Chronicle

I’m going to start keeping a chronicle of the goings-on around here: birds, plants, etc.

This is a time of year when a lot of birds pass through. Today we had two new arrivals!

Wilson’s Warbler (I think):

https://www.allaboutbirds.org/guide/Wilsons_Warbler/id#

It’s hard to be sure, because it keeps flitting around, but as far as I could see it’s the only little yellow bird with a black cap.

And Western Tananger:

https://www.allaboutbirds.org/guide/Western_Tanager/overview

Who knows how long they will stay, but I’m happy to have them!

Rhodie Species Garden

Yesterday I met up with Mom, Dad, my brother, and his wife to wander the rhodie species garden in Federal Way, WA.

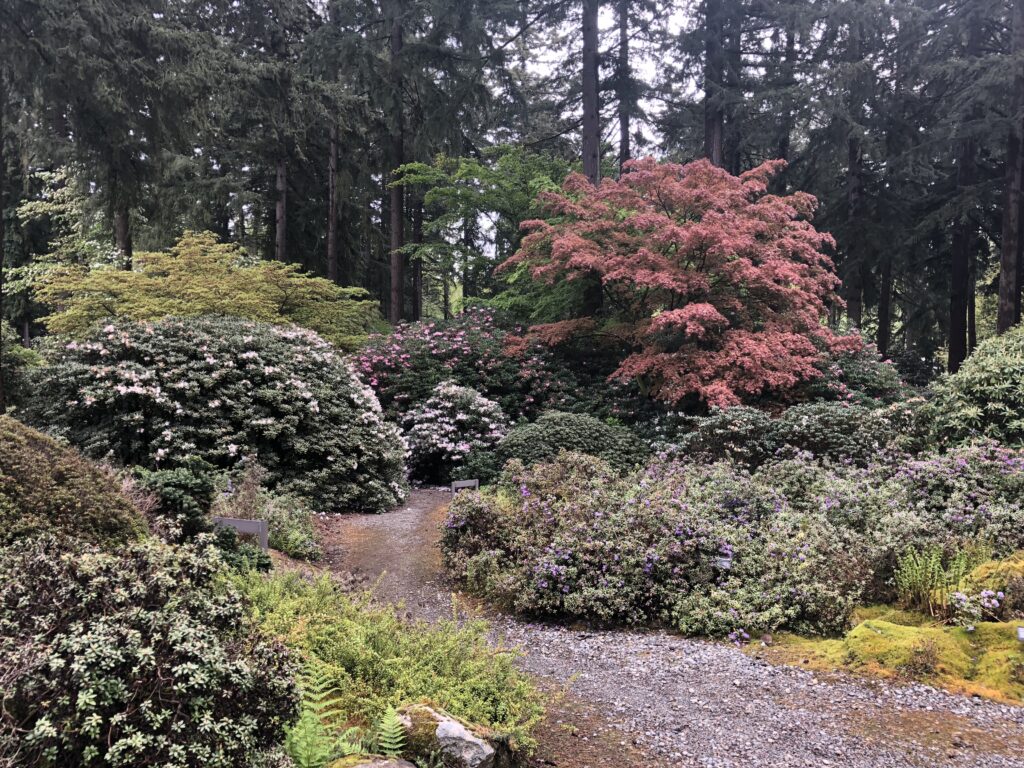
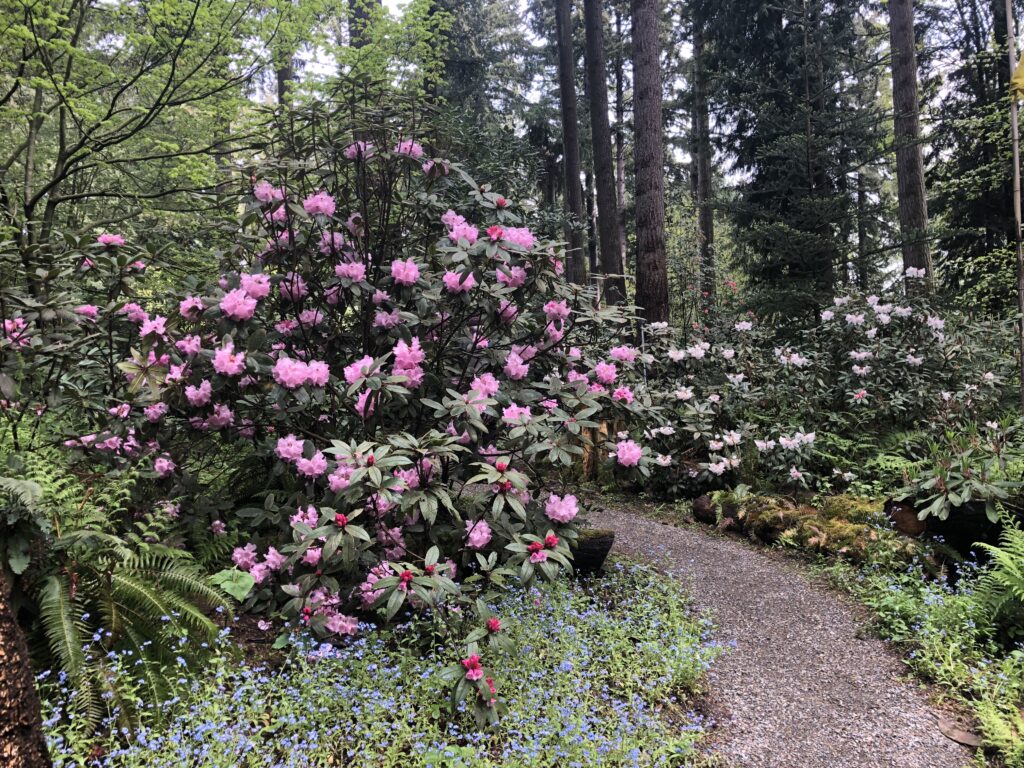
If you live in the Puget Sound region, the rhodie species garden in Federal Way is well worth a visit. It’s at its peak in May and June, but they have done a good job with the garden structure — it would be a nice meander year-round.

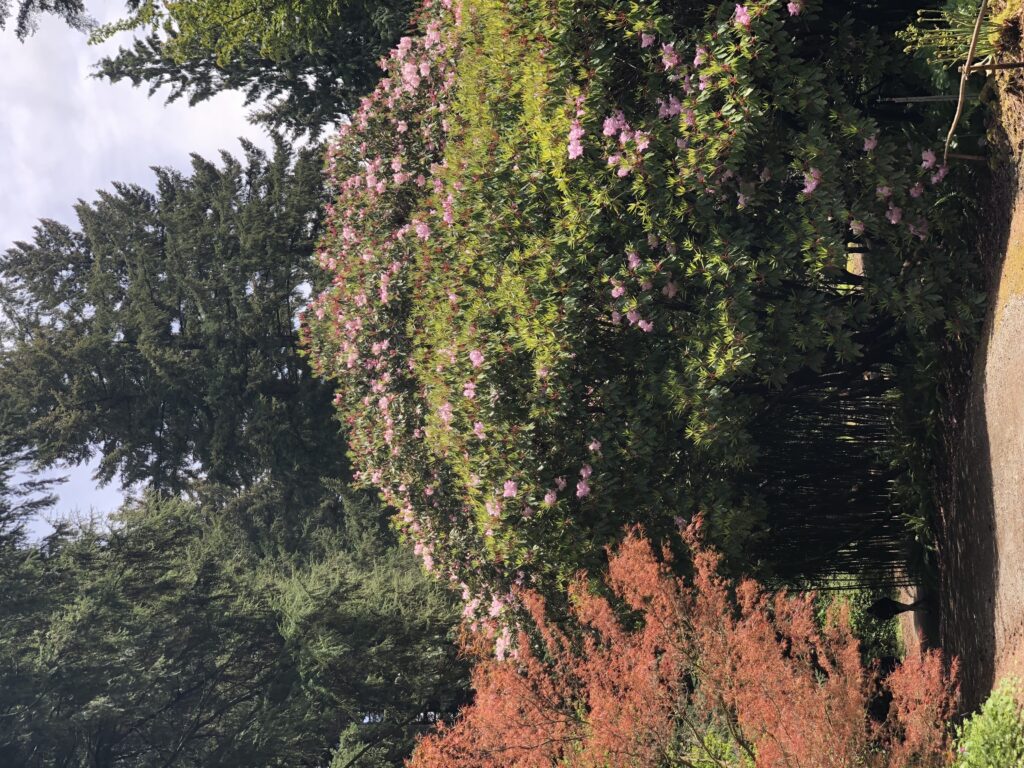
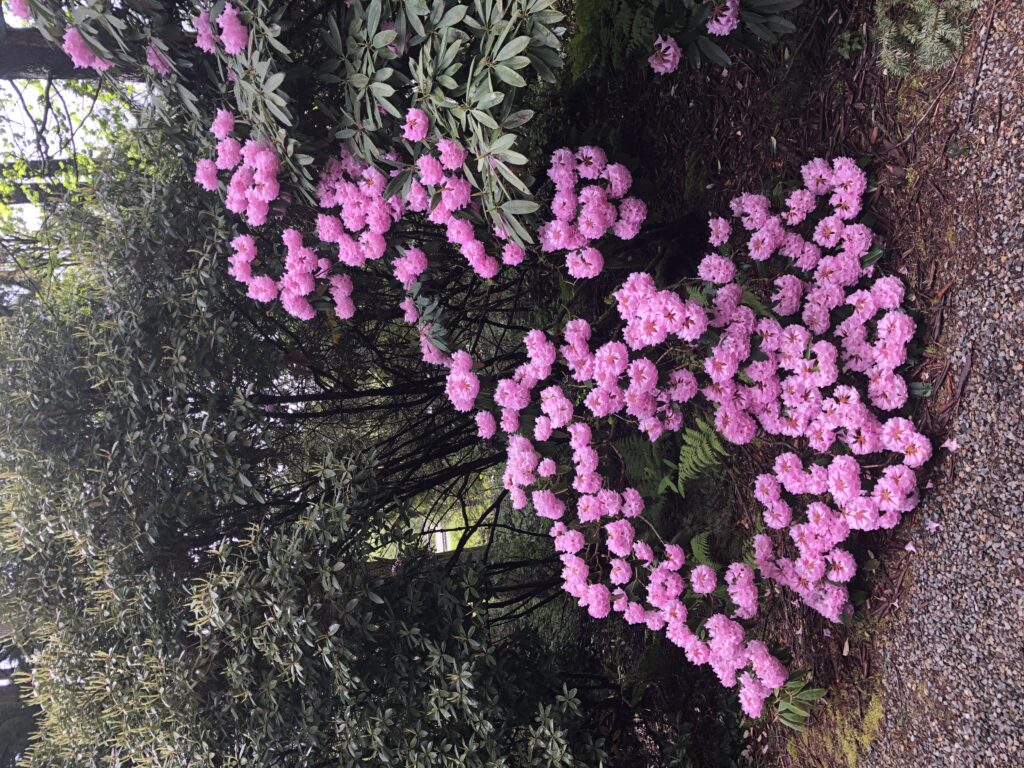
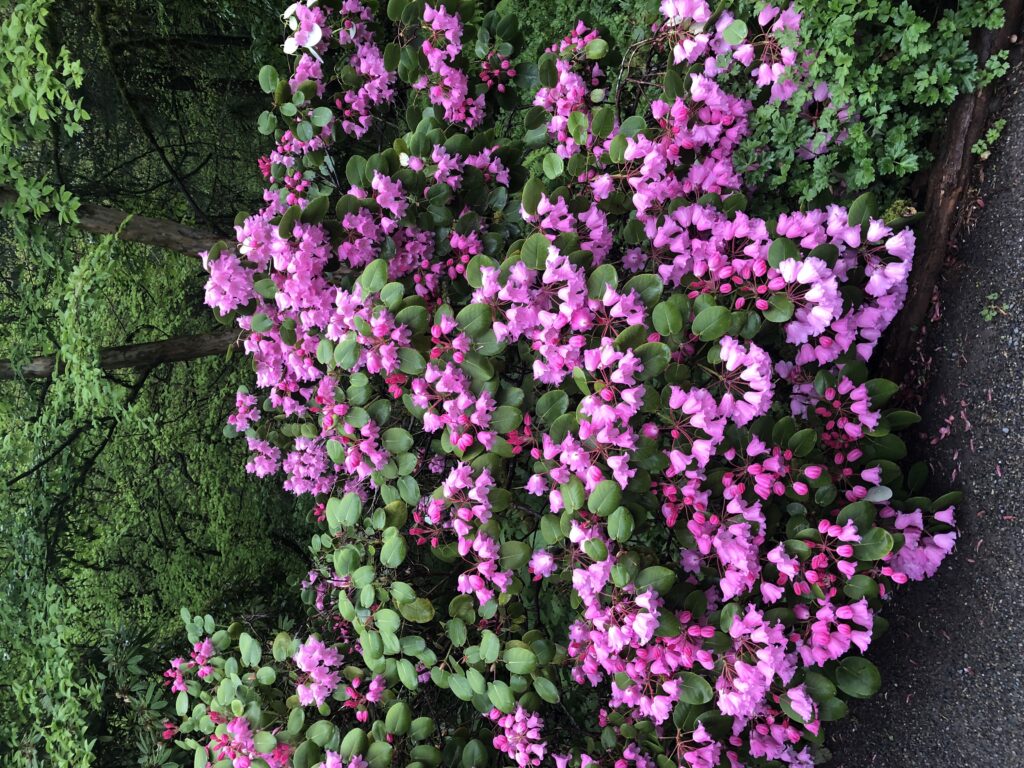
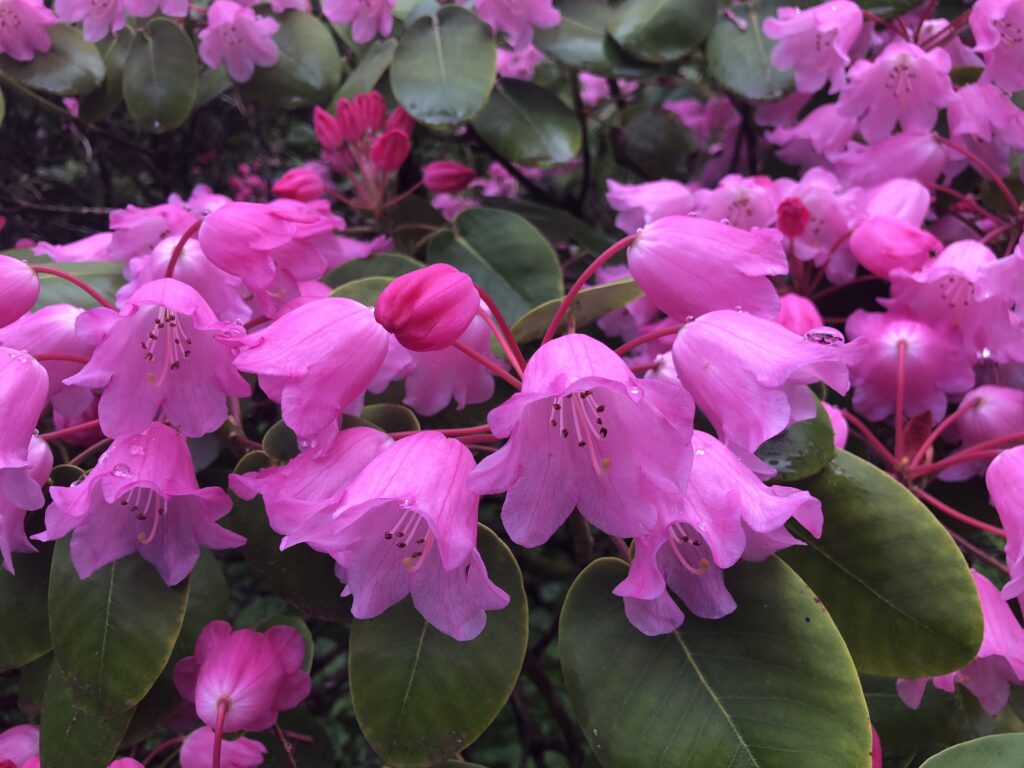
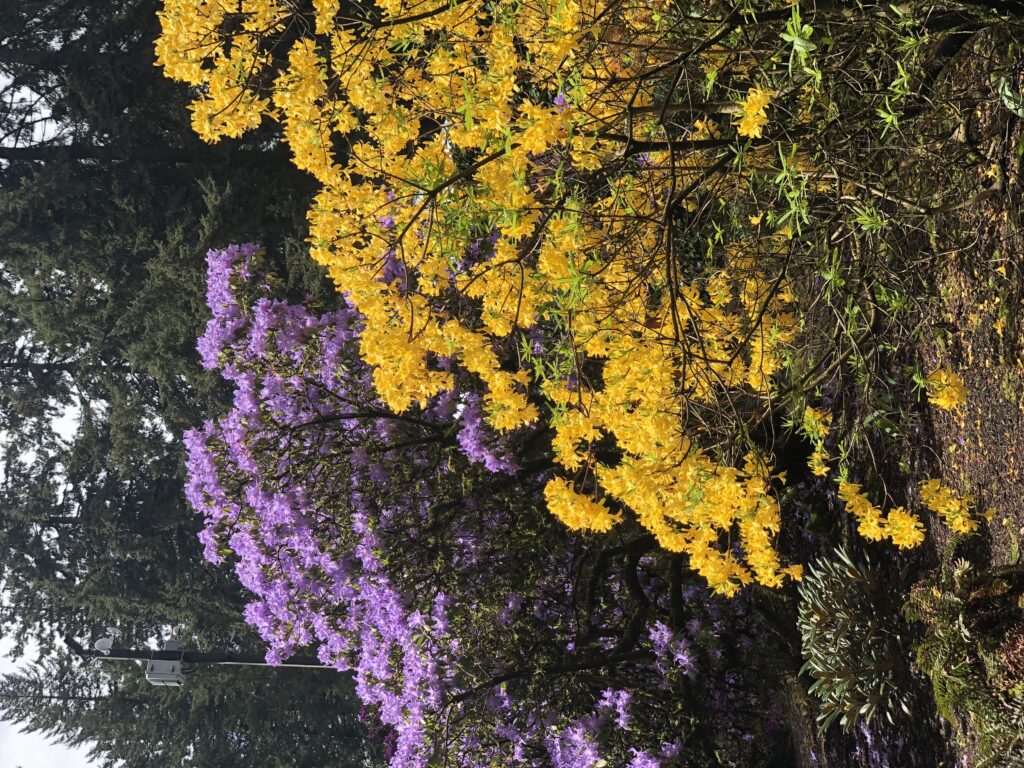
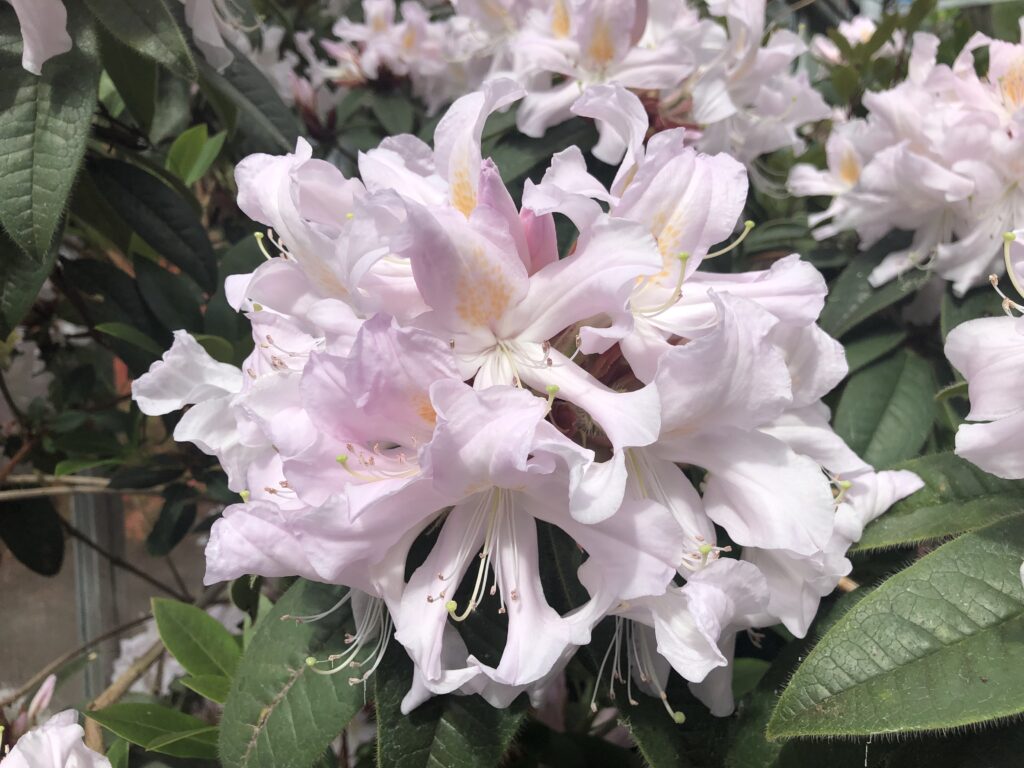
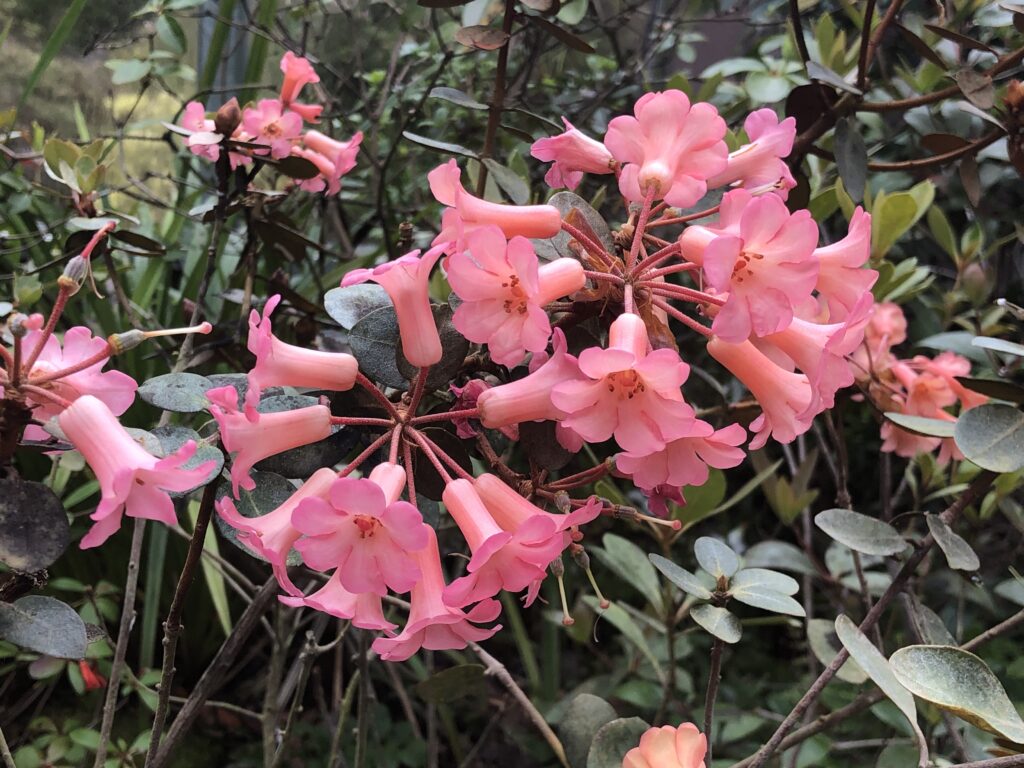
The walk into the gardens has a concentration of really lovely rhodies! The jolly pink one is Rhododendron oribiculare SW China

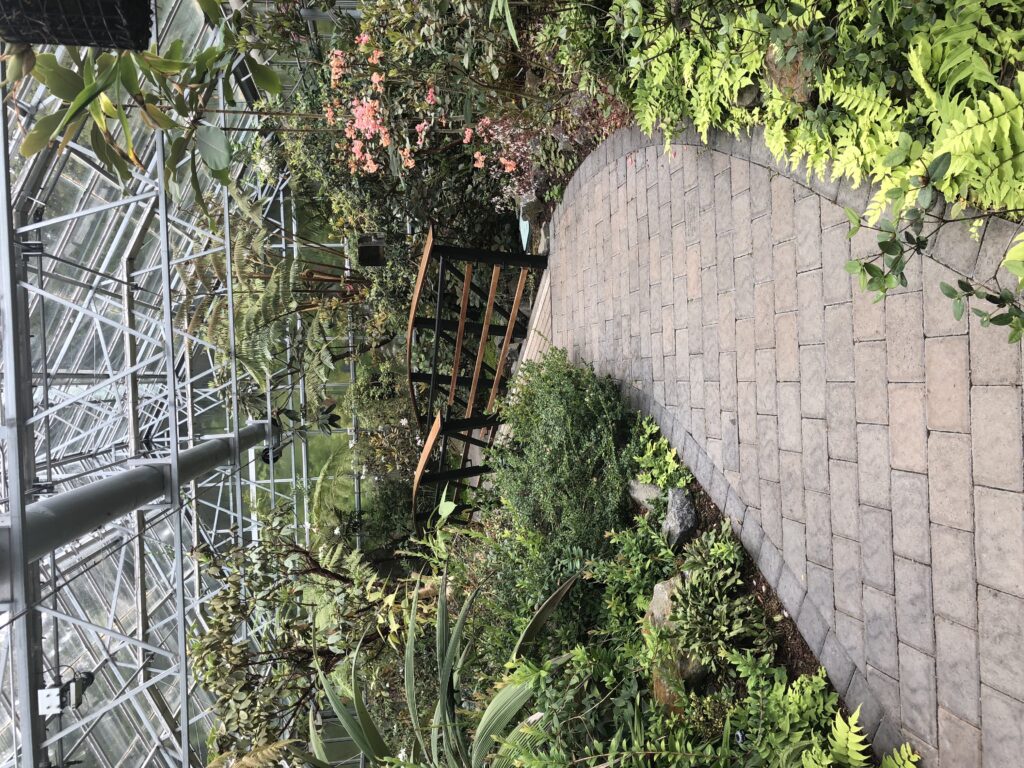
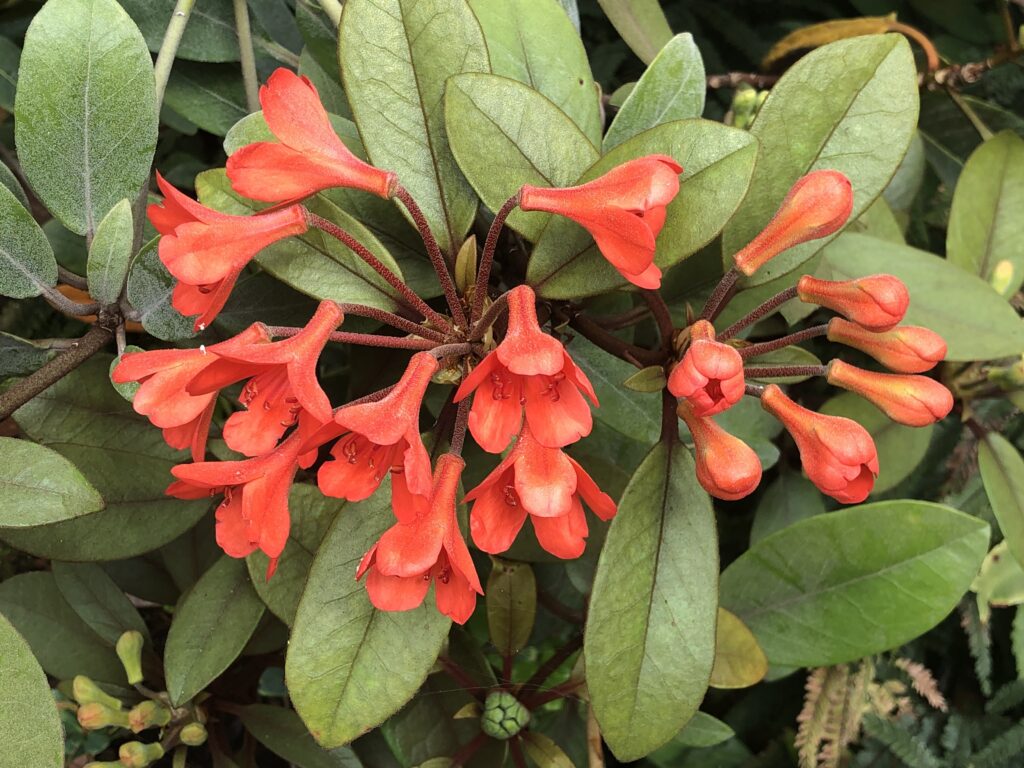
They had a wonderful glasshouse! I think of rhodies as being temperate, but there are some sub-tropical rhodies.

Although the gardens are at their peak in May and June, they do a good job of making them appealing year-round, both with a variety of plantings and with good structural design.

Serendipitous Bonsai Trees

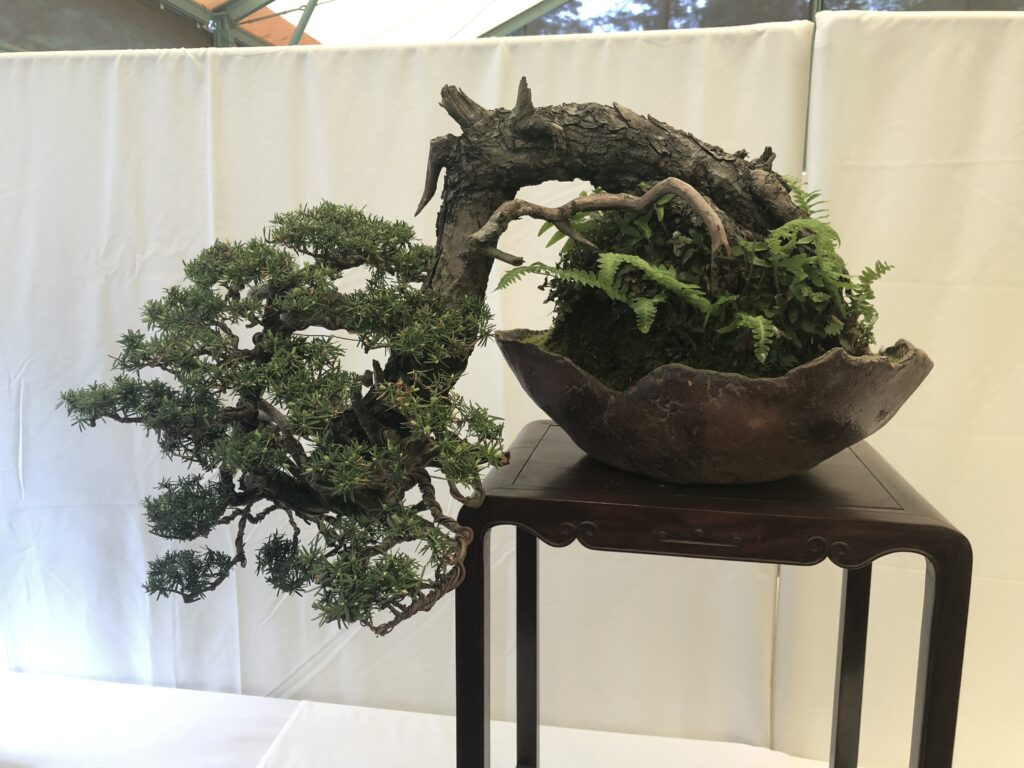
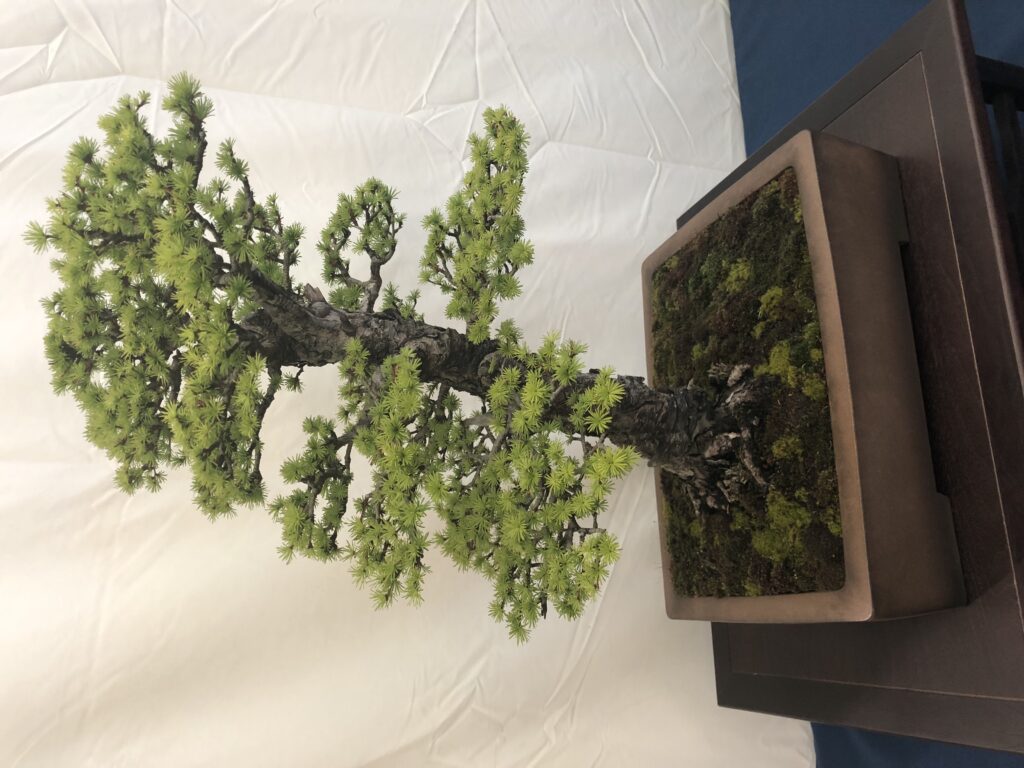
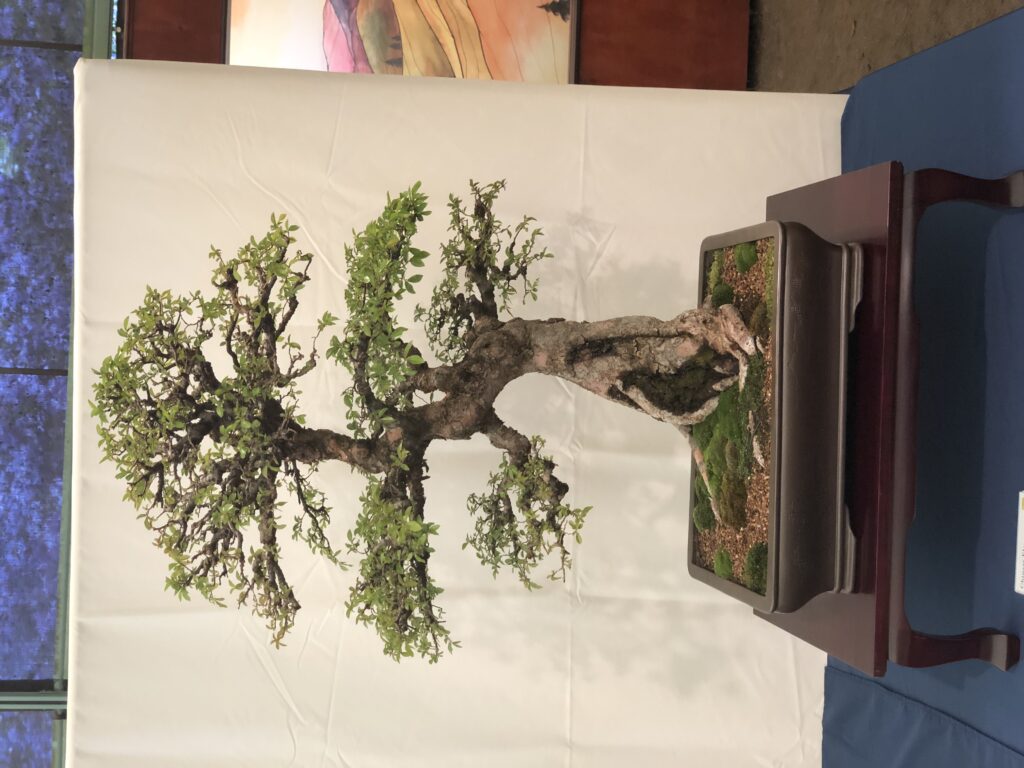
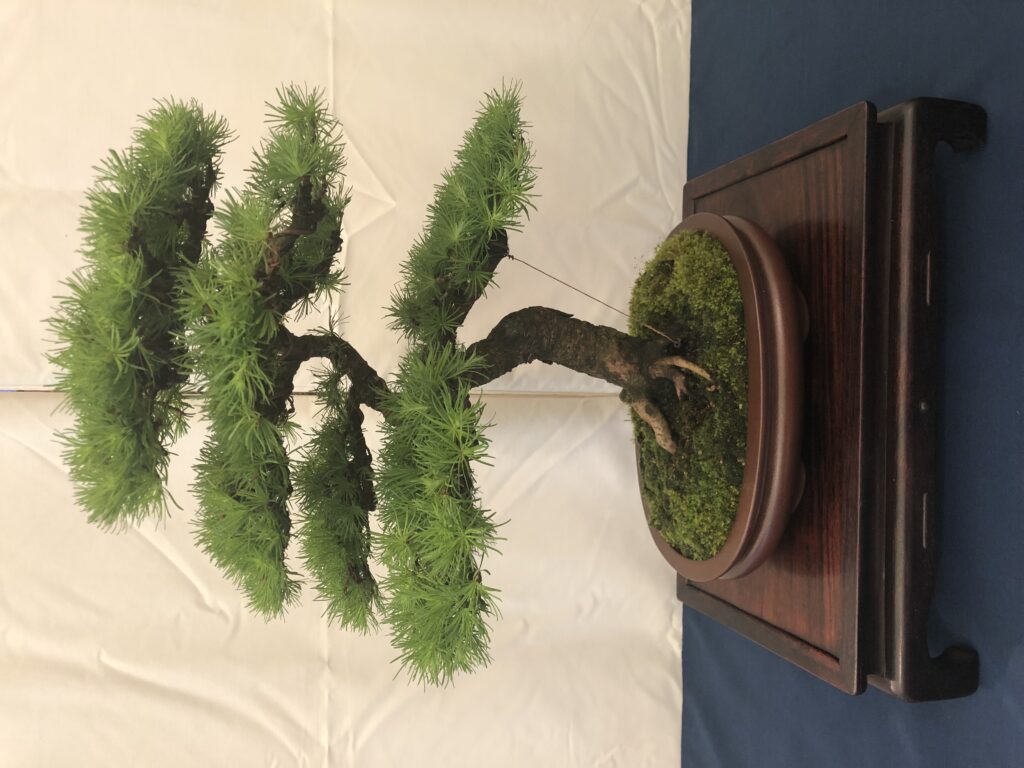
Yesterday, I met up with Mom and Dad and my brother and sister-in-law to wander the Rhododendron Species Garden in Federal Way, WA. It turned out that there was a bonsai festival going on in the outer courtyard that separates the rhodie garden from the bonsai museum.
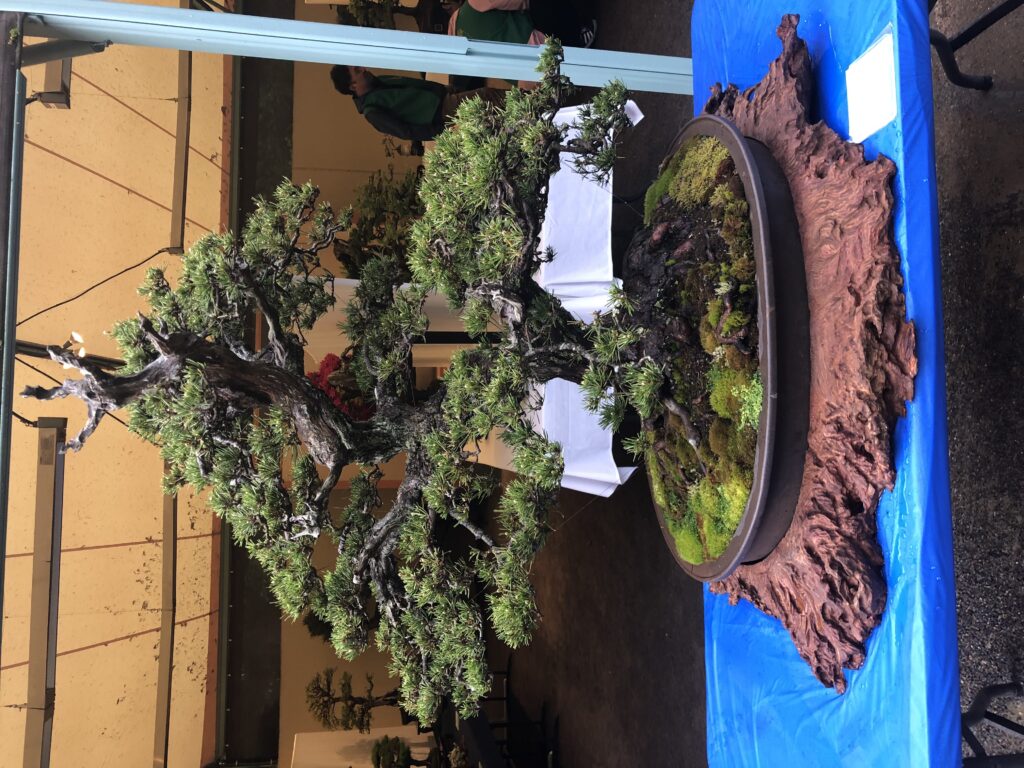
Here are photos from the bonsai festival. My understanding is that all of these are owned by members of the Puget Sound Bonsai Association.I’m just including (almost?) everything, since I don’t know what will tickle whose fancy!The information is from the tags associated with the trees.

Japanese Black Pine
36 years as a bonsai
66 estimated tree age
Other: stand created by Dan Robinson and Anothony Feilback
Kurume Azalea – Rhododendron obtusum var. sakamotoi
20 years as a bonsai
50+ estimated tree age
Other: Urban Yamadori
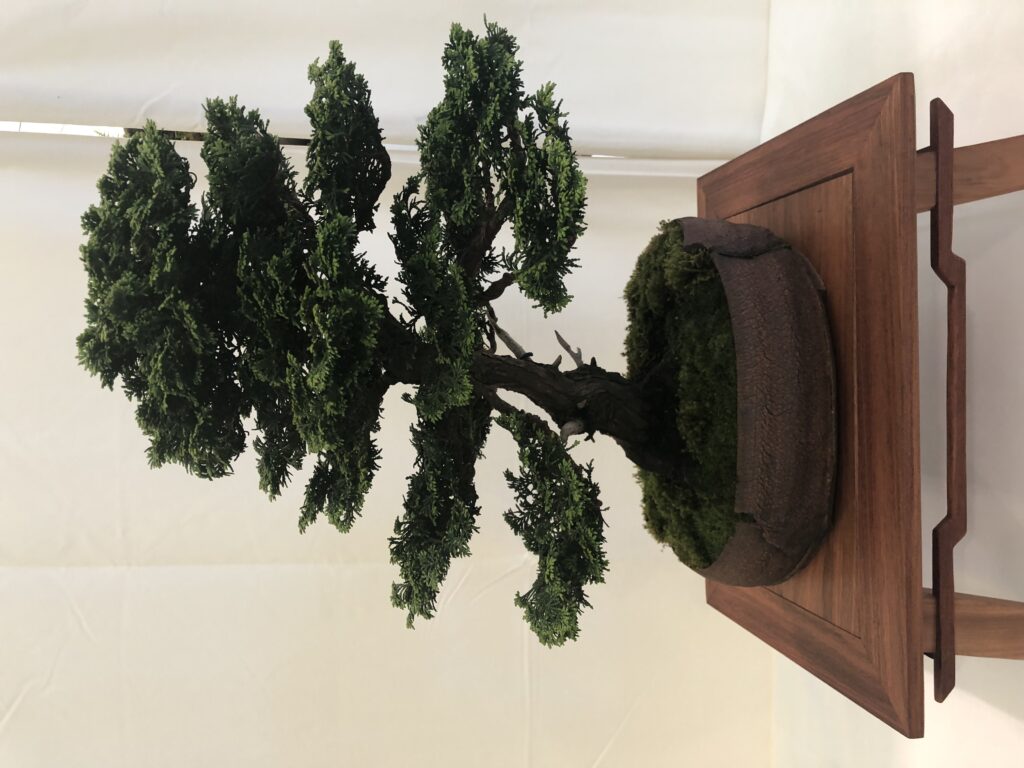
Hinoki Cypress – Chamaecyparis obtusa ‘Hague’
6 years as a bonsai
unknown tree age
Other: Grown by Boon Manakitvisit, styled at 2016 Convention, Pot by Vicky Chamberlain
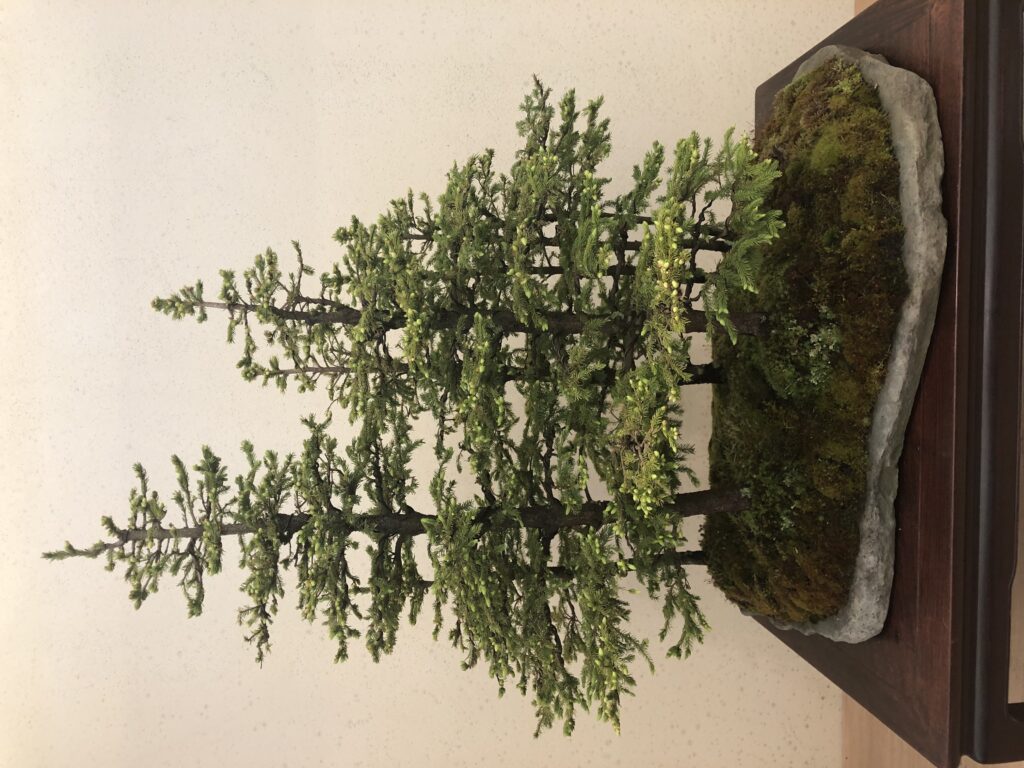
Ezo Spruce
Picea Jezoensis
unknown years as a bonsai
20-60 estimated tree age
Chinese Elm – Ulmus parvifolia
21 years as a bonsai with current owner
unknown tree age
Other: Import from China


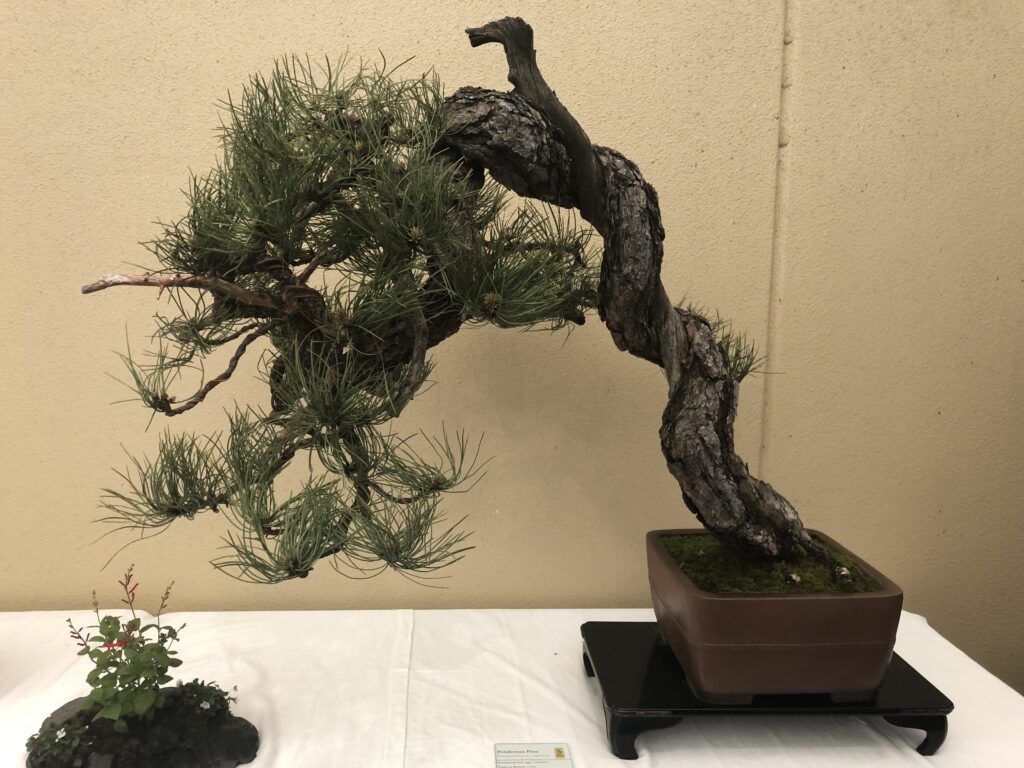
Ponderosa Pine
Pinus ponderosa var scopulorum
1 year as a bonsai
unknown tree age
Other: Collected by Randy Knight, Japanese pot
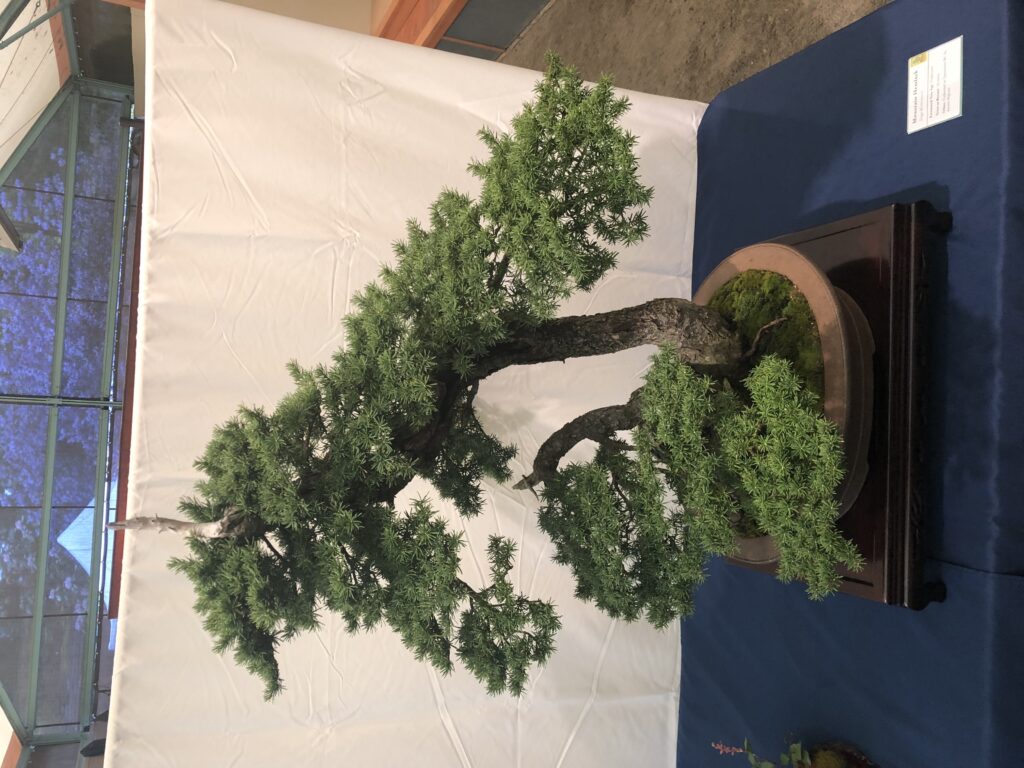
Mountain Hemlock
Tsuga Mertensiana
15 years as a bonsai
unknown tree age
Other: Collected in Vancouver BC by Anton Nijhuis
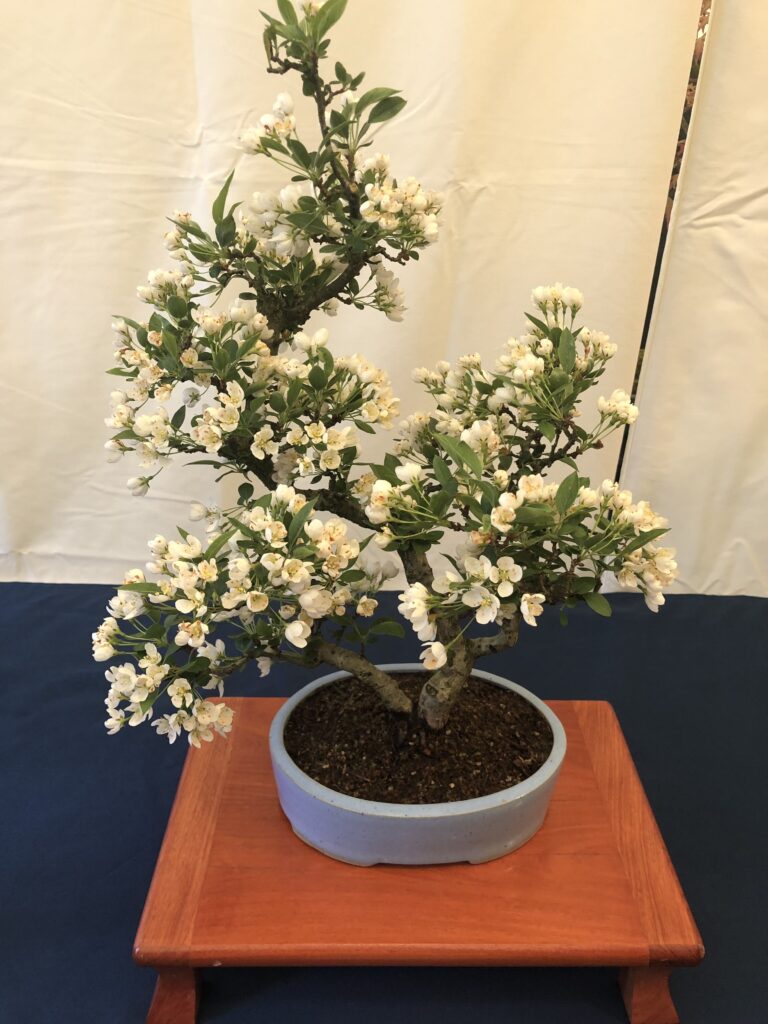
Japanese Crabapple
Malus Floribunda
5 years as a bonsai
Air layered in 2015
Other: Exclusively pruned since air layered
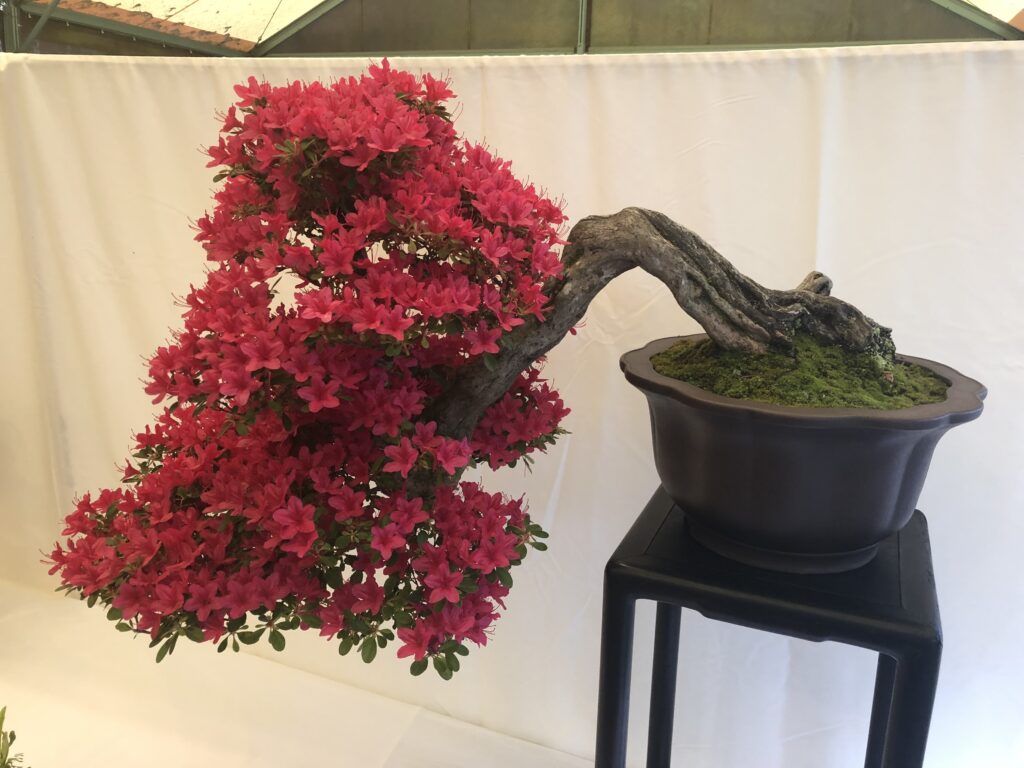
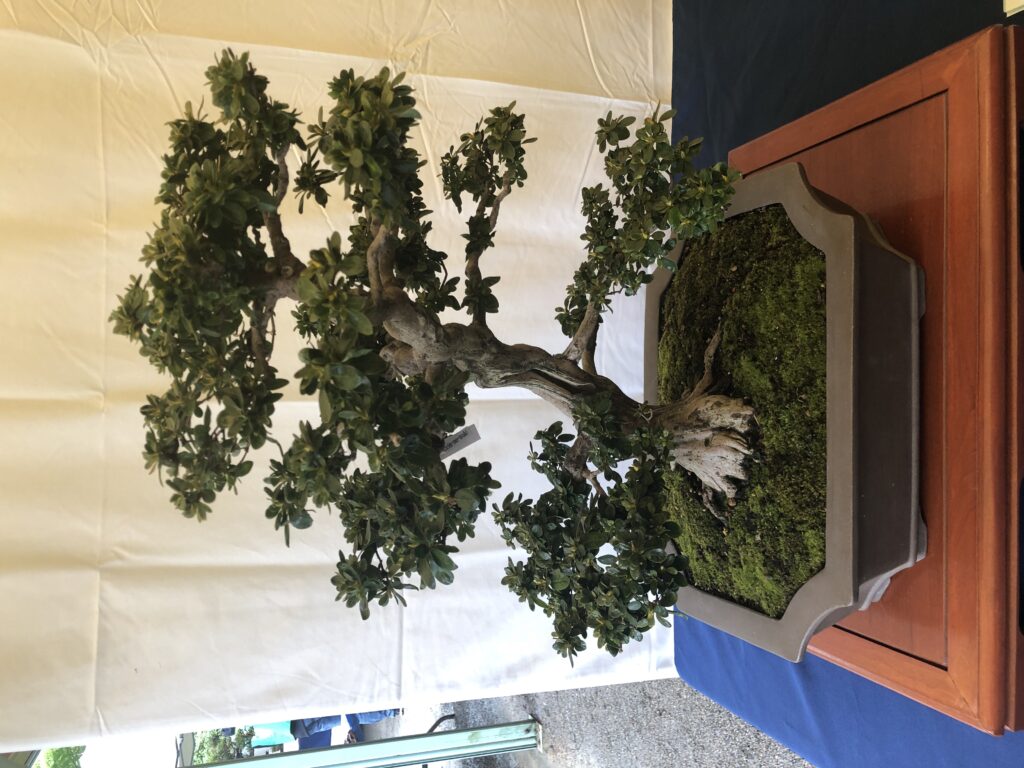
Sutsuki Azalea
Rhododendron Indicum – no – Tsuki
28 years as a bonsai
30 estimated tree age
Other: Imported from Japan, Japanese Pot
I would have loved to see this in bloom!
Mountain Hemlock
Tsuga mertensiana
5 years as a bonsai
unknown tree age
Other: Purchased from Anton Nijhuis at 2016 PNBC Convention, Pot by Jan Rentenaar
Japanese Larch
Larix Kaempferi
13 years as a bonsai
20 estimated tree age
Other: Field Grown at Telperion Farms
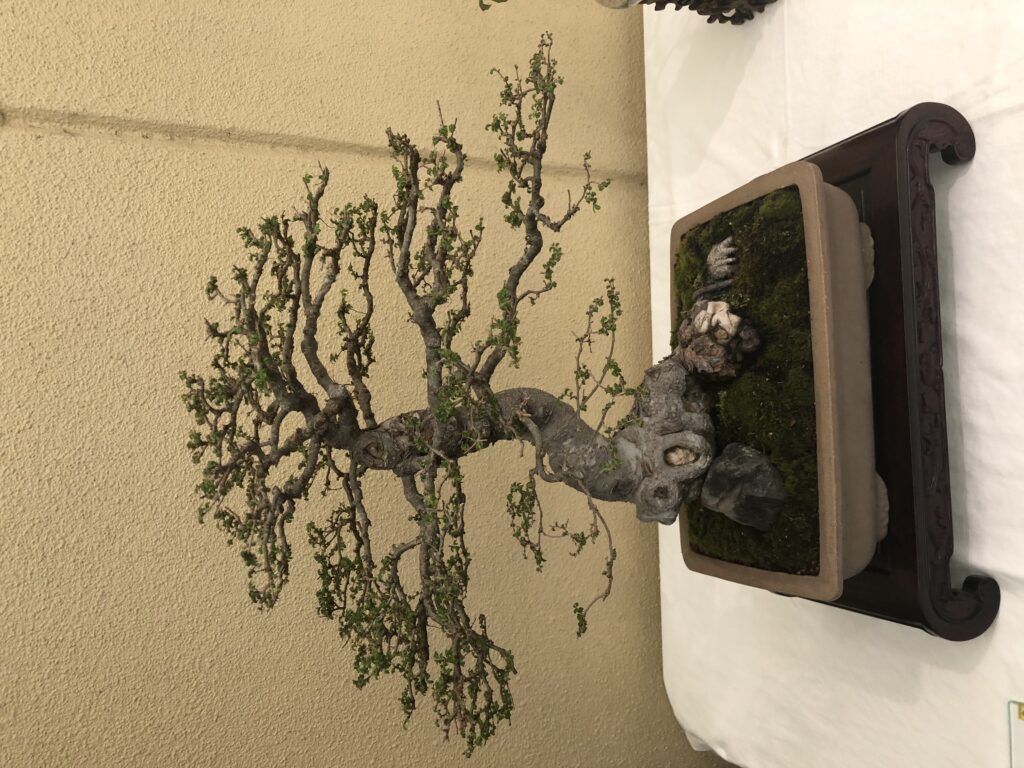
Chinese Elm – Ulmus Parvifolia
50 years as a bonsai
60 estimated tree age
Other: Acquired at PSBA convention 2005. While carving out several large scars, discovered stones lodged inside of trunk. Chinese pot.
Japanese Larch – Larix Kaempferi
10 years as a bonsai
unknown tree age
Other: Japanese Pot (Yamaaki)
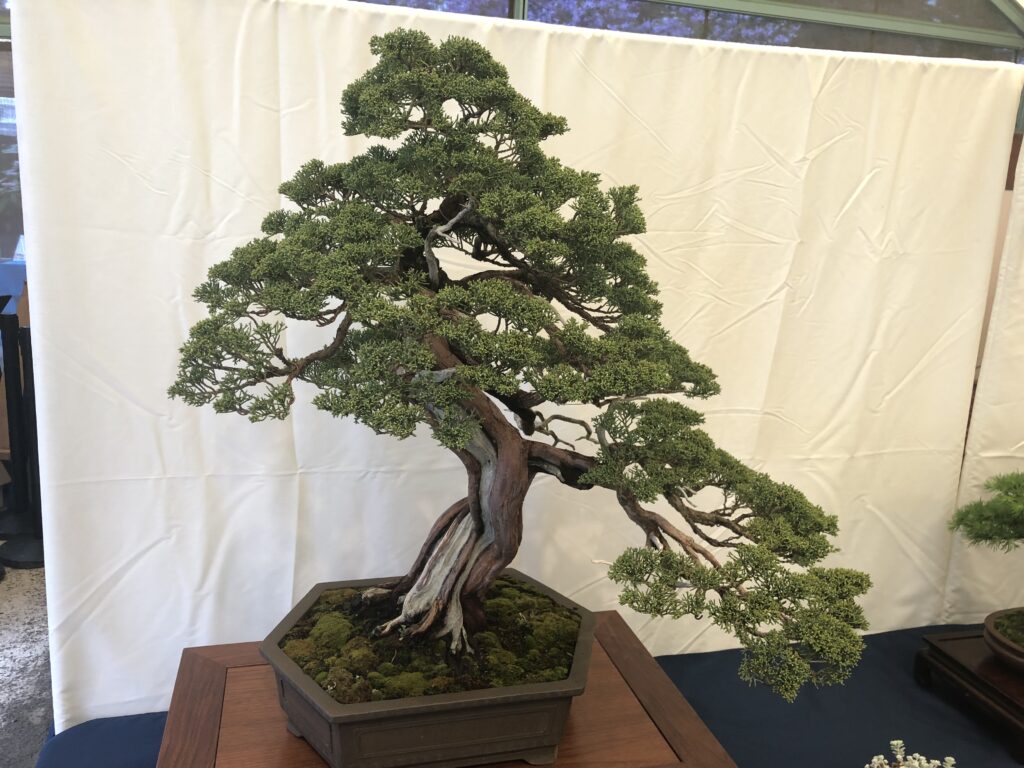
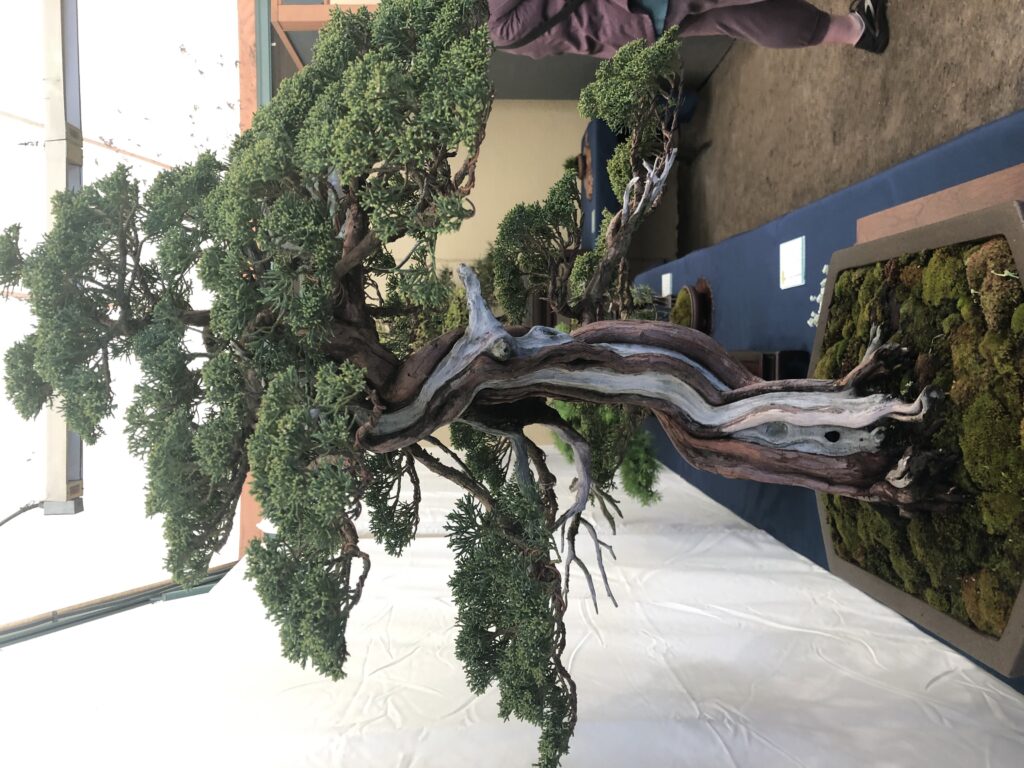
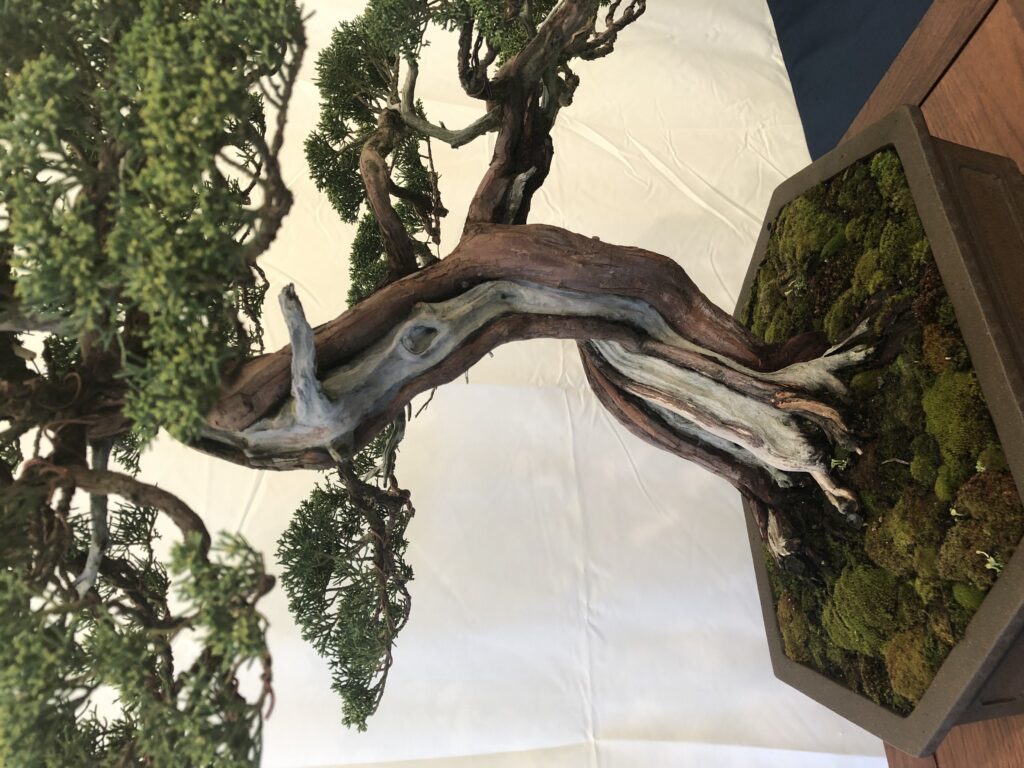
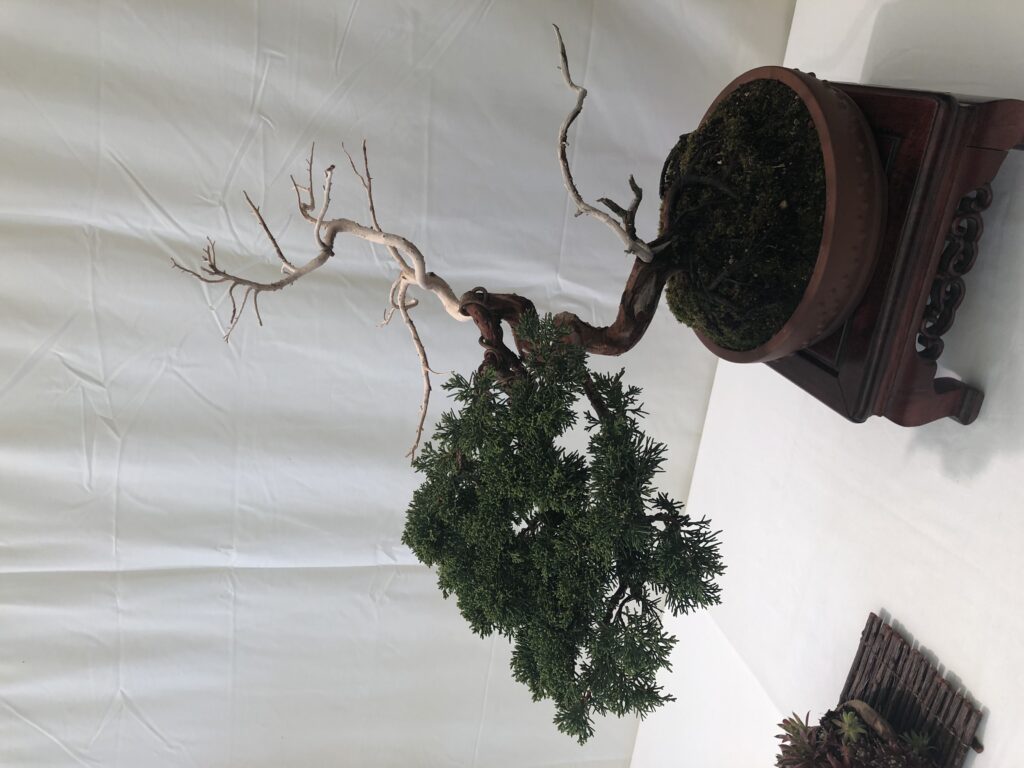
Chinese Juniper – Juniperus chinensis ‘Shimpaku’
20 years as a bonsai
40+ estimated tree age
Other: Japanese Pot (Yamaaki)
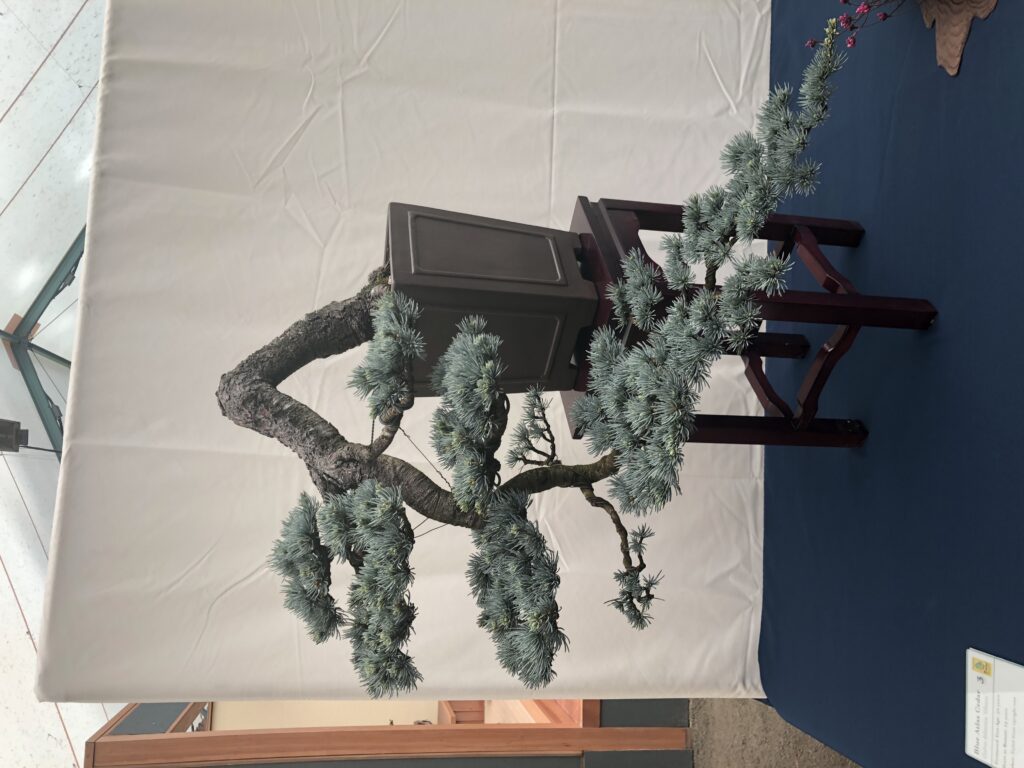
Blue Atlas Cedar – Cedrus Atlantica ‘Glauca’
24 years as a bonsai
30 estimated tree age
Other: Styled from upright tree

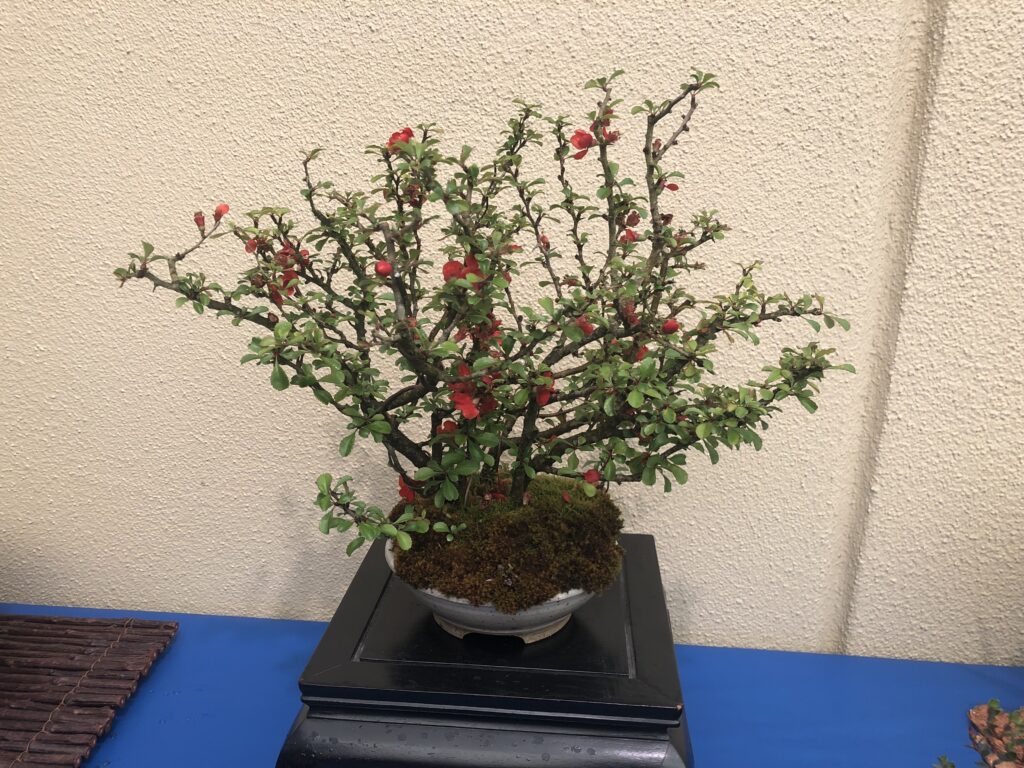
I missed the tag on this one! It’s a flowering quince, but I don’t have the details….
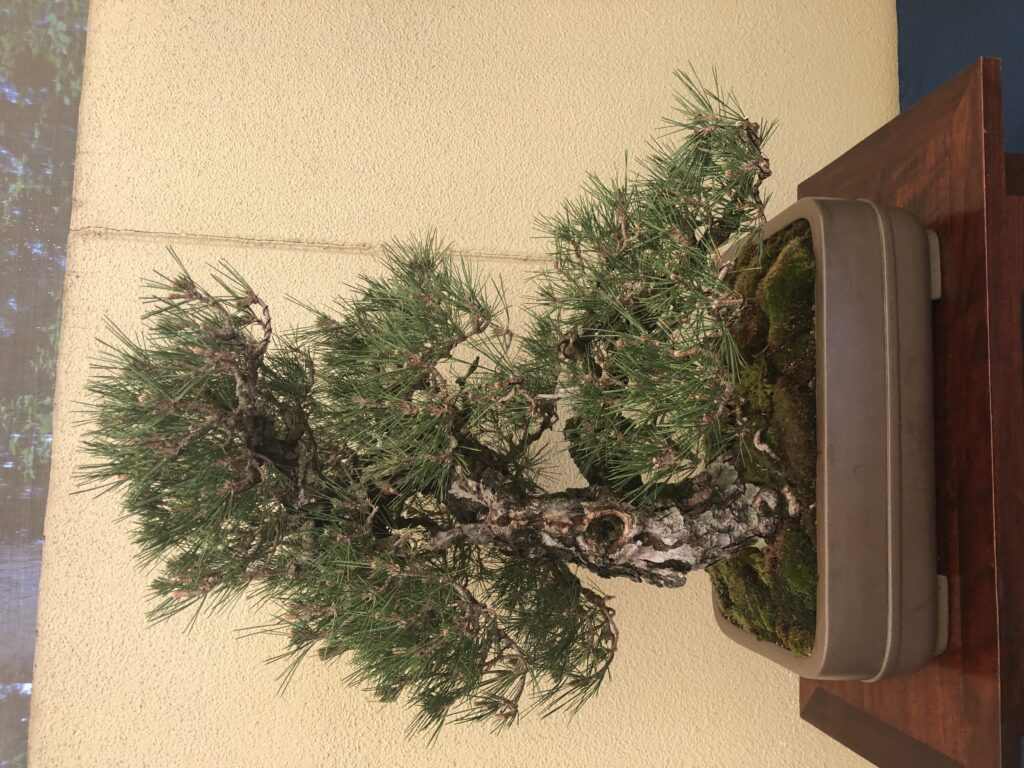
Cork Bark Japanese Black Pine – Pinus Thumbergii ‘Ondai’
unknown years as a bonsai
75 estimated tree age
Other: Japanese Tokonome pot
Chinese Juniper ‘Shimpaku’
6 years as a bonsai
25 estimated tree age

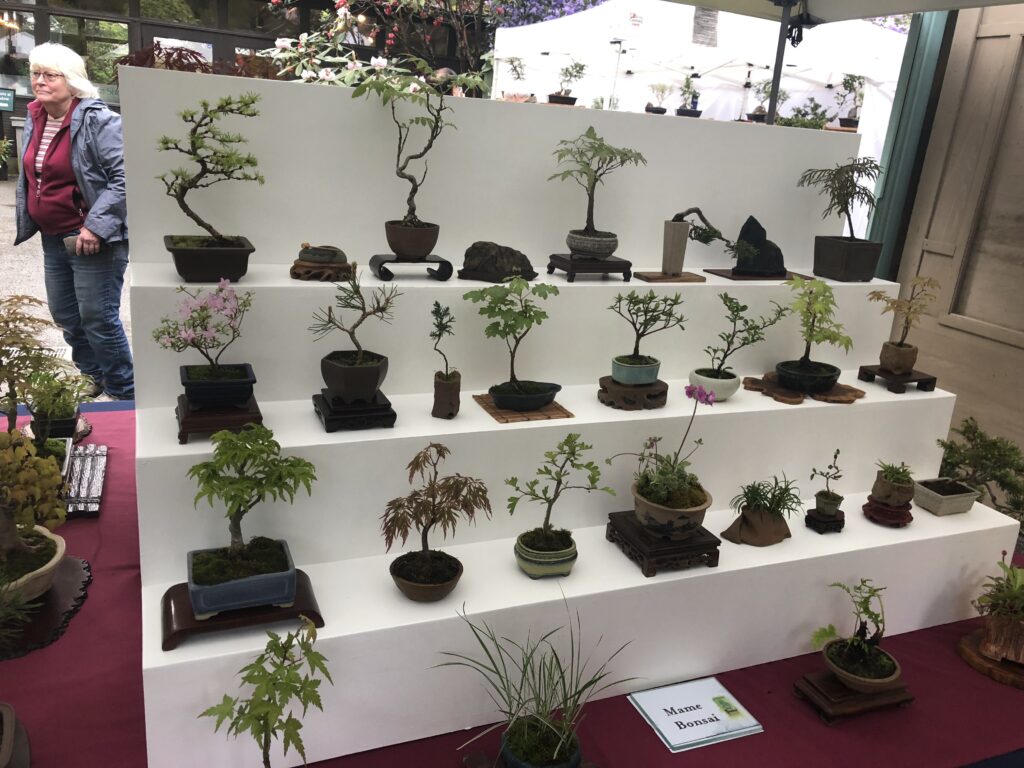
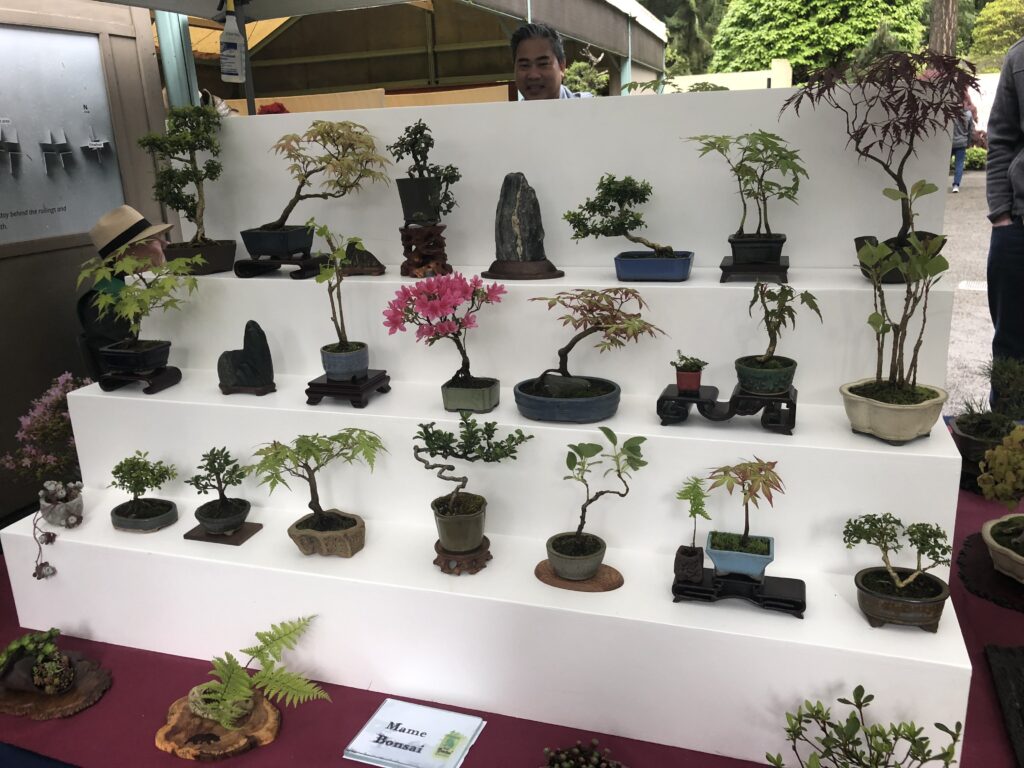
They also had some mame bonsai trees (miniature bonsai trees):

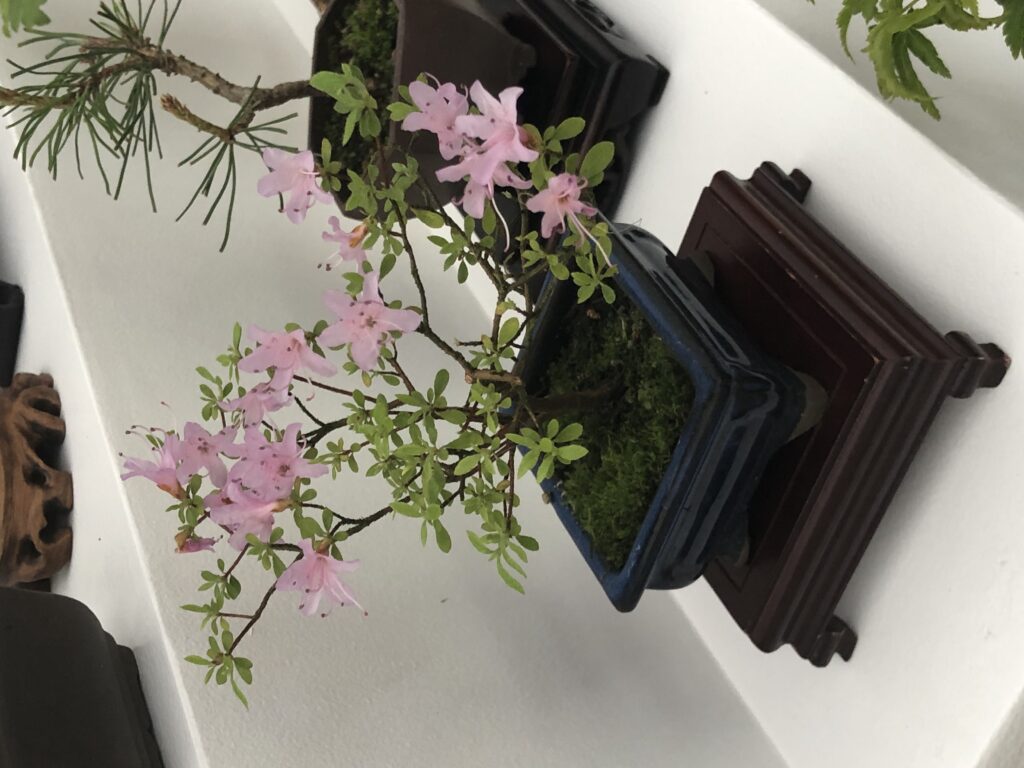
Tiny azalea mame bonsai
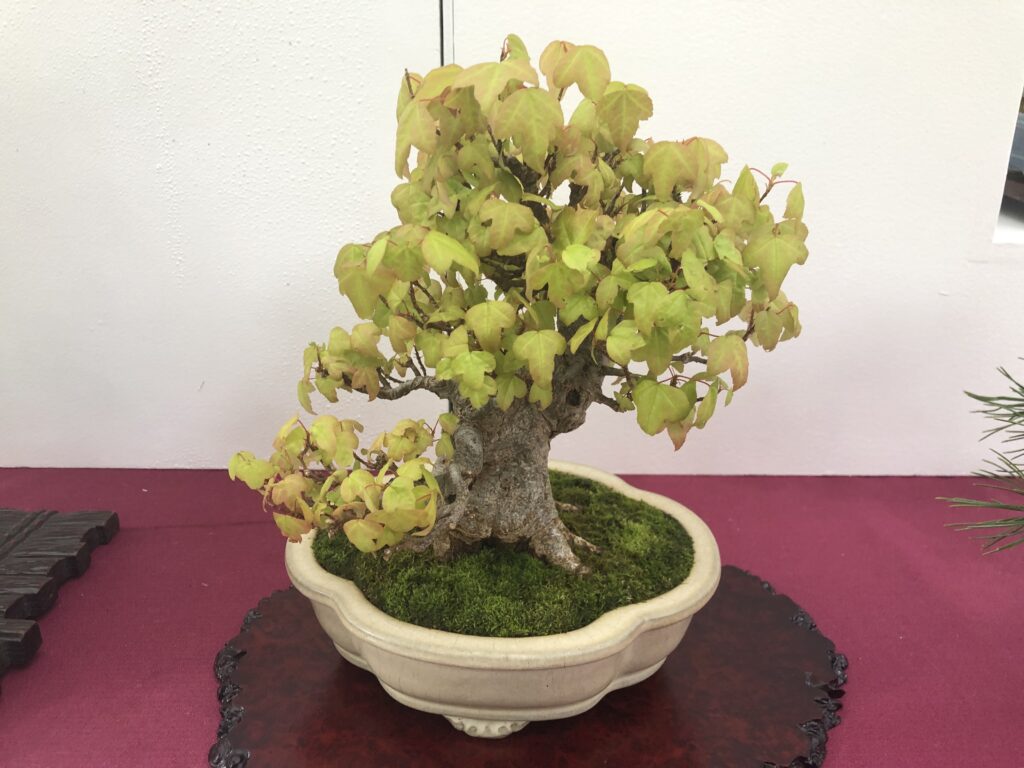
The mother of mame bonsai:
Trident Maple – Acer Buergerianum
45-57 years as a bonsai
unknown tree age
Other: Tokonome pot

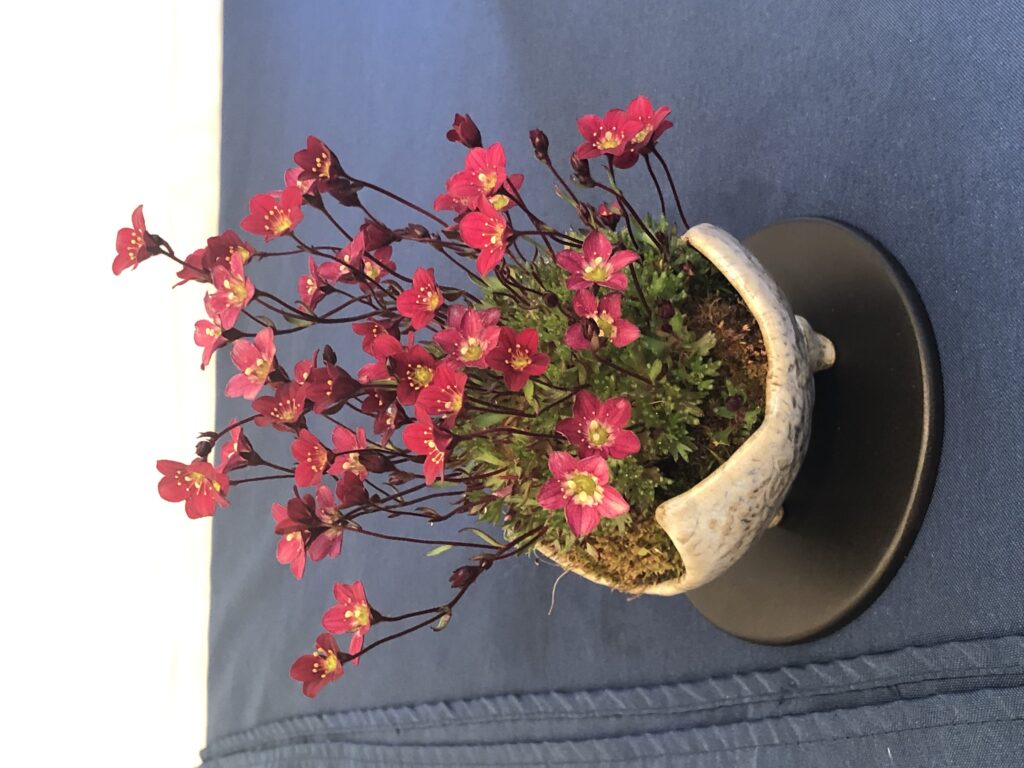
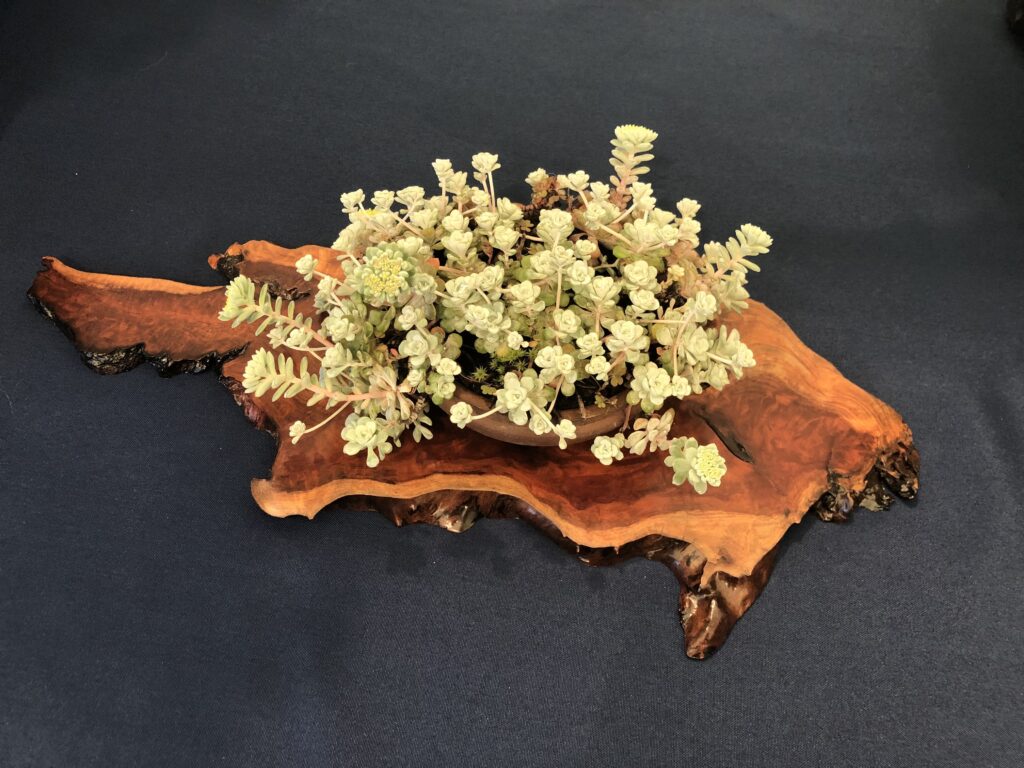
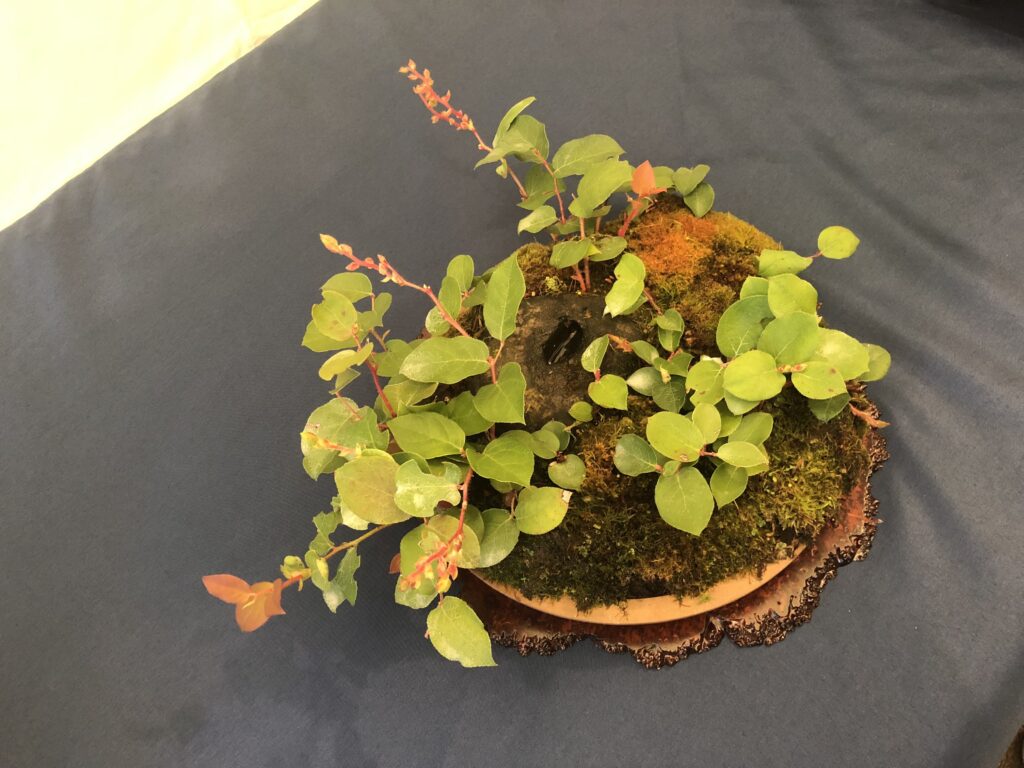
It turns out that there is an additional category of bonsai: tiny arrangements of perennials. Here is a sampling of my favorites:

The Pacific Bonsai Museum in Federal Way has some really lovely trees that live there year-round. We didn’t go in yesterday, because there were a lot of people, and there were rhodies to see. But the museum has some truly amazing bonsai trees. I’ll try to post a little tour some other day….

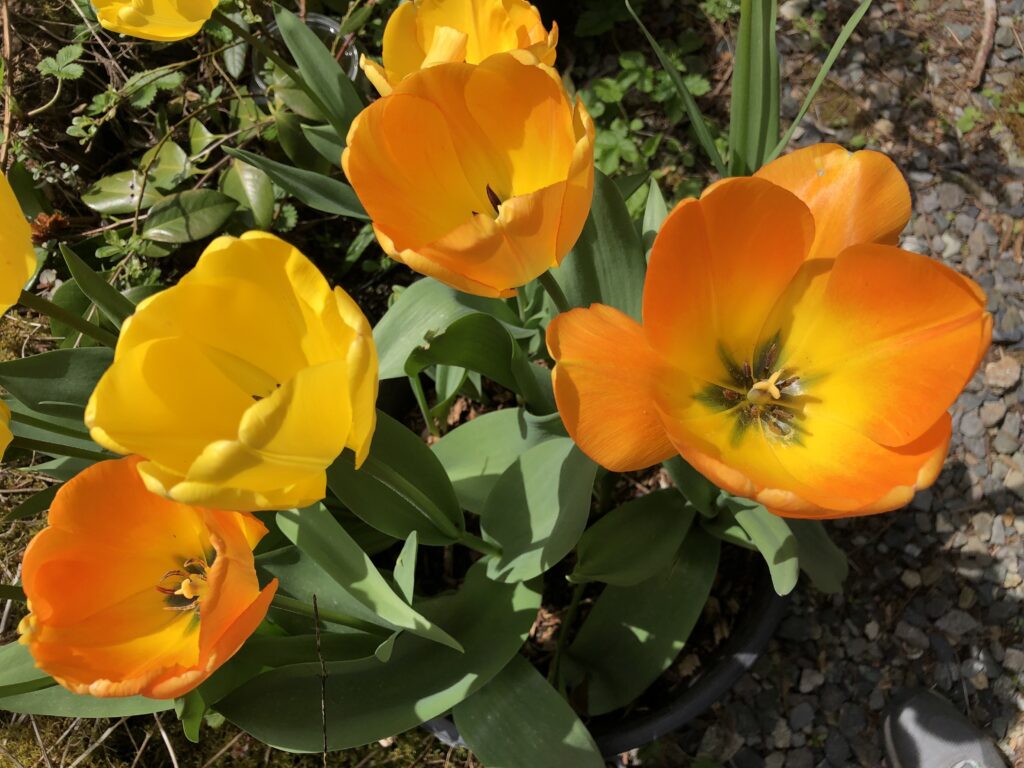
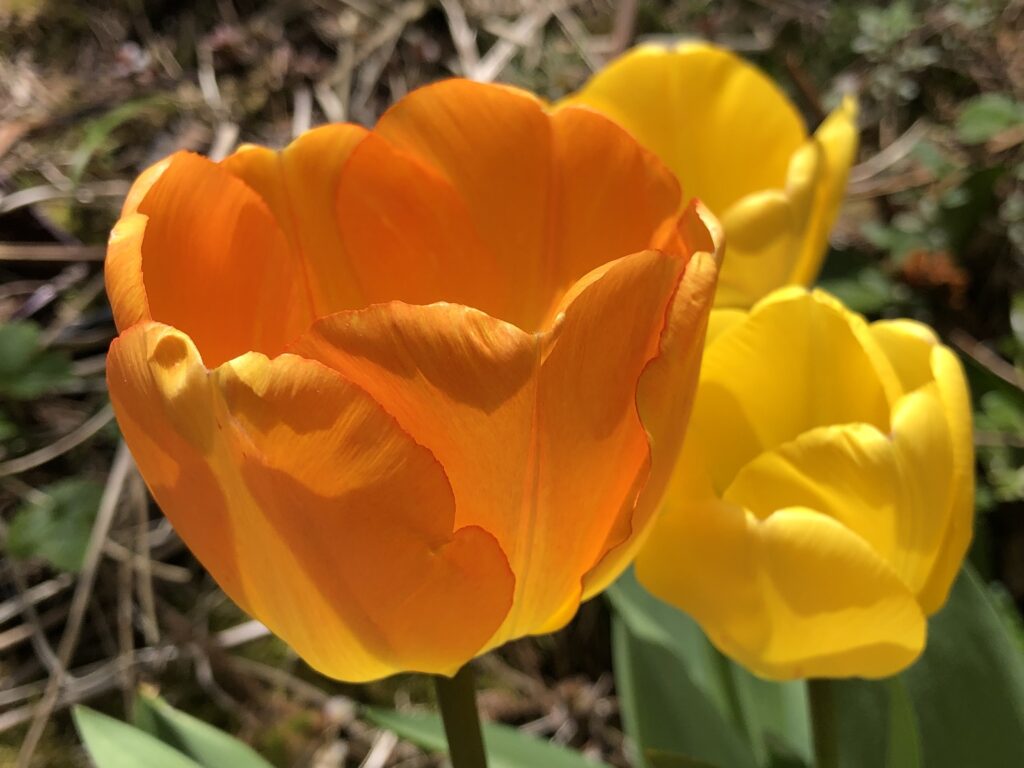
Spring Color: Daydream

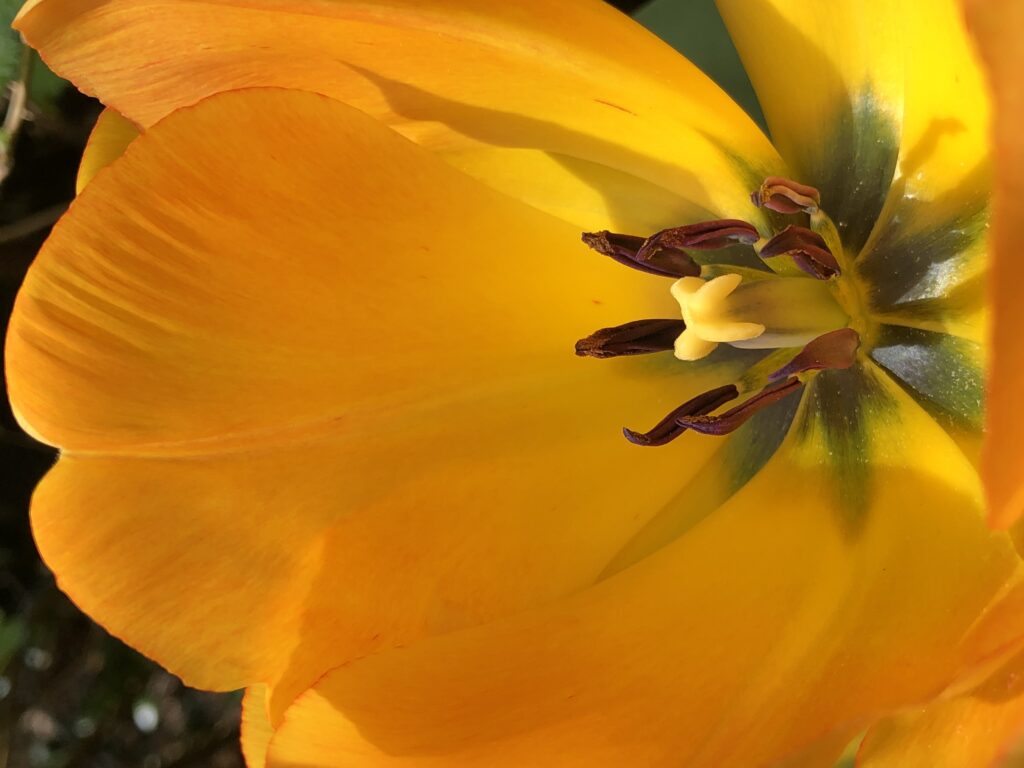
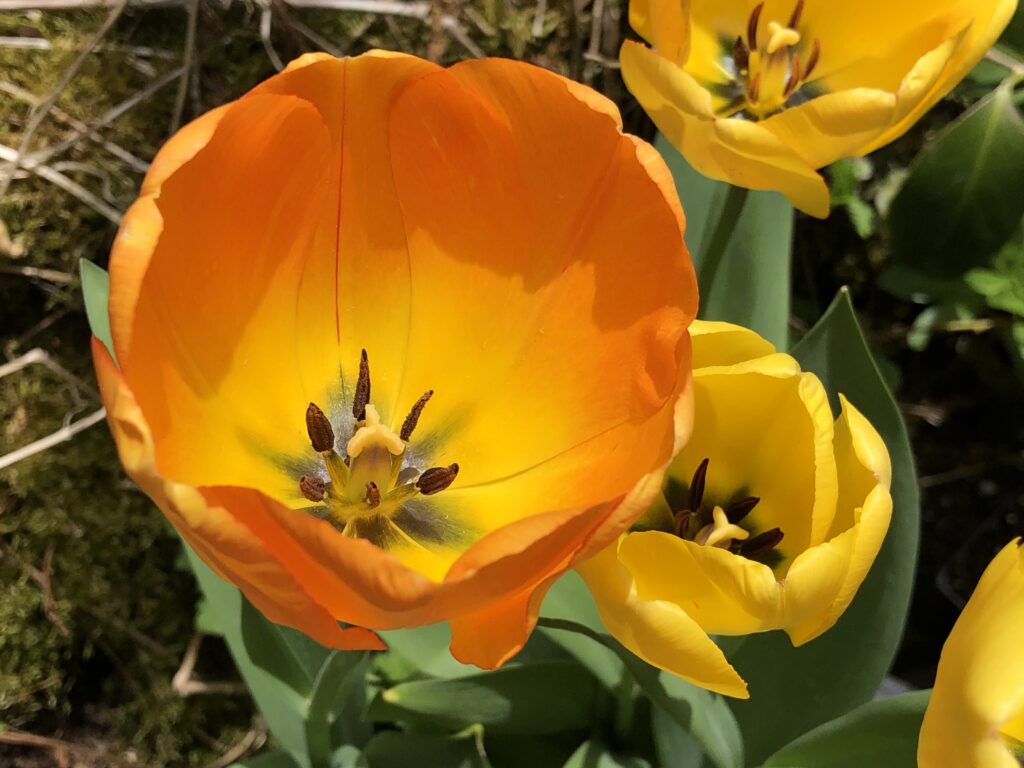
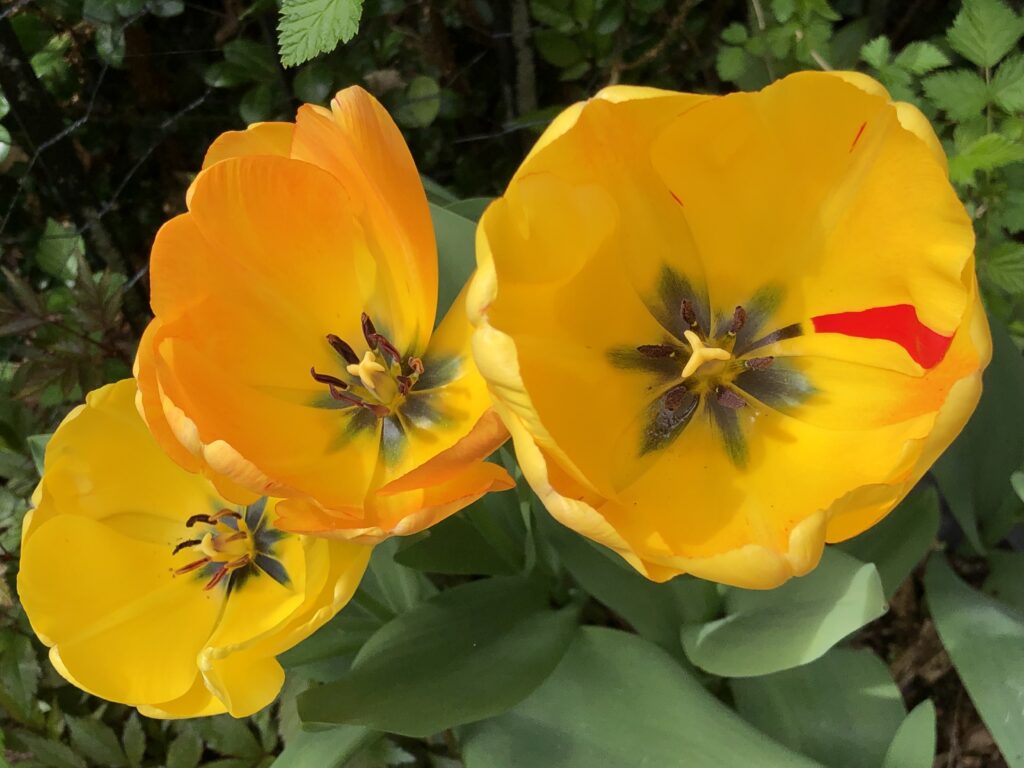
My favorite tulip, Daydream, has opened. It’s a color-changer. It starts off a sunny yellow, then shifts through apricot and peach.

Sometimes one will have a jaunty crimson streak. I suspect that’s where the red component comes from for the apricot/peach shading. I’ll be interested to see what happens with that bloom as it matures.

We don’t get enough heat or sun for tulips to rebloom consistently. I will plant the bulbs out when they go dormant, but will buy a fresh batch to guarantee blooms next year. Any reblooms will be a lovely bonus!

Operation Bee Rescue — Phase III

This continues (finishes?) Operation Bee Rescue.

This morning I went in for the final comb->frame transfer and queen search.

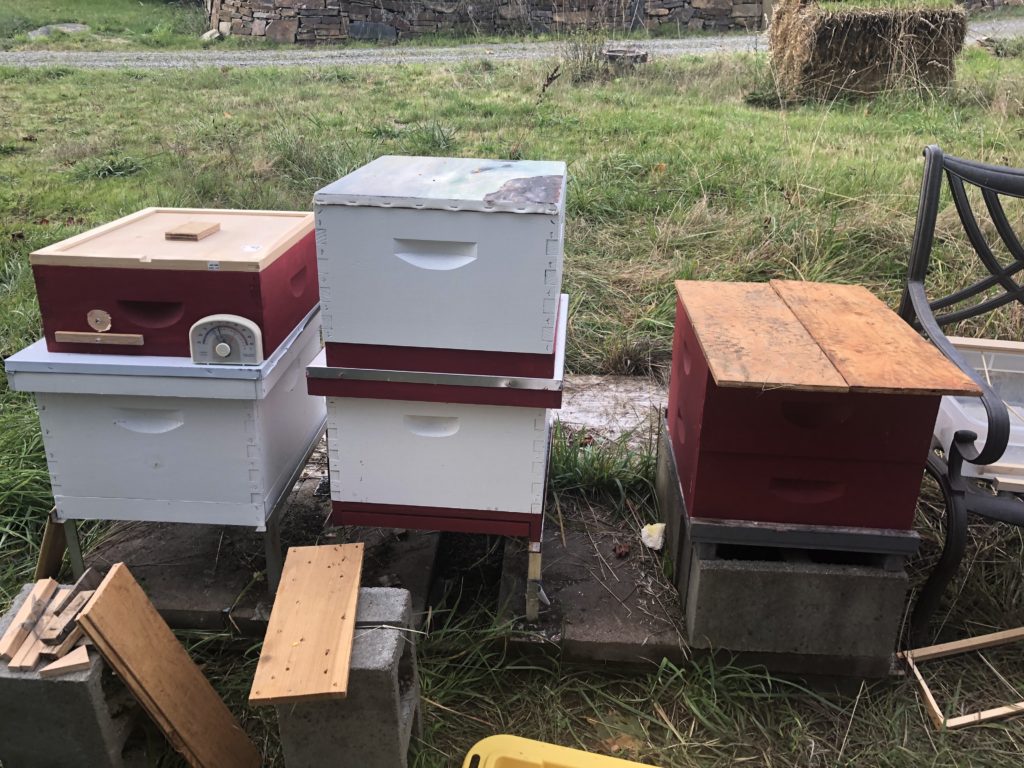
About half an hour before I started, I moved what bees I could to other boxes and closed them up. I was trying to minimize the number of bees who would be getting excited. I stacked the temporary boxes on the adjoining hives’ lids for easy access.

I started at about 9 a.m., with a temperature of about 45 degrees. That’s cool enough that the bees weren’t active, but warm enough not to endanger them (especially with a nice day forecast).

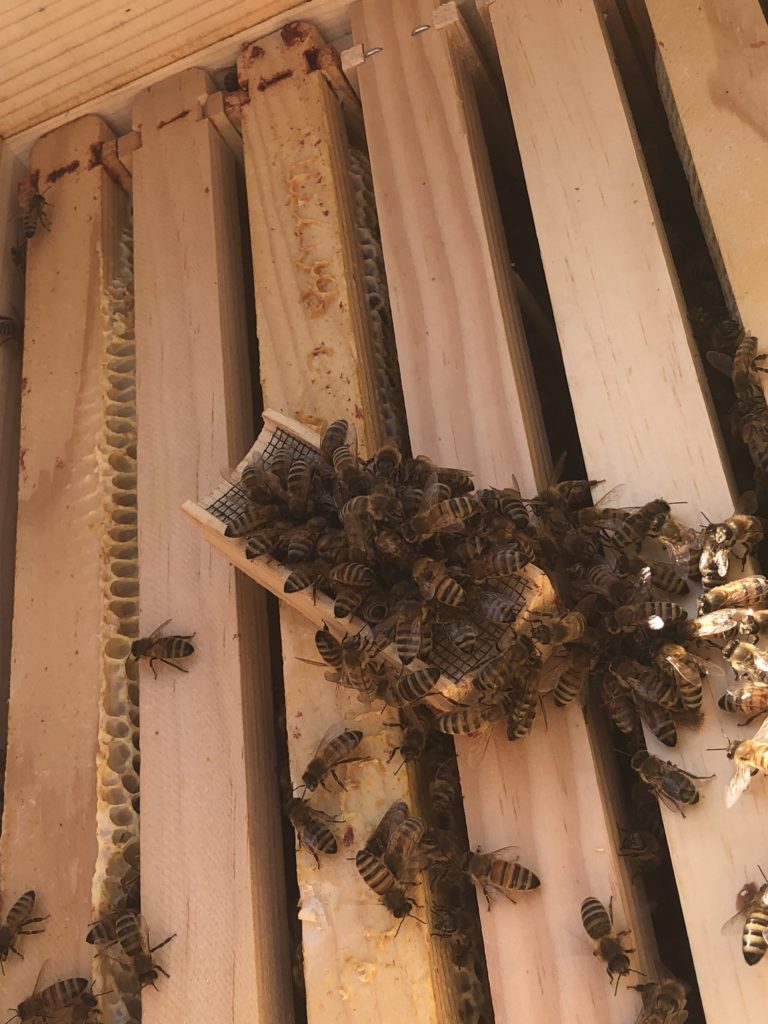
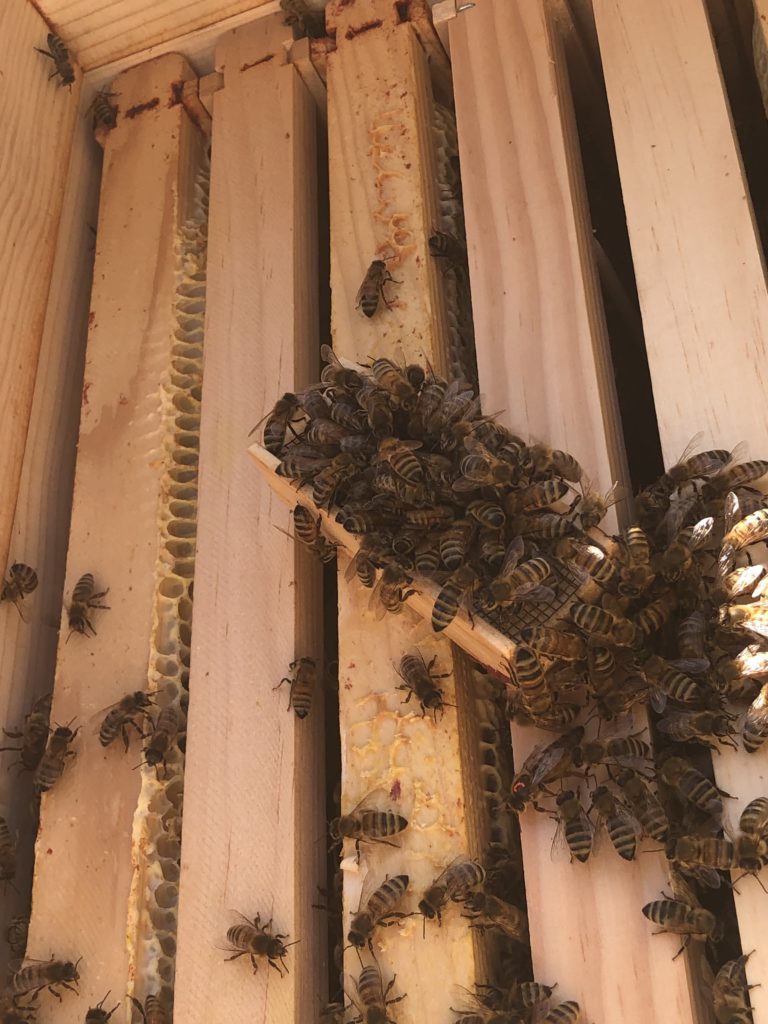
I ran into minor issues almost immediately: the three frames closest to the edge were absolutely buried in bees, and were sort of stuck to the frame. In the process of loosening things up, I got my one and only sting of the adventure.

Fortunately I had a plastic card ready in my pocket, so I was able to scrape the stinger out immediately. At that point I caved in and put on nitrile gloves. I like bare-handed where possible, but pulling out wild comb covered in bees is about as invasive as it gets.

Gloved, I was able to coax the first chunk of comb free and lay it onto the framework I had prepped.

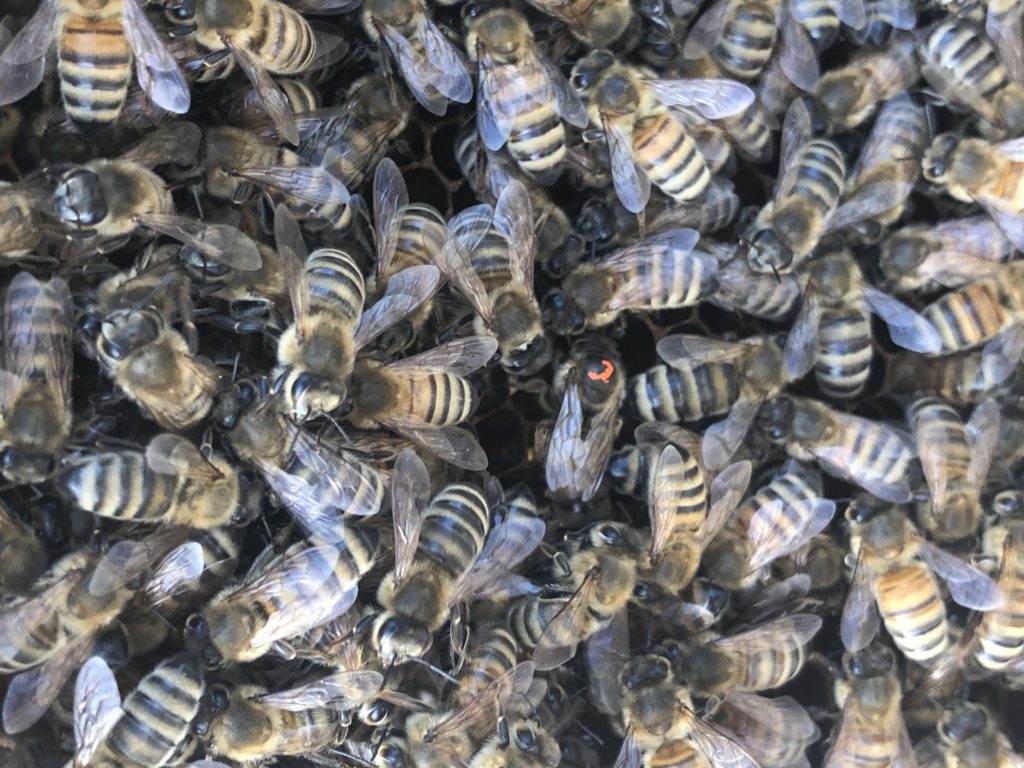
And lo! I got the biggest piece of luck in the whole operation, for there was the queen!Fortunately she was marked with an orange dot.

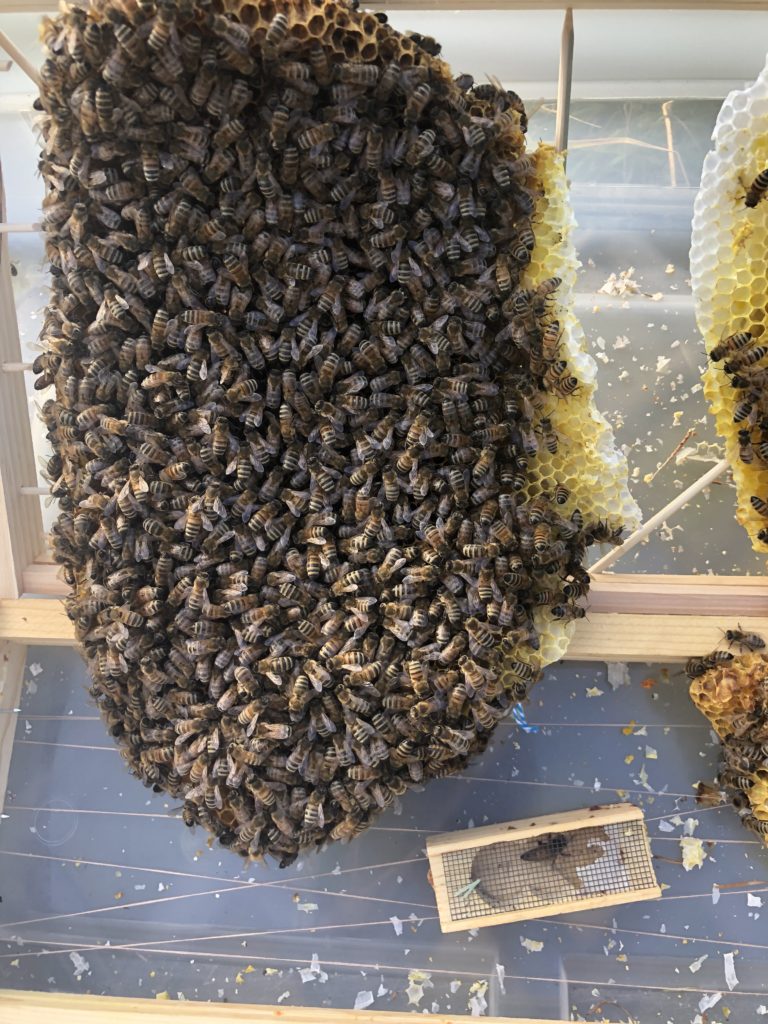
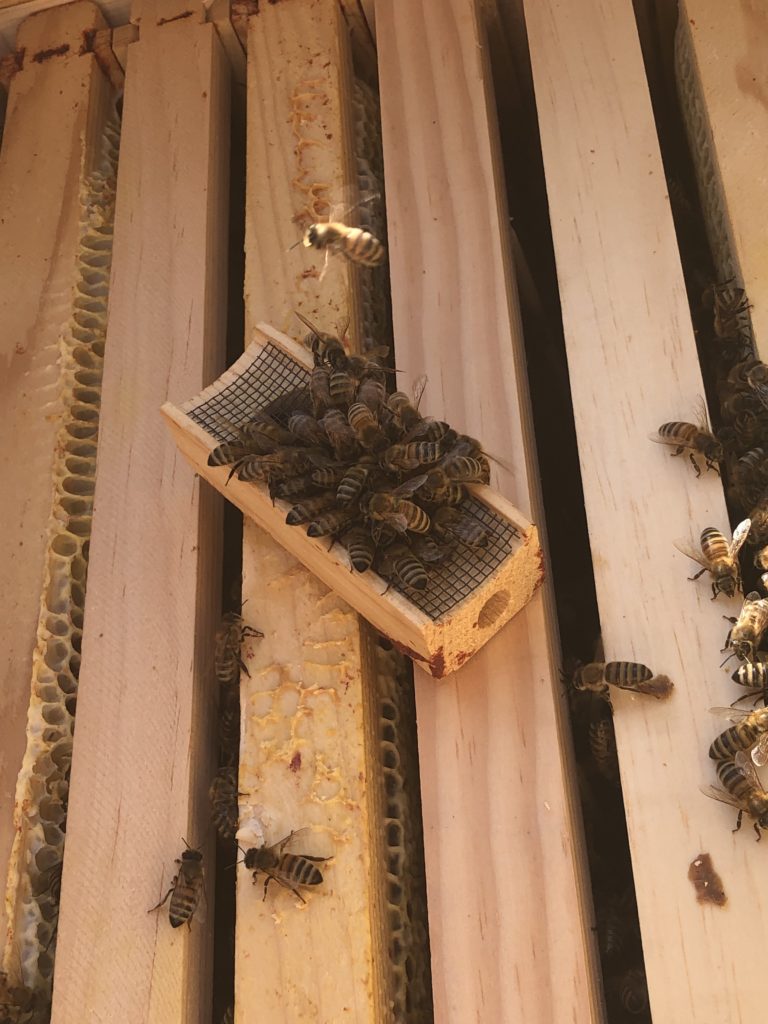
I coaxed her into the little queen cage that a  previous year’s queen shipped in, and plugged it with wax. I was anxious to keep her ladyship safe while I finished restructuring the hive.

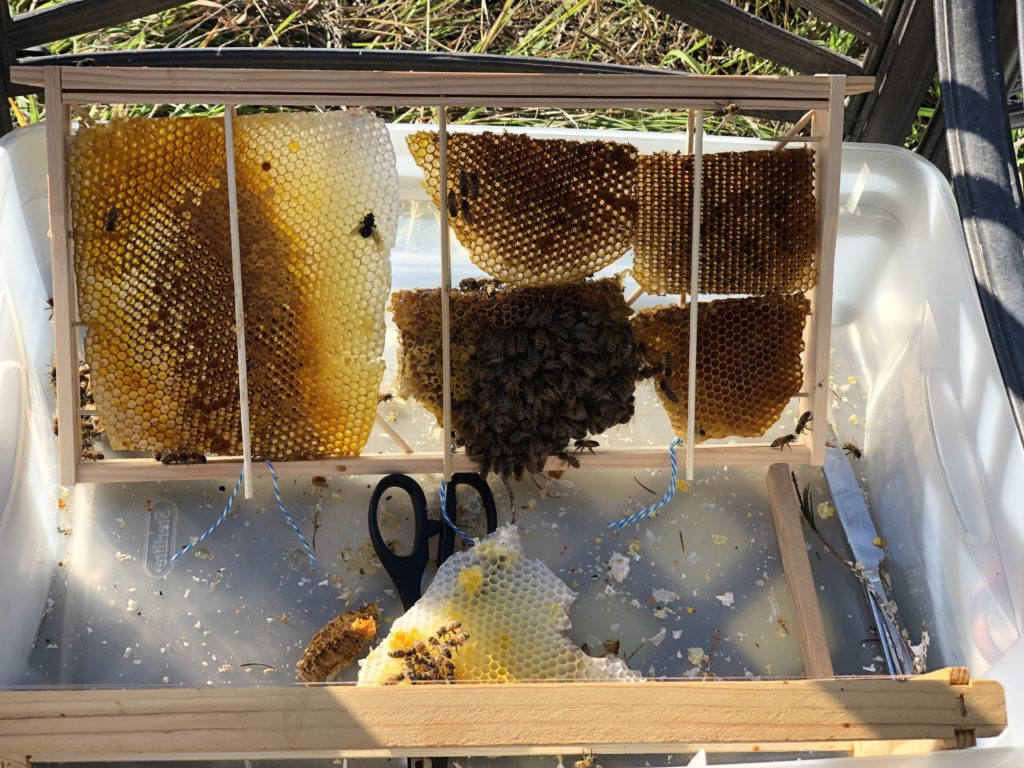
With her out of the way, I was able to take a butter knife and trim the comb to fit the frame. I had to be careful of the girls, but sliding the knife through the middle of the comb worked pretty well.

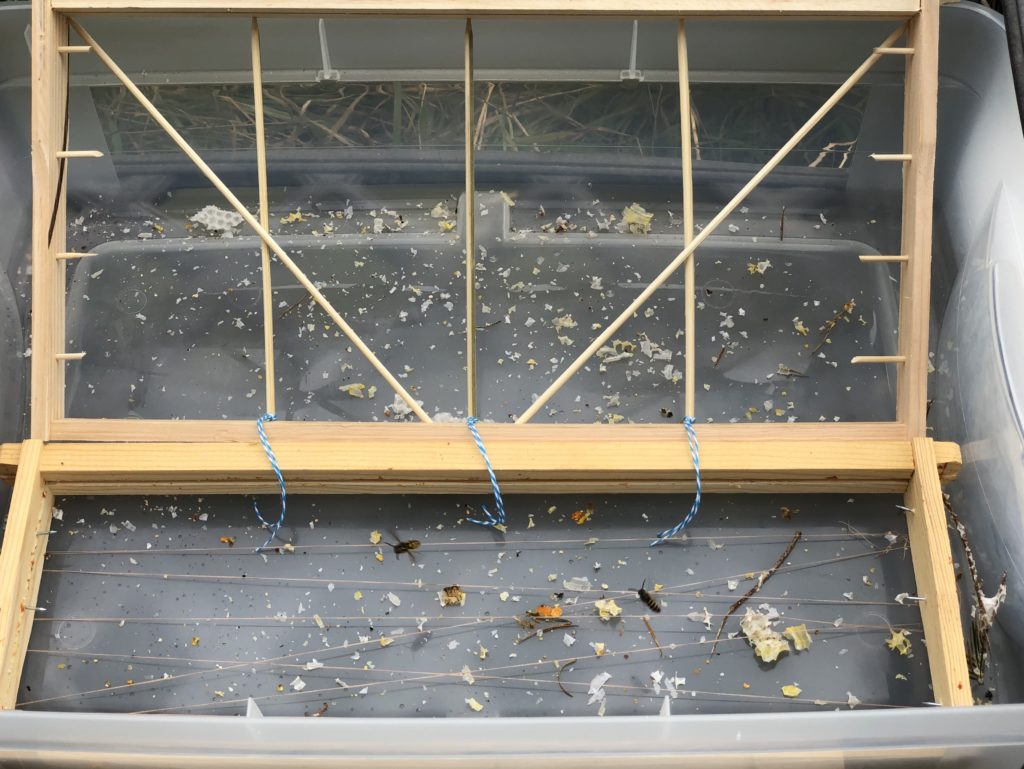
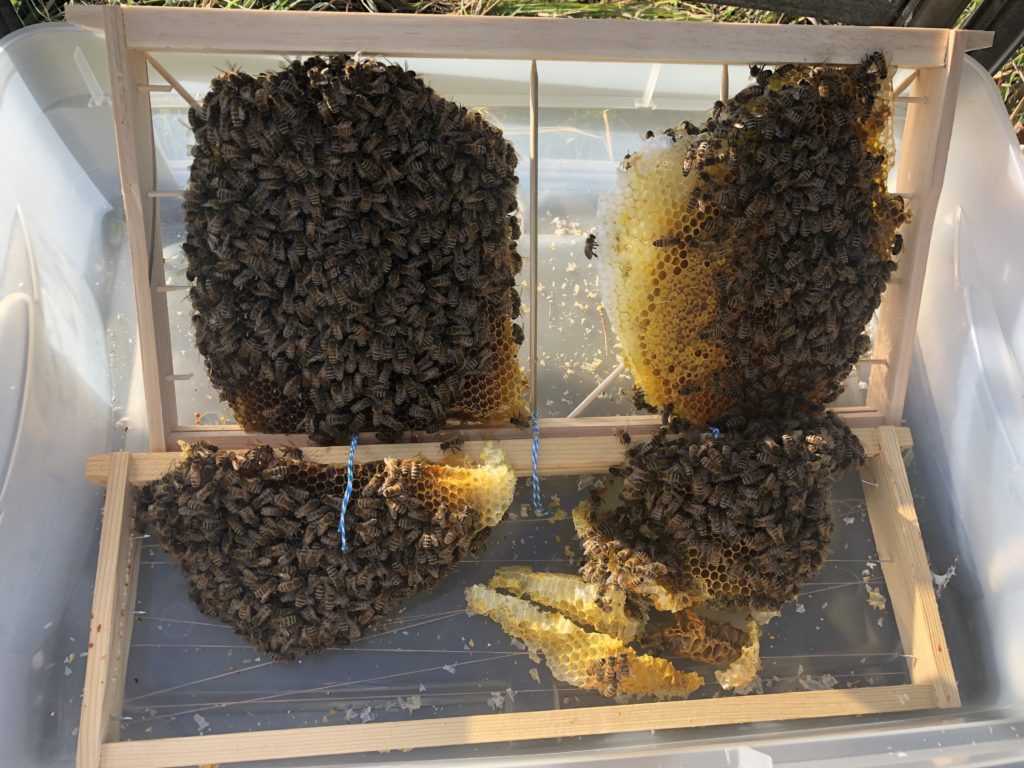
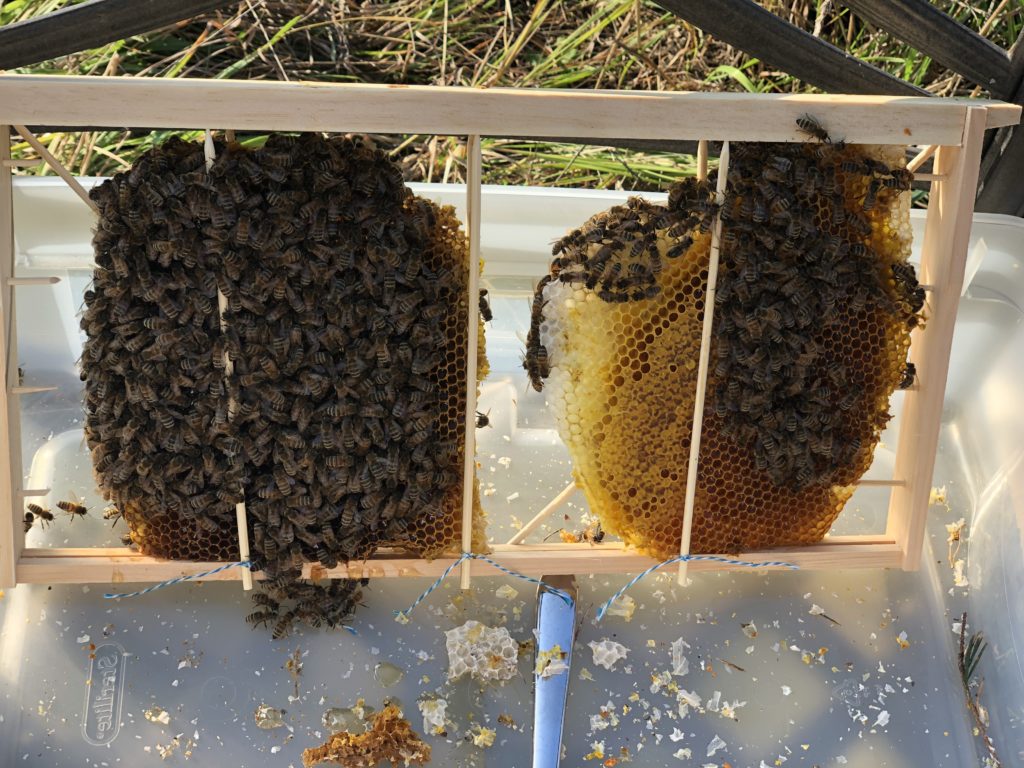
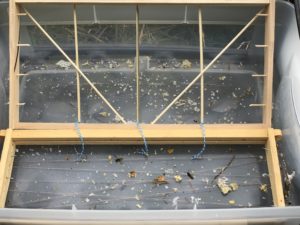
I slid a second batch of skewers into the holes I had prepped, and tied the bottoms to the back-side skewers (which were stapled to the frame).

I was pretty pleased with the result. Far superior to the thread method!(Now I have to decide whether to go back and redo the thread frame).

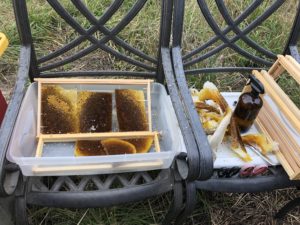
I filled a second frame with scraps. Those weren’t mobbed with bees, so it was a lot easier.

With all the critical pieces of wild comb framed up, I was able to reassemble the hive properly. Then I was ready to release the queen.

She took her own sweet time leaving the cage. I could tell when she was about to emerge because workers started to mob the entrance.

And there she goes! Out of the cage and down into the frames.

I breathed a big sigh of relief, closed up the hive, and got back to my normal work schedule. I was happy to see a normal level of activity from the rescued hive this afternoon. 

All of this would still have an unhappy ending if we didn’t have some spare frames of honey from our other bees: the tree colony had very little honey stored up. Fortunately the hive that resulted from the natural split has been doing well, so their honey will now go back to the parent colony.

Thank you for following along for Operation Bee Rescue!

Operation Bee Rescue — Phase II

This is a continuation of the bee rescue adventure.

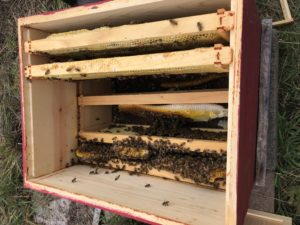
Phase I ended with  wild comb leaned semi-upright in three layers of boxes, with frames interspersed to help keep them semi-vertical (although not oriented correctly). This arrangement allowed us to close up the hive, but was not a good long-term configuration.

The box had all sorts of awkward airspace, and there was no way of removing the upper boxes without wreaking havoc. The whole point of a normal modern beehive configuration is that  all of the frames are hanging, so you can freely pull the upper boxes to reach the lower boxes.

One thing I couldn’t find any good information on was whether honeycomb orientation was critical for brood. Normally honeycomb has a slight downward slant (which makes sense for curing honey). I could imagine it being important for eggs and larva to stay put.

Crazy comb and problematic hive management aside, it seemed very risky to go into winter with comb leaned sideways and upside-down.

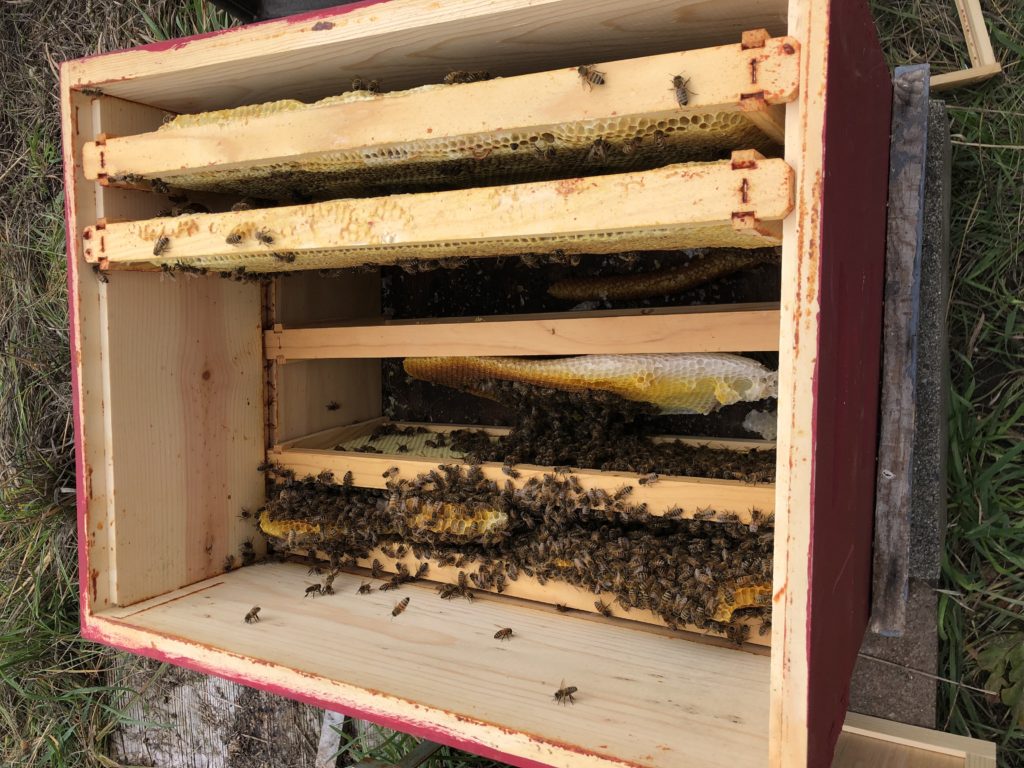
The only way to fix the situation was to take the wild/natural comb and insert it into frames. This would allow it to hang in the box with good comb spacing, permitting free bee movement and rendering the hive manageable.

The catch is that frames aren’t really designed to have comb inserted. For it to work, you basically need to cage the comb into the frames. Somehow.

My first “insert comb in frames” attempt used thread.

I was able to extract the honey chunks from three combs and insert them. I was working on this Sunday morning, so the bees had mostly clumped up in one corner, giving me easy access to the last three combs (the biggest combs in the colony, which turned out to just have honey… mostly uncapped).

It was a good start, but the remaining chunks are thick with bees (I’m sure they are surrounding the brood comb and — hopefully — the queen), and I need something a bit stouter and easier for the bees to escape.

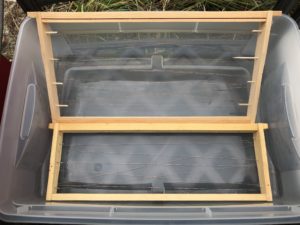
I set up a framework using BBQ skewers, and I think it has a good chance at working…

But by the time I finished, the bees had gotten pretty frisky. It’s partly that it had warmed up, partly that I had been manipulating them, and partly that the yellow jackets had been mooching around the edges.

I’ll try the final critical comb mounting tomorrow morning, when everyone is chilly/slow. It’s a calculated risk, because they will also be all clustered together, but it’s pretty distracting getting dive-bombed — even in a bee suit! That’s how you know I’m not a pro!

I’m very much hoping that when I do the mounting of the brood section, I will see the queen. At this point her status is unknown. Although the bee casualties have been fairly minimal, it is always possible that she got squashed when one of the combs fell. Fingers crossed!

Operation Bee Rescue

The Situation

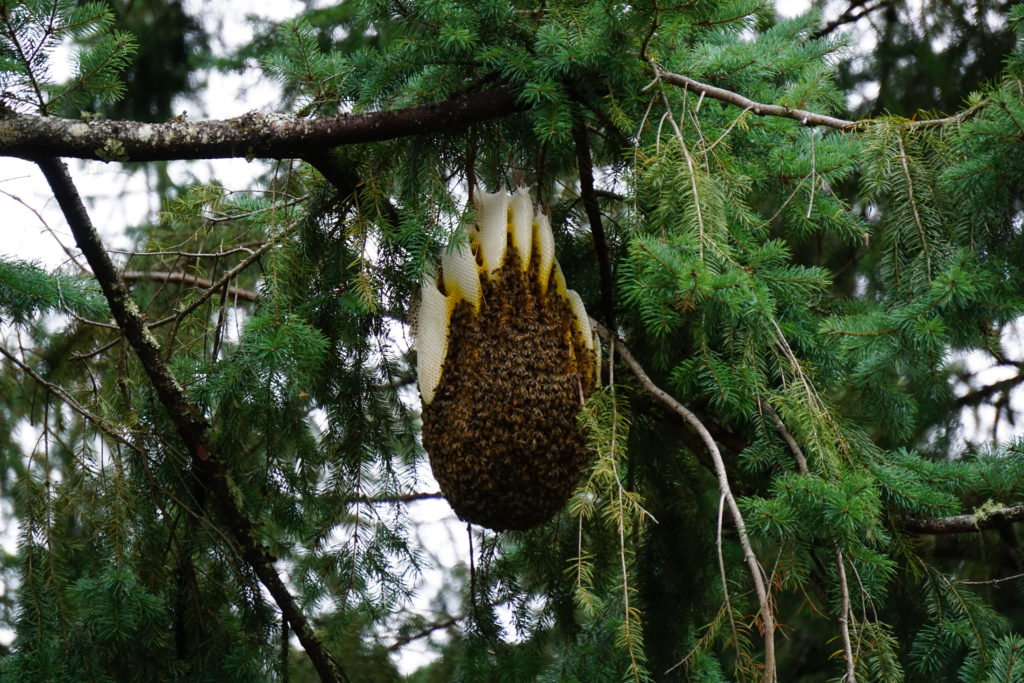
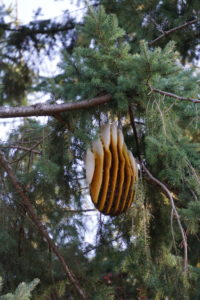
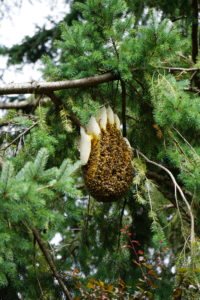
A couple weeks ago we discovered that one of our two hives had split itself (probably in June), and the old queen/half the colony had settled on a Douglas Fir branch about 40 feet up.


When bees swarm, the beekeeper has a limited window to tempt the bees back into an empty box. Otherwise, the bees will find whatever digs are available: hollow trees and house walls are favorites.


Every once in a while, the bees don’t find any good sites, and they stay put in the open. Apparently that’s what happened here.


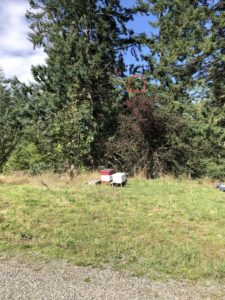
How could we have missed this? Well, although the colony was clearly visible from one vantage, it was masked by the end of the branch from the house. And apparently we don’t inspect our tree line very often. Yes, it’s a bit embarrassing. But would you spot it in this picture? See red circle.


At the time I thought it was neat but sad: neat, because it is amazing to see how the bees build their colony when left to their own devices; sad, because there is no way an exposed colony can survive the winter in our climate (cold + rain + wind = dead bees)… but it was too high to rescue. Or that was the initial conclusion.


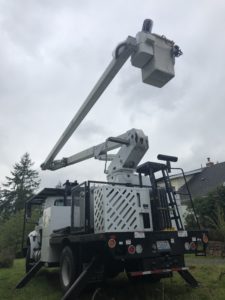
Of course, having given them up for lost, our brains immediately started working on how they could be saved. Ladders? No… none of ours were remotely long enough. Climb the tree? Doug Fir branches are made for breaking. Cherry picker? Cherry picker!


We got some tips from friends and called around. A very nice electrician was inclined to help us… but once we got more accurate distance details, they realized their cherry picker wouldn’t reach. They told us that some tree services have big bucket trucks, and gave us a name to start.


That tree service was favorably disposed (the owner has a wild colony in a cedar stump, and they actually tipped it upright when it fell over in a storm… hooray for heavy equipment)… but they couldn’t come until late October.


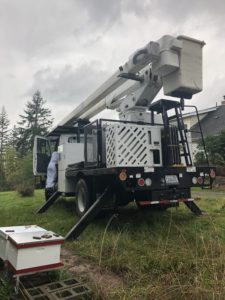
So we got in touch with an arborist who had worked with us on another project. Conor thought he could do it, and was able to come Saturday morning.


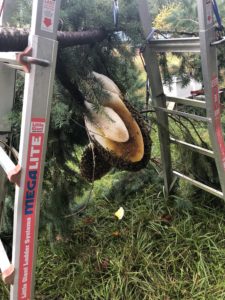
Here was the plan: go up, cut the end of the limb with the colony, bring it down, hang it on an A-frame ladder for better access, and try to rig the whole colony so that it could be settled in a bee box for the winter.


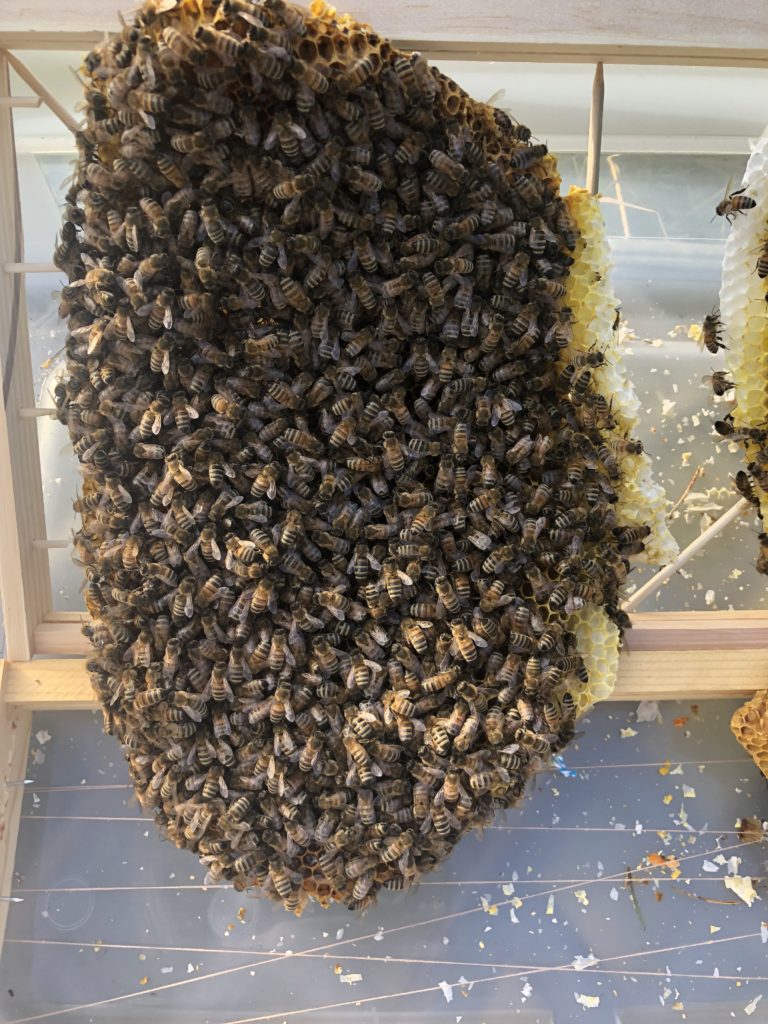
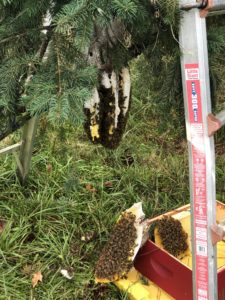
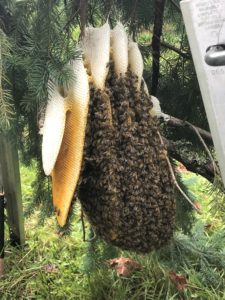
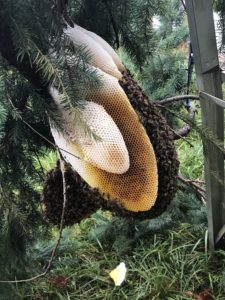
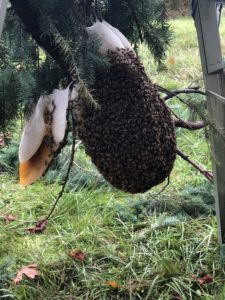
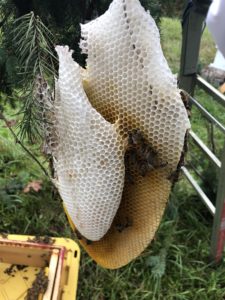
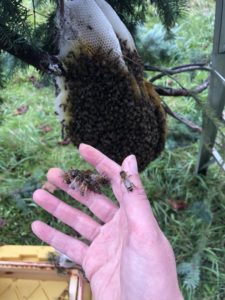
Before we get into what happened, here are a couple pics of the colony that I got with my telephoto. The picture where all the comb is showing was taken first thing in the morning, so they’re huddled in for warmth. The picture where there is a big ball of bees on the bottom was taken in the middle of the day, so they’re working and protecting the nest.


Phase I

Conor showed up with his bucket truck (I missed the technical name, but it has a 2 part hydraulic pivot that can lift a small basket up to 50 feet). We spent a few minutes sorting out the plan, and by 9 a.m. he was suited up and ready to go!


Since he had to go up solo, the plan was for him to cut the branch, holding it as best he could, and then bring it down to me. Two people would have been ideal, since with one person there was no way to hold the branch stable.


Here is his final approach up to the colony and the cutting of the branch (click links for video).


The branch twisted down pretty sharply, which did not help comb integrity, but it all held together!… at least temporarily….


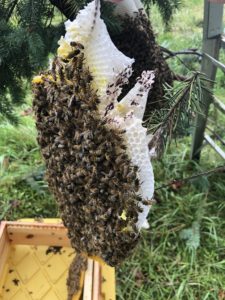
He brought it down and handed it down to me. Probably about 40 pounds, but most of that was branch. I was able to get it on the ladder, although a bit crooked initially.


The comb survived the whiplash of being cut, but was a little the worse for wear.


Note the bend in the comb, and the dangling comb on the left side. It was hanging on by a tiny little twig. It couldn’t last.


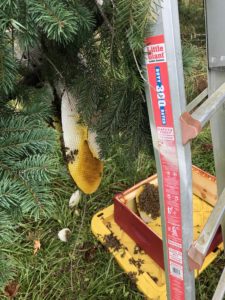
While I was bustling around getting a box and seeing Conor off, the dangler fell off. In this shot I have scooped it up and leaned it in the box.


Another comb was coming loose!


I carefully snipped this comb off before it could collapse (the only controlled comb removal in the whole thing, unfortunately). Here is the comb, all ready to go in the box (both sides).


Here it is in the box. Not a good long-term solution, but ok for starters….


And then another comb fell off! Note comb now leaned on exterior of the box. So much for lovingly boxing up the whole comb unmolested. I hadn’t realized how fragile wild comb would be, especially in cool weather.


Fortunately the bees were confused but not aggressive. I couldn’t wear gloves, because I needed to be able to gently lift the comb.


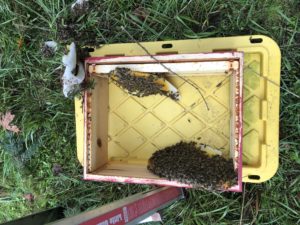
Here are the combs that fell off, all tucked in snugly.
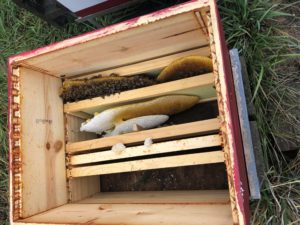
Still, a few combs left! I got the colony level — more or less – and stuck with the plan of taking them intact.
Narrator: she should have abandoned the plan.
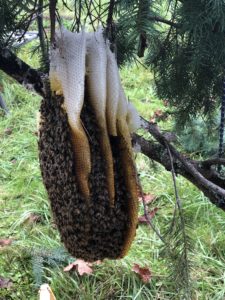
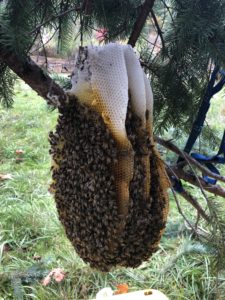
     

In order to get the rest of the honeycomb free, I either had to cut the branch or break the comb. In retrospect, I should have broken the comb… but instead I decided to cut the branch.

Rob was working, but Mom and Dad were visiting for the day, so Mom held the branch stable while I made the cut.
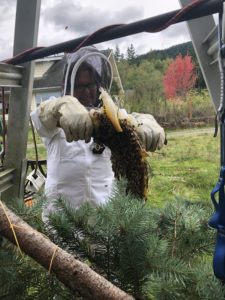
Shortly before the cut, the other two big combs sloughed off, and I added them to my growing box of traumatized bees.

Phase I closed out with the pieces of comb tucked into three layers of hive, with commercial frames as spacers.

The good news was that the colony could then be closed up, safe from yellow jackets and weather. The bad news was that there was way too much air space, the hive would be completely unmanageable with the chunks of wild comb propped up here and there, and most of the comb was either upside-down or sideways.

Since the original plan of keeping the colony intact didn’t work out, we needed to wait until things quieted down, and then try to insert the comb into frames. See Phase II!



Happy Equinox!
It felt like mid-spring today, and has been feeling like spring for about a week now.

It was a long time coming, though! After a very mild December and January, February came down like Thor’s hammer.

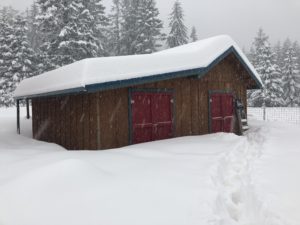
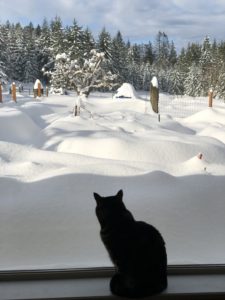
We got almost three feet of snow over about four days.

The kitties were not amused.

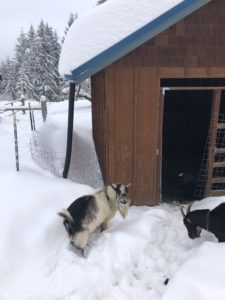
Nor were the goats.

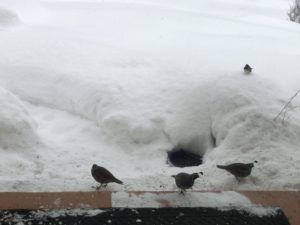
Nor were the wild birds. I had to spread seed on the porch, because the snow was so deep and soft. We even got a family of quail coming by!

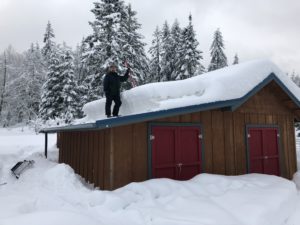
Nor was the Rob. He was quite worried about the roofs, and whether our smaller structures would be able to hold the weight.

Even once the snow was off the roofs, the snow barely melted until last week — it just compressed, and compressed, and compressed, but with a freeze every night it was excruciatingly slow.

About a week ago the temperatures bobbed above freezing and stayed there.

And finally, finally, the snow receded.

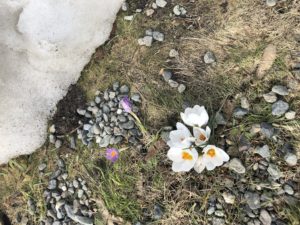
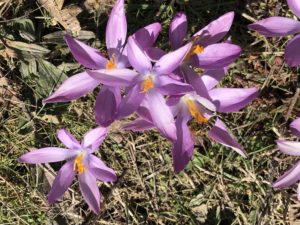
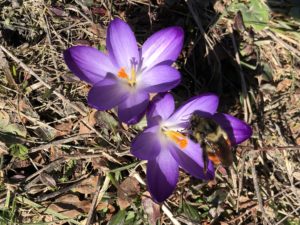
There is still snow, especially in the shade, but the crocuses are in full bloom, and the bees are out enjoying them!

Happy spring!