Category Archives: Nature

Planting Notes: Giant Red Indian Paintbrush from Seed

I tried growing a bunch of PNW native seeds in 2022-23. I got the seeds from Inside Passage.

I had good success with Castilleja miniata (giant red Indian paintbrush).

My basic protocol was to fill a sterilized 4″ pot with a soil-free mixture of 2 parts coir, 1 part perlite, 1 part vermiculite. I then planted the seeds and put the pots outside under a hardware cloth cover to get scarification over the winter.

Based on the UW native plant protocols (available to the public here: https://jbakker.shinyapps.io/Protocols/ ), I planted the seeds on the surface and sprinkled a light layer of perlite on top.

Note that you should be able to do scarification in the refrigerator; I’ll be experimenting more with that in the 2023-24 season. For my first attempt, I wanted to keep everything as “natural” as possible.

When I checked my native seed pots in mid February, I had some sprouts starting! At around this time, I brought the pots in and put them under grow lights in the garage (about 50F).

By 3/7 they had 2-4 true leaves, and I split them into multiple 2 and 4″ pots (scooping out small clumps of seedlings with a fork and transferring them as intact as possible), and added native yarrow seeds.

Most paintbrush species are hemiparasitic: they can do their own photosynthesis, but they get a boost from their neighbors. I had encountered a reference indicating that they could be grown with native yarrow, which is convenient because yarrow is an extremely fast sprouter.

The yarrow sprouted in less than a week, and they really started to take off.

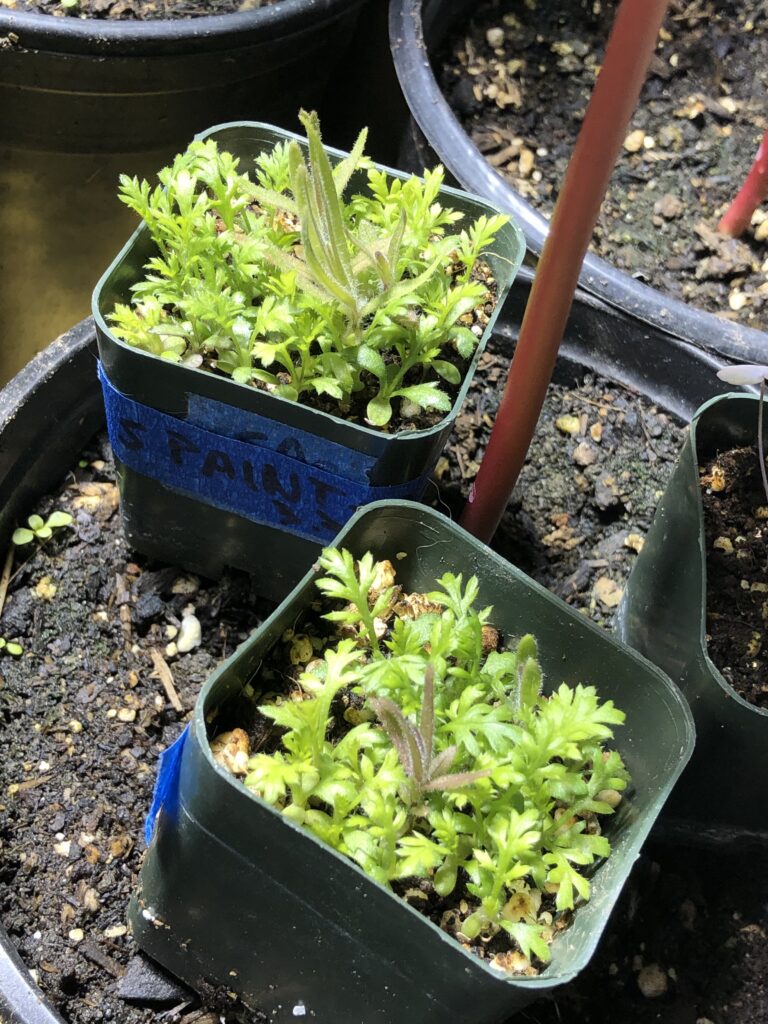
2″ pots of Paintbrush seedlings surrounded by host yarrow, 1 month after yarrow seeds were added.

I up-potted into 4″ and gallon pots over the next two months. I moved them back outside sometime in April, probably late April.

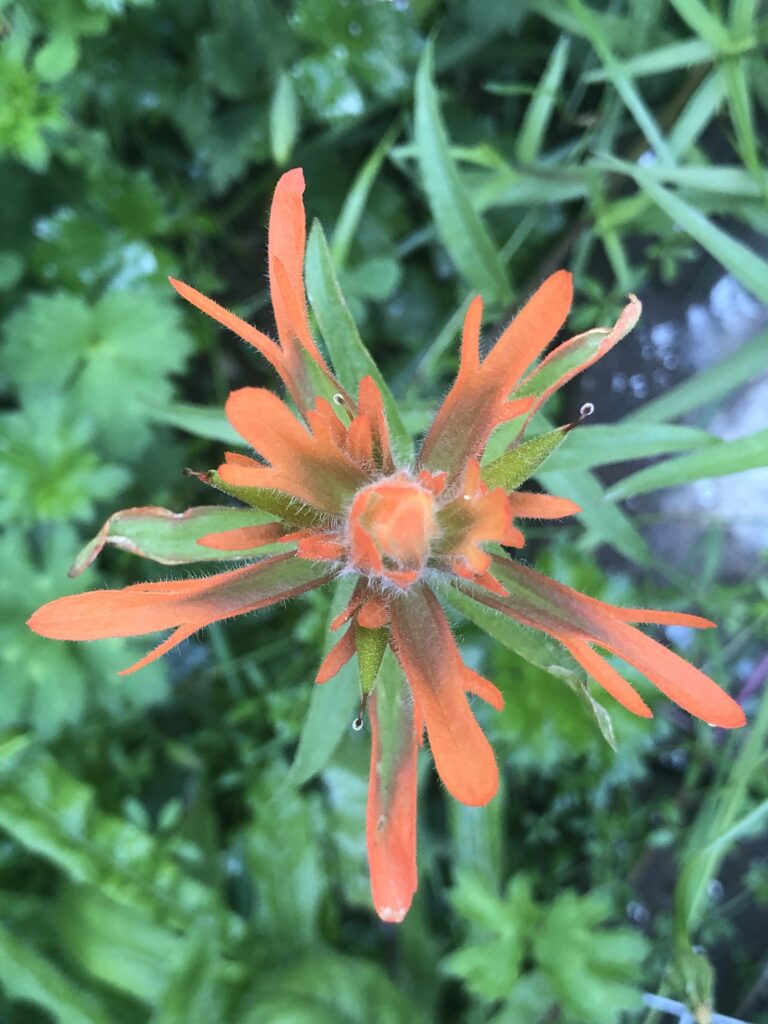
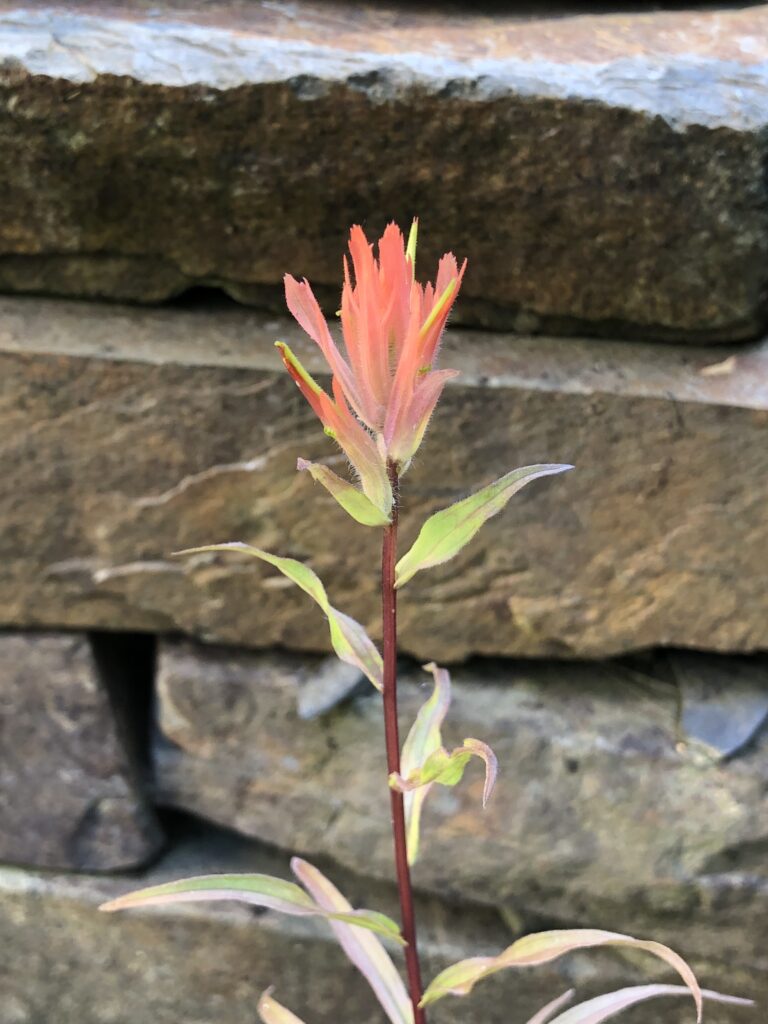
I got my first bloom at the beginning of June!

This was a lovely surprise, because I had thought that I would have to wait until the next year to get any blooms.

As it turned out, most of the Paintbrush plants wound up blooming, probably because of the boost they got from their time under grow lights through early spring.

Another unexpected and pleasant surprise was how long the flowers lasted. That initial flower was still going strong 3 weeks later. I think it lasted a good month.

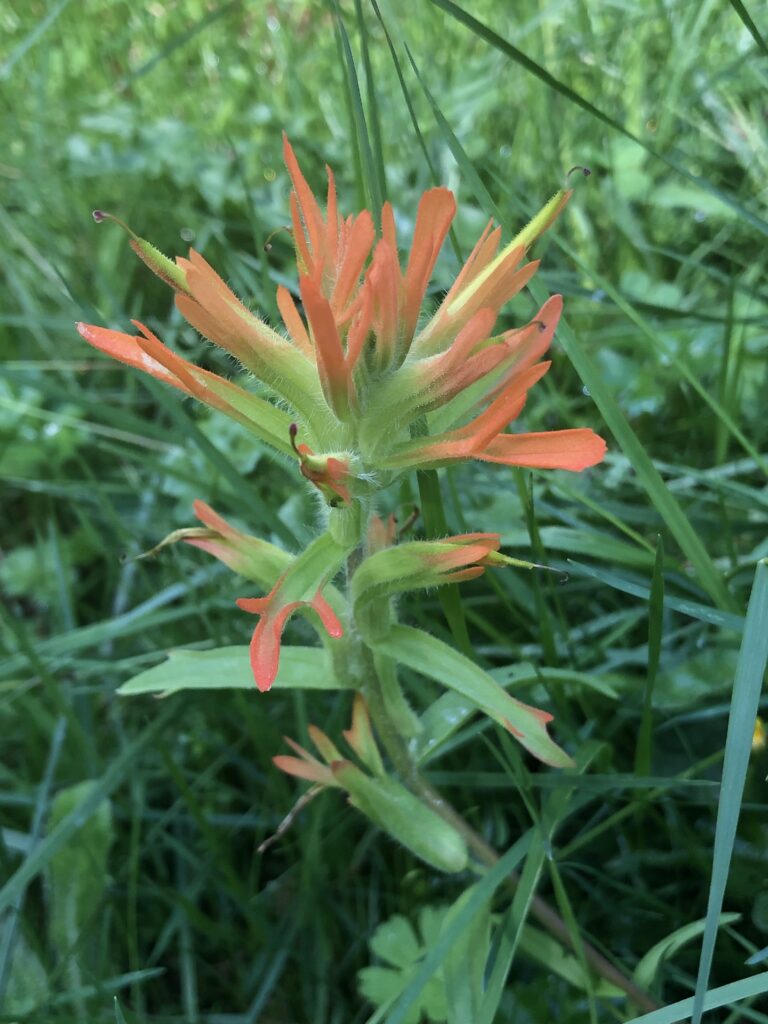
The other paintbrush plants started blooming in late July.

Some paintbrush plants are biennial, some are perennial. I think these are perennial, so I will plant them out in a meadow area this autumn, and hope they come back next year.

One more planting note: these are listed as full sun, but we really don’t have full sun available; the best I could do was 6 hours of direct sun, with shade the rest of the day.

That probably wasn’t optimal, but it was enough to get blooming plants!

Let me know if you have questions! If you decide to give them a try, good luck!

Operation Bee Rescue — Phase II

This is a continuation of the bee rescue adventure.

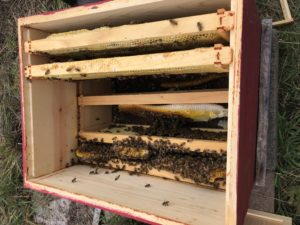
Phase I ended with  wild comb leaned semi-upright in three layers of boxes, with frames interspersed to help keep them semi-vertical (although not oriented correctly). This arrangement allowed us to close up the hive, but was not a good long-term configuration.

The box had all sorts of awkward airspace, and there was no way of removing the upper boxes without wreaking havoc. The whole point of a normal modern beehive configuration is that  all of the frames are hanging, so you can freely pull the upper boxes to reach the lower boxes.

One thing I couldn’t find any good information on was whether honeycomb orientation was critical for brood. Normally honeycomb has a slight downward slant (which makes sense for curing honey). I could imagine it being important for eggs and larva to stay put.

Crazy comb and problematic hive management aside, it seemed very risky to go into winter with comb leaned sideways and upside-down.

The only way to fix the situation was to take the wild/natural comb and insert it into frames. This would allow it to hang in the box with good comb spacing, permitting free bee movement and rendering the hive manageable.

The catch is that frames aren’t really designed to have comb inserted. For it to work, you basically need to cage the comb into the frames. Somehow.

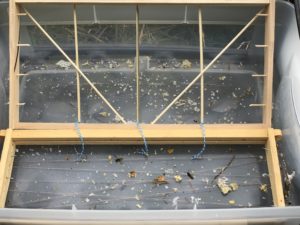
My first “insert comb in frames” attempt used thread.

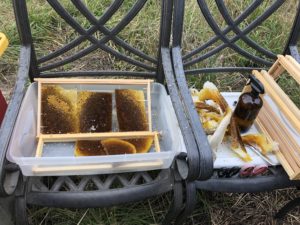
I was able to extract the honey chunks from three combs and insert them. I was working on this Sunday morning, so the bees had mostly clumped up in one corner, giving me easy access to the last three combs (the biggest combs in the colony, which turned out to just have honey… mostly uncapped).

It was a good start, but the remaining chunks are thick with bees (I’m sure they are surrounding the brood comb and — hopefully — the queen), and I need something a bit stouter and easier for the bees to escape.

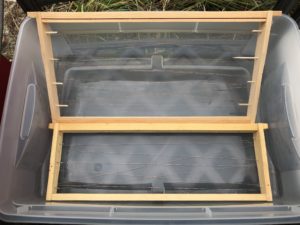
I set up a framework using BBQ skewers, and I think it has a good chance at working…

But by the time I finished, the bees had gotten pretty frisky. It’s partly that it had warmed up, partly that I had been manipulating them, and partly that the yellow jackets had been mooching around the edges.

I’ll try the final critical comb mounting tomorrow morning, when everyone is chilly/slow. It’s a calculated risk, because they will also be all clustered together, but it’s pretty distracting getting dive-bombed — even in a bee suit! That’s how you know I’m not a pro!

I’m very much hoping that when I do the mounting of the brood section, I will see the queen. At this point her status is unknown. Although the bee casualties have been fairly minimal, it is always possible that she got squashed when one of the combs fell. Fingers crossed!

Operation Bee Rescue

The Situation

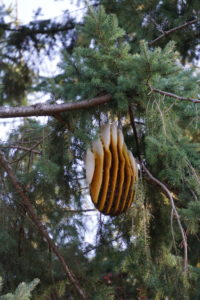
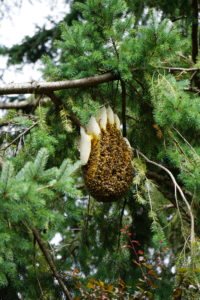
A couple weeks ago we discovered that one of our two hives had split itself (probably in June), and the old queen/half the colony had settled on a Douglas Fir branch about 40 feet up.


When bees swarm, the beekeeper has a limited window to tempt the bees back into an empty box. Otherwise, the bees will find whatever digs are available: hollow trees and house walls are favorites.


Every once in a while, the bees don’t find any good sites, and they stay put in the open. Apparently that’s what happened here.


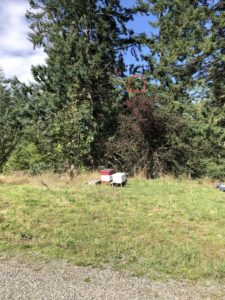
How could we have missed this? Well, although the colony was clearly visible from one vantage, it was masked by the end of the branch from the house. And apparently we don’t inspect our tree line very often. Yes, it’s a bit embarrassing. But would you spot it in this picture? See red circle.


At the time I thought it was neat but sad: neat, because it is amazing to see how the bees build their colony when left to their own devices; sad, because there is no way an exposed colony can survive the winter in our climate (cold + rain + wind = dead bees)… but it was too high to rescue. Or that was the initial conclusion.


Of course, having given them up for lost, our brains immediately started working on how they could be saved. Ladders? No… none of ours were remotely long enough. Climb the tree? Doug Fir branches are made for breaking. Cherry picker? Cherry picker!


We got some tips from friends and called around. A very nice electrician was inclined to help us… but once we got more accurate distance details, they realized their cherry picker wouldn’t reach. They told us that some tree services have big bucket trucks, and gave us a name to start.


That tree service was favorably disposed (the owner has a wild colony in a cedar stump, and they actually tipped it upright when it fell over in a storm… hooray for heavy equipment)… but they couldn’t come until late October.


So we got in touch with an arborist who had worked with us on another project. Conor thought he could do it, and was able to come Saturday morning.


Here was the plan: go up, cut the end of the limb with the colony, bring it down, hang it on an A-frame ladder for better access, and try to rig the whole colony so that it could be settled in a bee box for the winter.


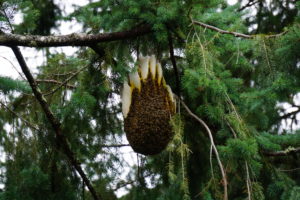
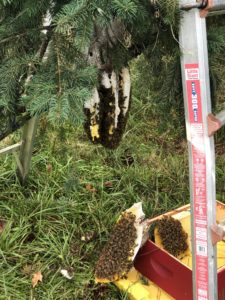
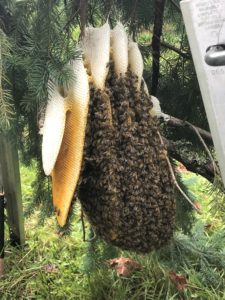
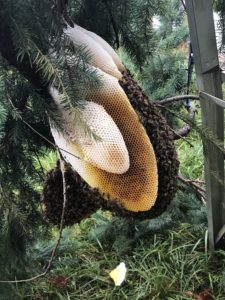
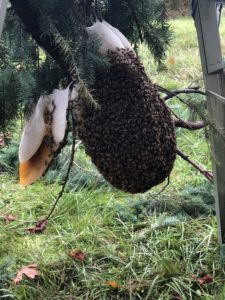
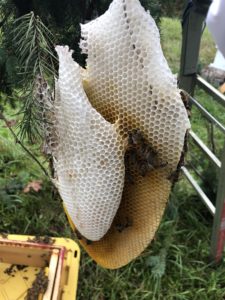
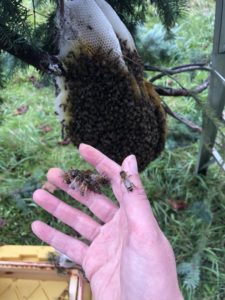
Before we get into what happened, here are a couple pics of the colony that I got with my telephoto. The picture where all the comb is showing was taken first thing in the morning, so they’re huddled in for warmth. The picture where there is a big ball of bees on the bottom was taken in the middle of the day, so they’re working and protecting the nest.


Phase I

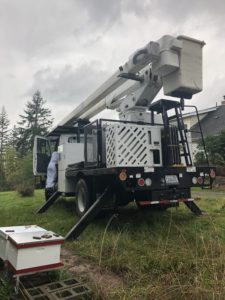
Conor showed up with his bucket truck (I missed the technical name, but it has a 2 part hydraulic pivot that can lift a small basket up to 50 feet). We spent a few minutes sorting out the plan, and by 9 a.m. he was suited up and ready to go!


Since he had to go up solo, the plan was for him to cut the branch, holding it as best he could, and then bring it down to me. Two people would have been ideal, since with one person there was no way to hold the branch stable.


Here is his final approach up to the colony and the cutting of the branch (click links for video).


The branch twisted down pretty sharply, which did not help comb integrity, but it all held together!… at least temporarily….


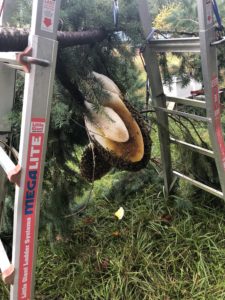
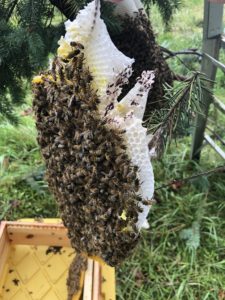
He brought it down and handed it down to me. Probably about 40 pounds, but most of that was branch. I was able to get it on the ladder, although a bit crooked initially.


The comb survived the whiplash of being cut, but was a little the worse for wear.


Note the bend in the comb, and the dangling comb on the left side. It was hanging on by a tiny little twig. It couldn’t last.


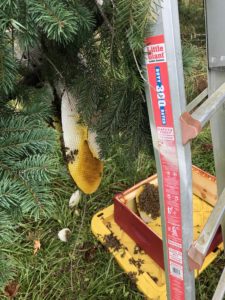
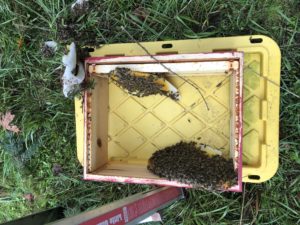
While I was bustling around getting a box and seeing Conor off, the dangler fell off. In this shot I have scooped it up and leaned it in the box.


Another comb was coming loose!


I carefully snipped this comb off before it could collapse (the only controlled comb removal in the whole thing, unfortunately). Here is the comb, all ready to go in the box (both sides).


Here it is in the box. Not a good long-term solution, but ok for starters….


And then another comb fell off! Note comb now leaned on exterior of the box. So much for lovingly boxing up the whole comb unmolested. I hadn’t realized how fragile wild comb would be, especially in cool weather.


Fortunately the bees were confused but not aggressive. I couldn’t wear gloves, because I needed to be able to gently lift the comb.


Here are the combs that fell off, all tucked in snugly.
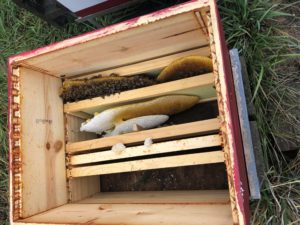
Still, a few combs left! I got the colony level — more or less – and stuck with the plan of taking them intact.
Narrator: she should have abandoned the plan.
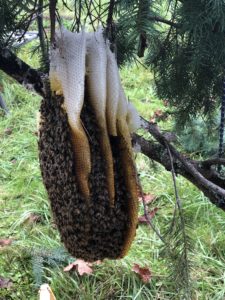
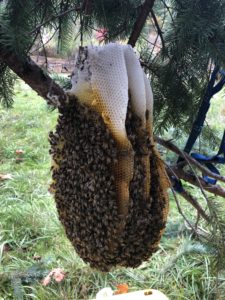
     

In order to get the rest of the honeycomb free, I either had to cut the branch or break the comb. In retrospect, I should have broken the comb… but instead I decided to cut the branch.

Rob was working, but Mom and Dad were visiting for the day, so Mom held the branch stable while I made the cut.
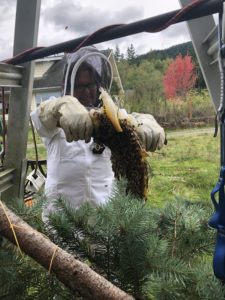
Shortly before the cut, the other two big combs sloughed off, and I added them to my growing box of traumatized bees.

Phase I closed out with the pieces of comb tucked into three layers of hive, with commercial frames as spacers.

The good news was that the colony could then be closed up, safe from yellow jackets and weather. The bad news was that there was way too much air space, the hive would be completely unmanageable with the chunks of wild comb propped up here and there, and most of the comb was either upside-down or sideways.

Since the original plan of keeping the colony intact didn’t work out, we needed to wait until things quieted down, and then try to insert the comb into frames. See Phase II!
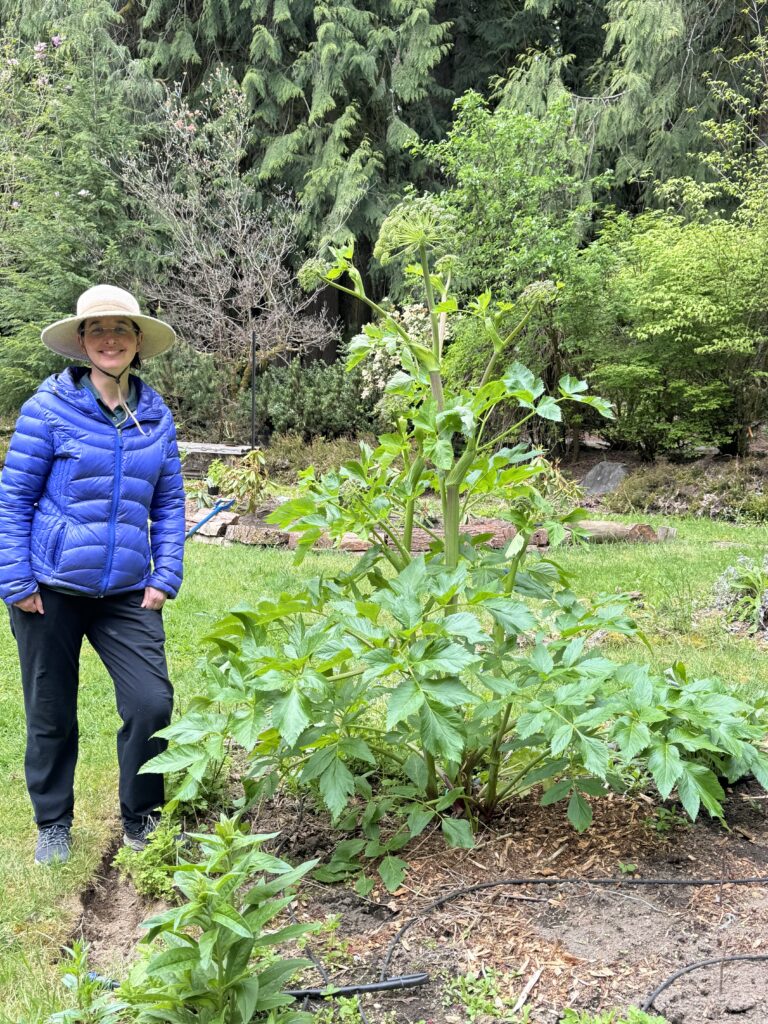


Happy Equinox!

It felt like mid-spring today, and has been feeling like spring for about a week now.

It was a long time coming, though! After a very mild December and January, February came down like Thor’s hammer.

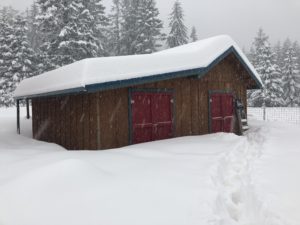
We got almost three feet of snow over about four days.

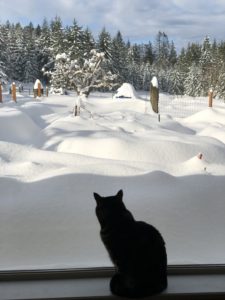
The kitties were not amused.

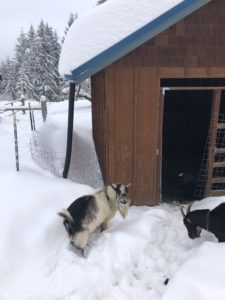
Nor were the goats.

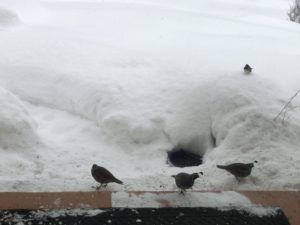
Nor were the wild birds. I had to spread seed on the porch, because the snow was so deep and soft. We even got a family of quail coming by!

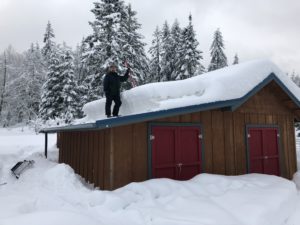
Nor was the Rob. He was quite worried about the roofs, and whether our smaller structures would be able to hold the weight.

Even once the snow was off the roofs, the snow barely melted until last week — it just compressed, and compressed, and compressed, but with a freeze every night it was excruciatingly slow.

About a week ago the temperatures bobbed above freezing and stayed there.

And finally, finally, the snow receded.

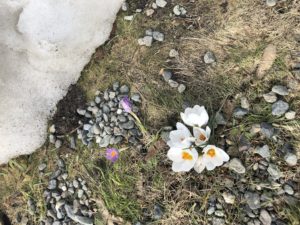
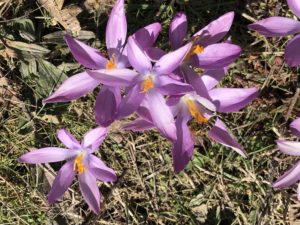
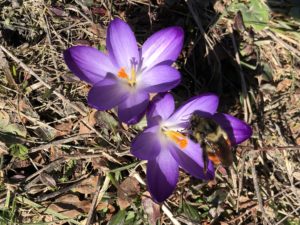
There is still snow, especially in the shade, but the crocuses are in full bloom, and the bees are out enjoying them!

Happy spring!

Fimbulwinter

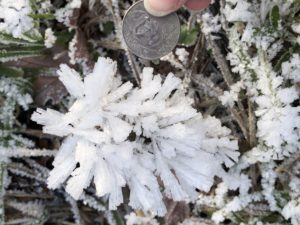
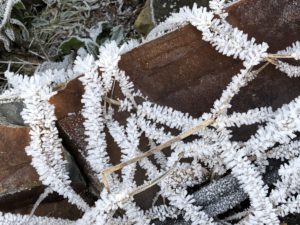
A fourth hard freeze in a row, without an intervening thaw, has our landscape covered by delicate ice crystals. Each day they get a little bigger.

Today, for the first time, I felt that a sense of scale was needed.

This is not false scale. The ice crystals really are that big — although admittedly these were some of the largest in the landscape.

They grow very differently on different surfaces, which makes for some neat contrasts.

It is also fun to observe day-to-day changes.

Here is the day three comfrey frost versus the day four comfrey frost.

Comfrey frost, day 3

Comfrey frost, day 4

In principle they are the same, but all the ice crystals are just a little bigger, a little more compounded.

I am enjoying the frost, but I’m also looking forward to the thaw we’re expecting tomorrow afternoon. The layer of ice and the cold are hard on the wildlife.

I put the hummingbird feeder back out on day 2, and two hummingbirds are still around. I had to thaw the feeder out mid-morning today, which gives some sense of just how frigid it is, given that hummer water is usually good down to 27-28F.

Soon it will be back to rain.


Compounding Frost

We have had three days of heavy frost, without an intervening full thaw.

The frost-on-frost makes the lawn look like we’ve had a light snow.

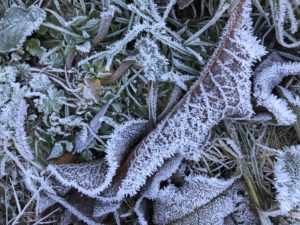
However, instead of snow, the white is caused by millions of tiny ice crystals grown directly on the plant material. Crystals 1/4 inch long are common. Certain grasses seem to be especially good seed material for the ice crystals.

Plants that are aren’t quite as good a foundation material make for more interesting structures, since the frost can grow well on part but not all.

I especially like how the frost looks on the sword ferns.

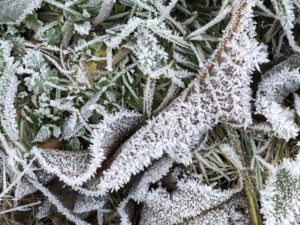
The patterning is also more visible in slightly more sheltered areas. This dead comfrey leaf shows the wonderful variability of frost growth.

We’re expecting one more frosty morning tomorrow. With each subsequent night the frost gets bigger, but some of the definition is lost. Pretty soon we’ll be lost under a forest of ice crystals!

Heavy Frost

We had a very mild autumn, but last time we got our first truly hard frost. It went down to 27F last night, and the humidity was high enough for some fairly spectacular frost this morning.

Frosty lupin
Frosty lupin

Frosty chard
Frosty chard

Frosty stone, with the angles of the stone defined by needle-like ice crystals.
Frosty stone: I think that because it was a smaller stone, slightly elevated from the wall, it became a good cold surface for growing frost.

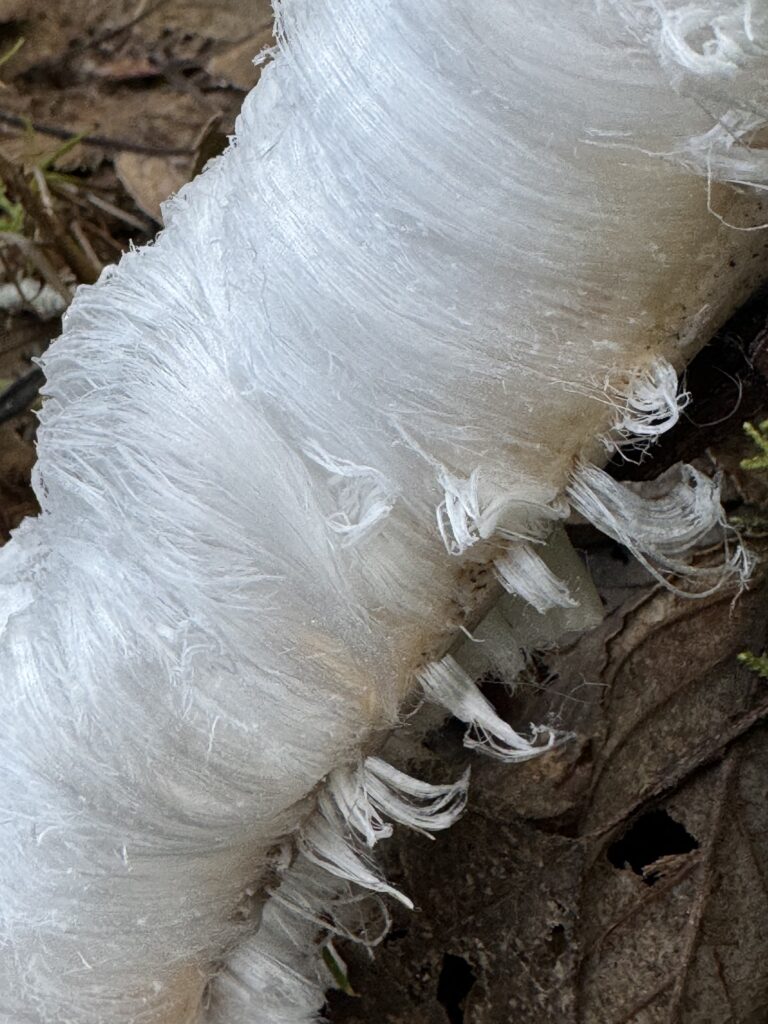
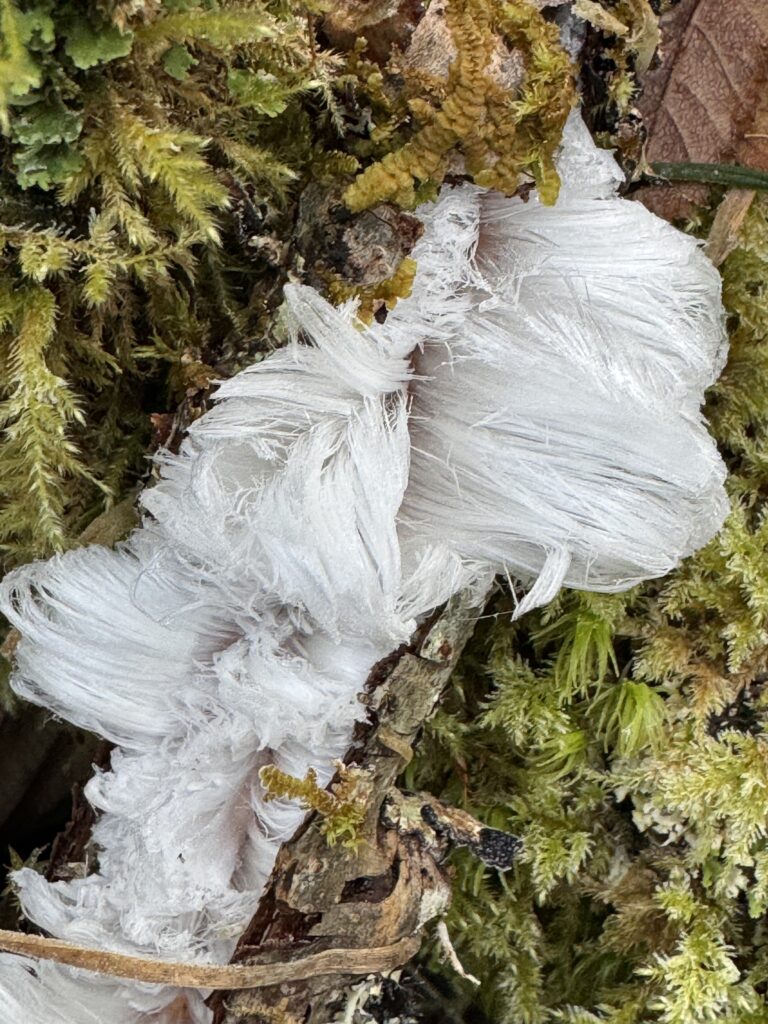
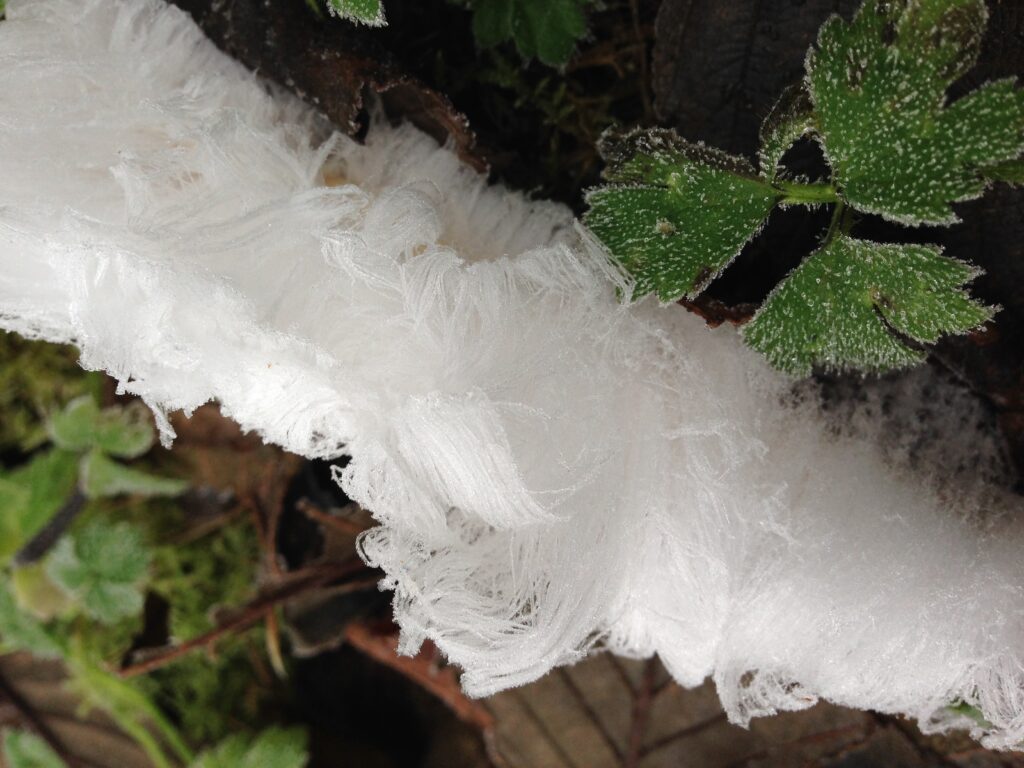
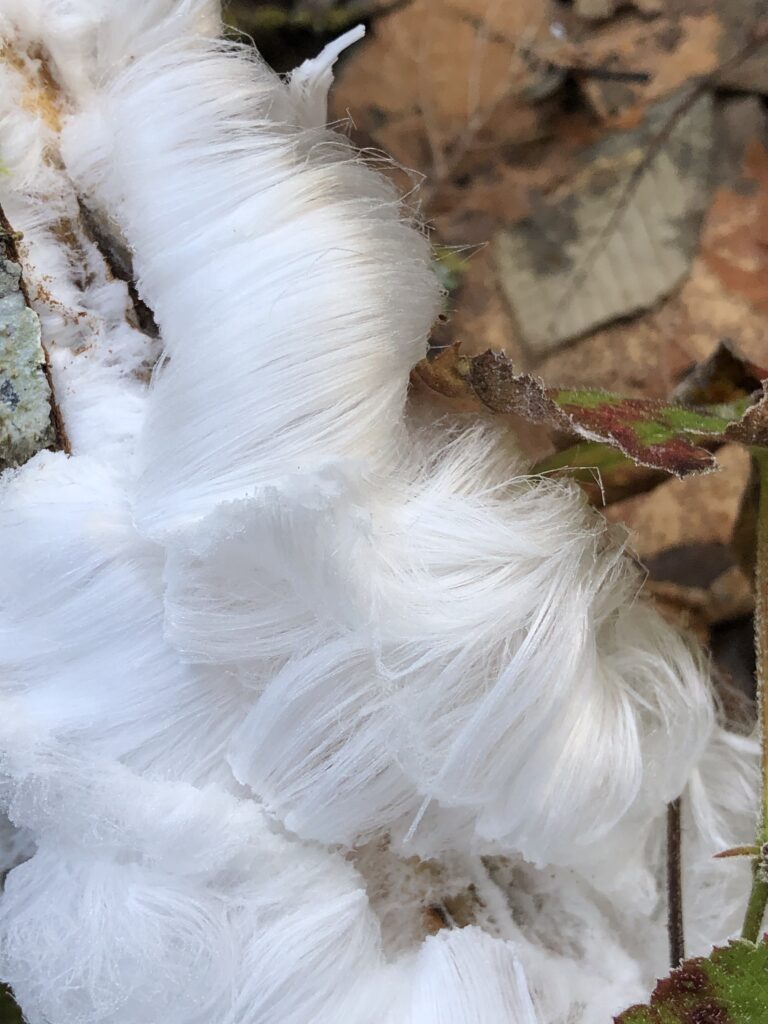
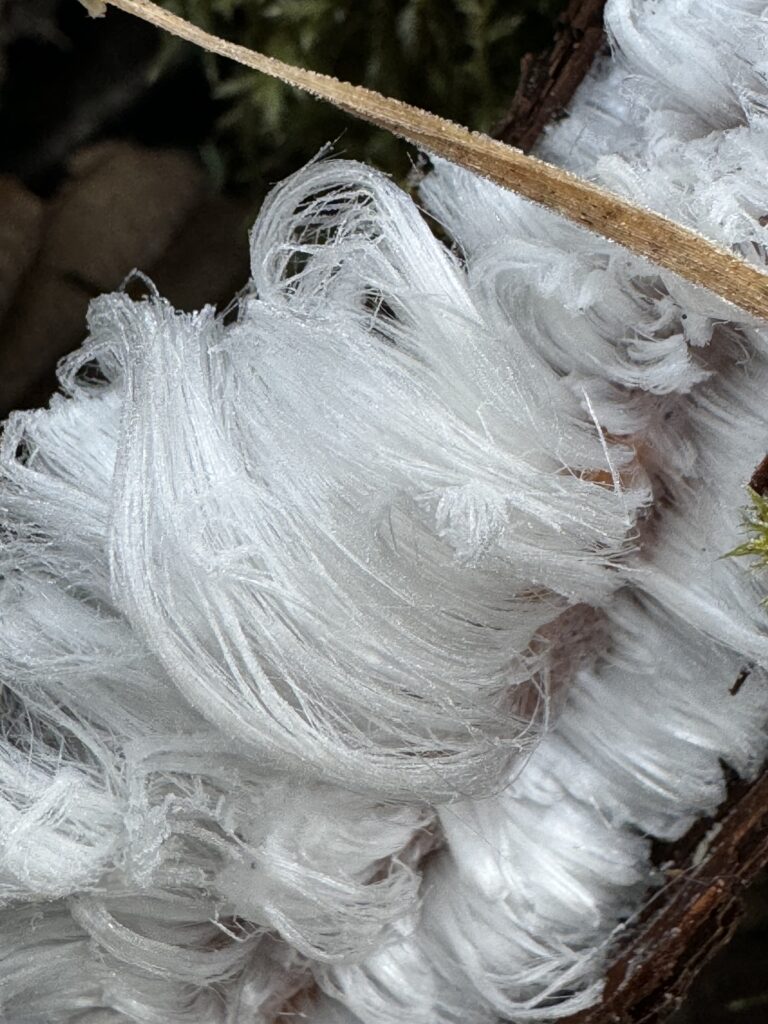
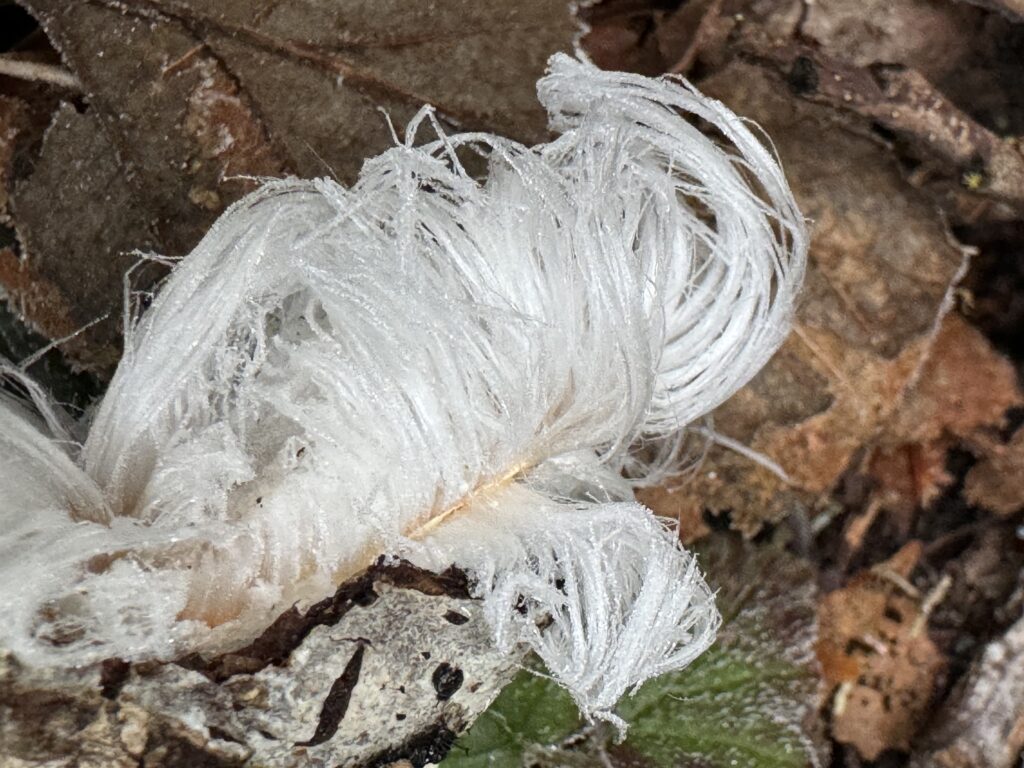
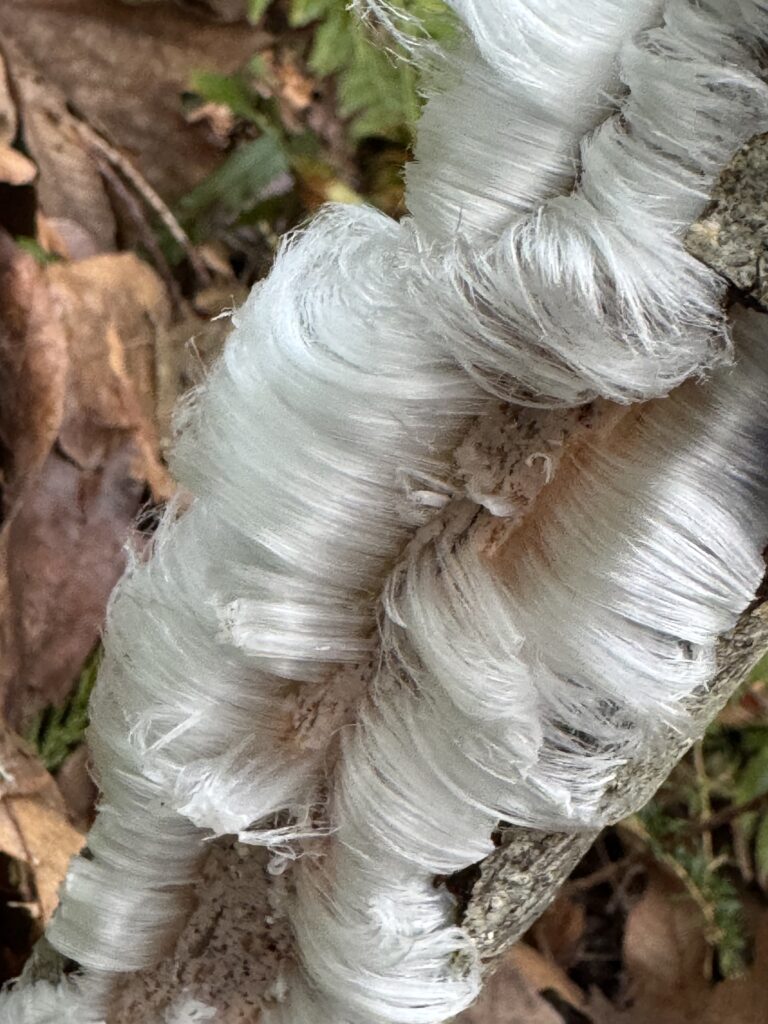
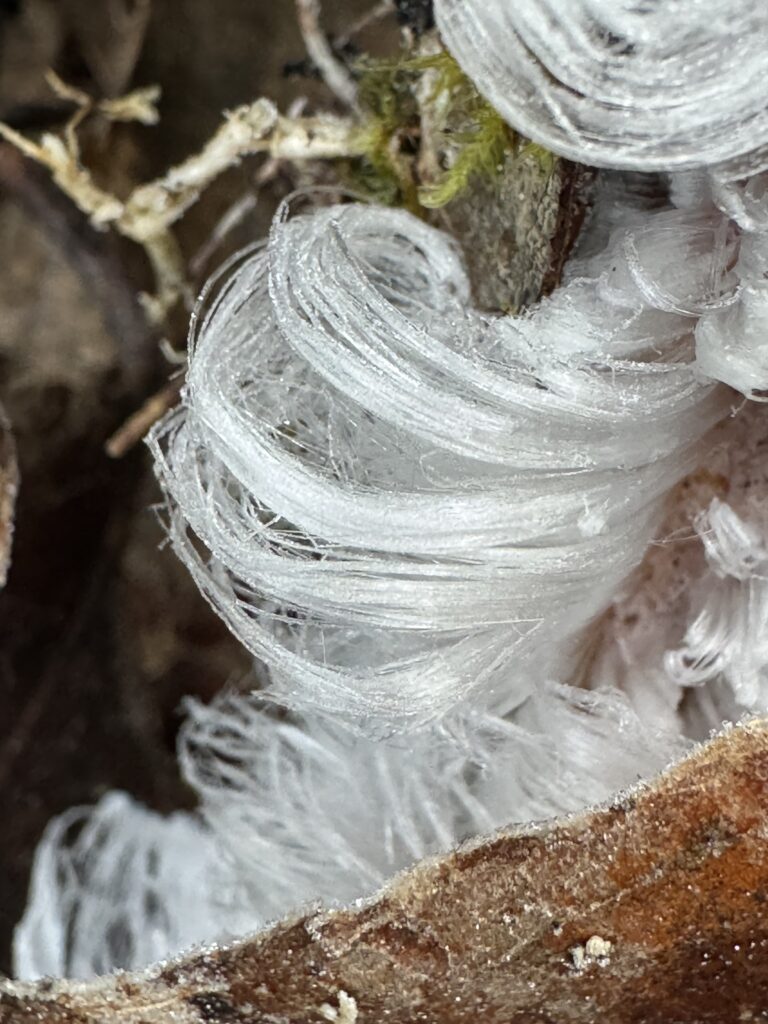
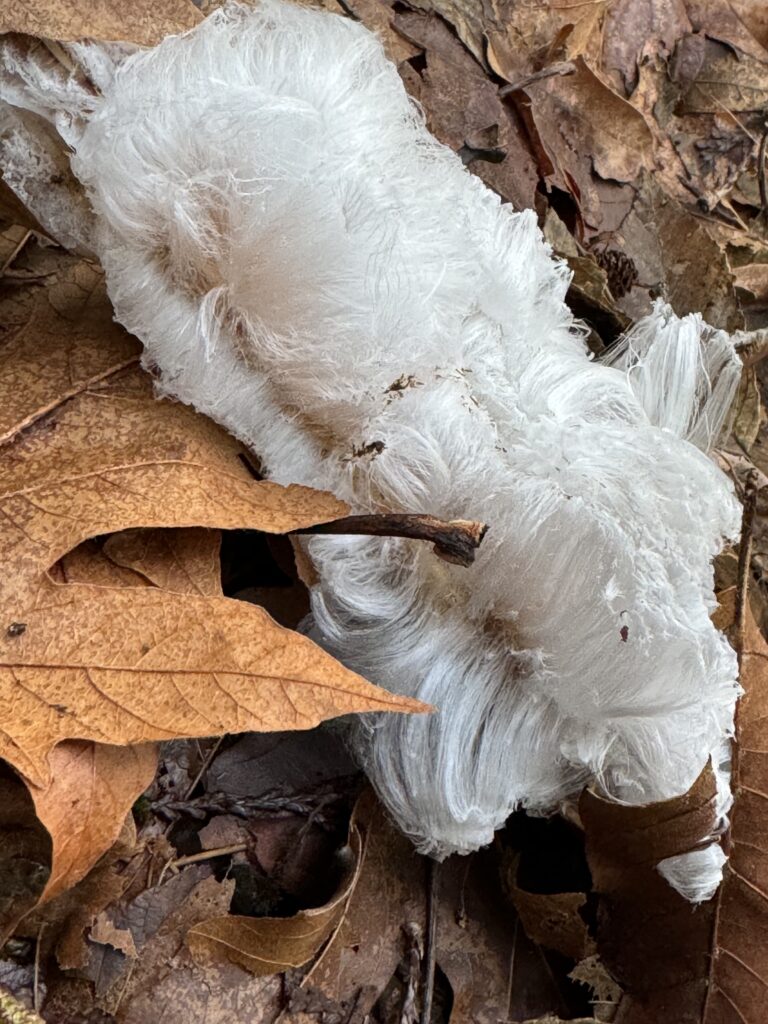
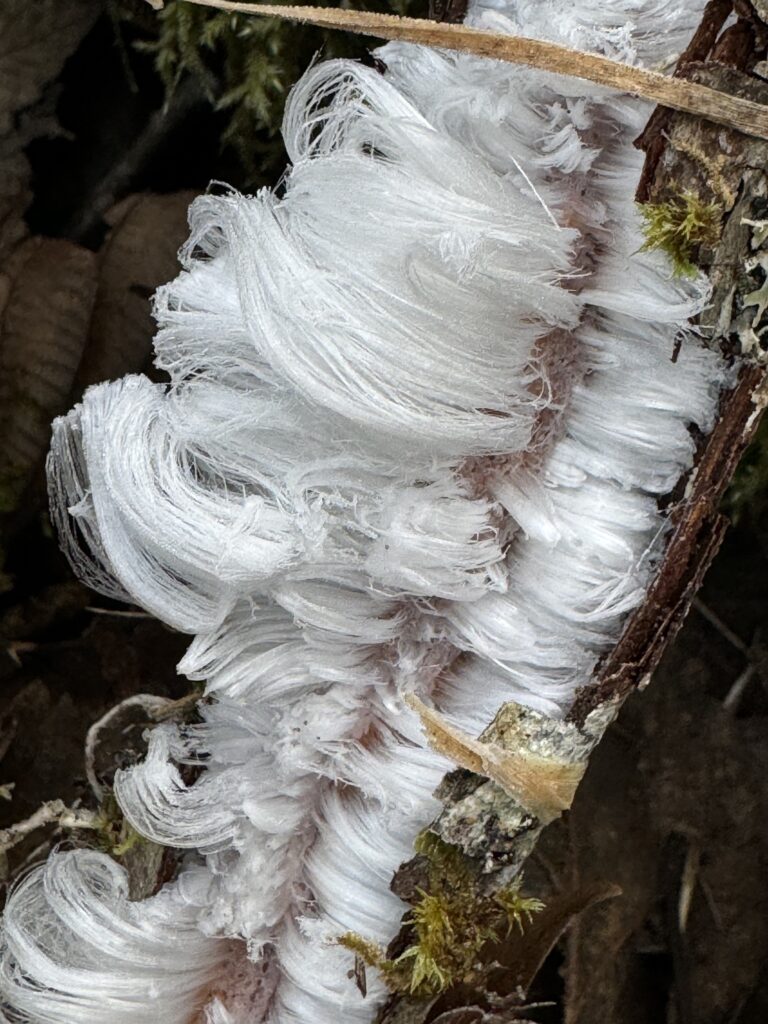
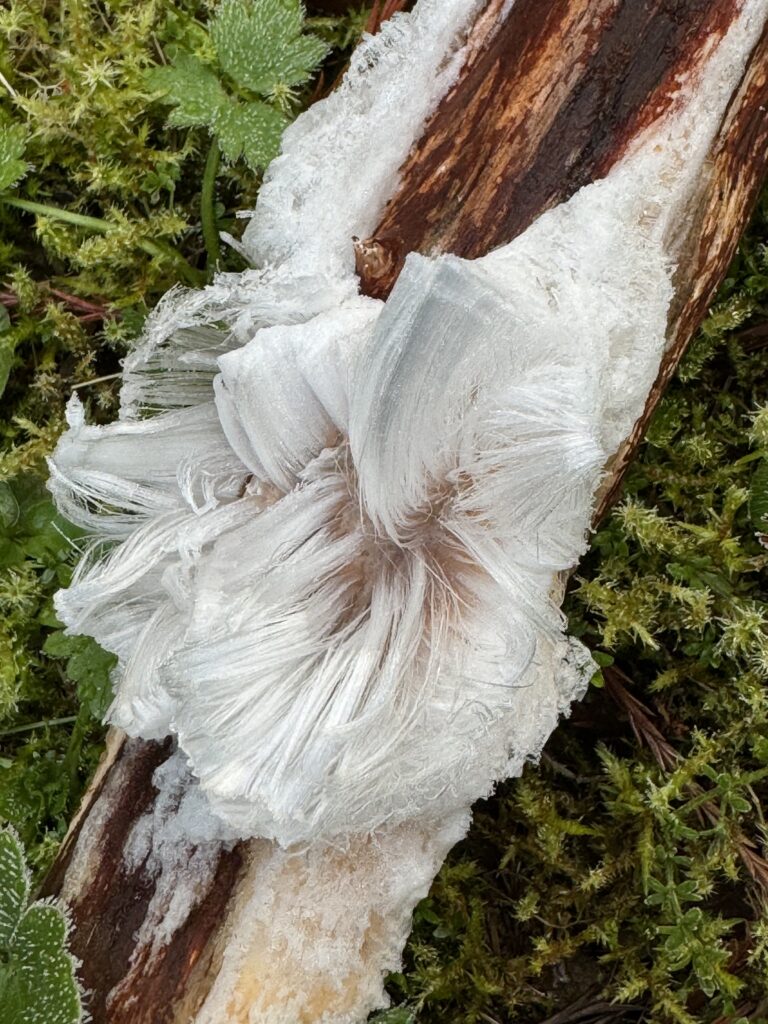
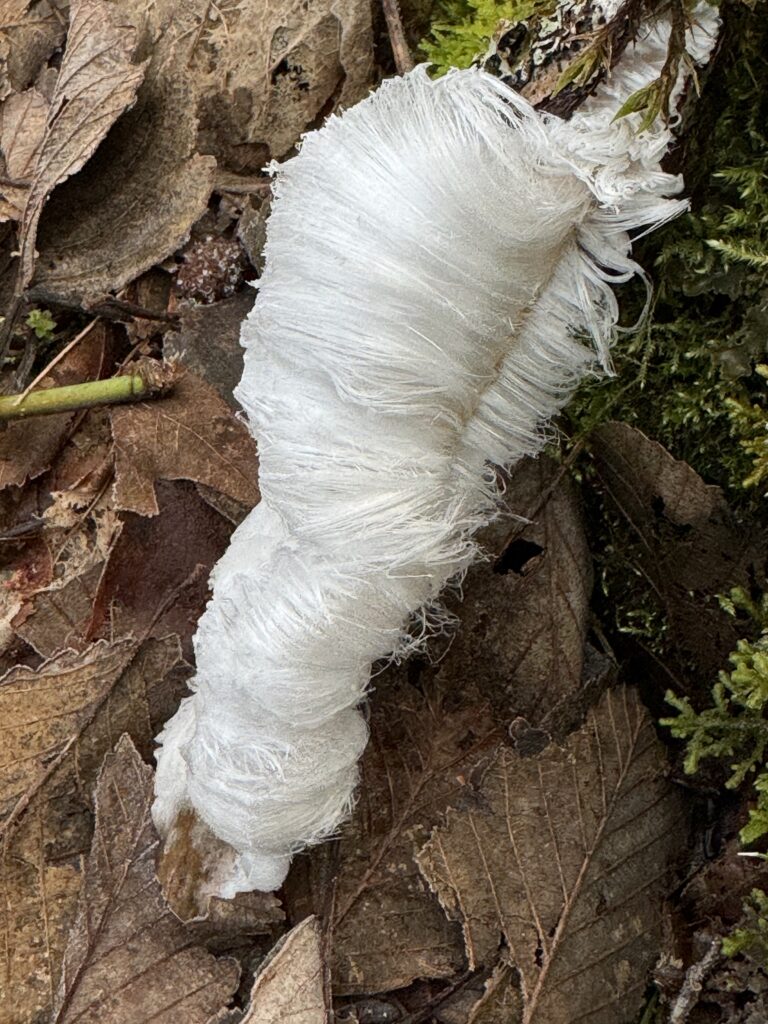
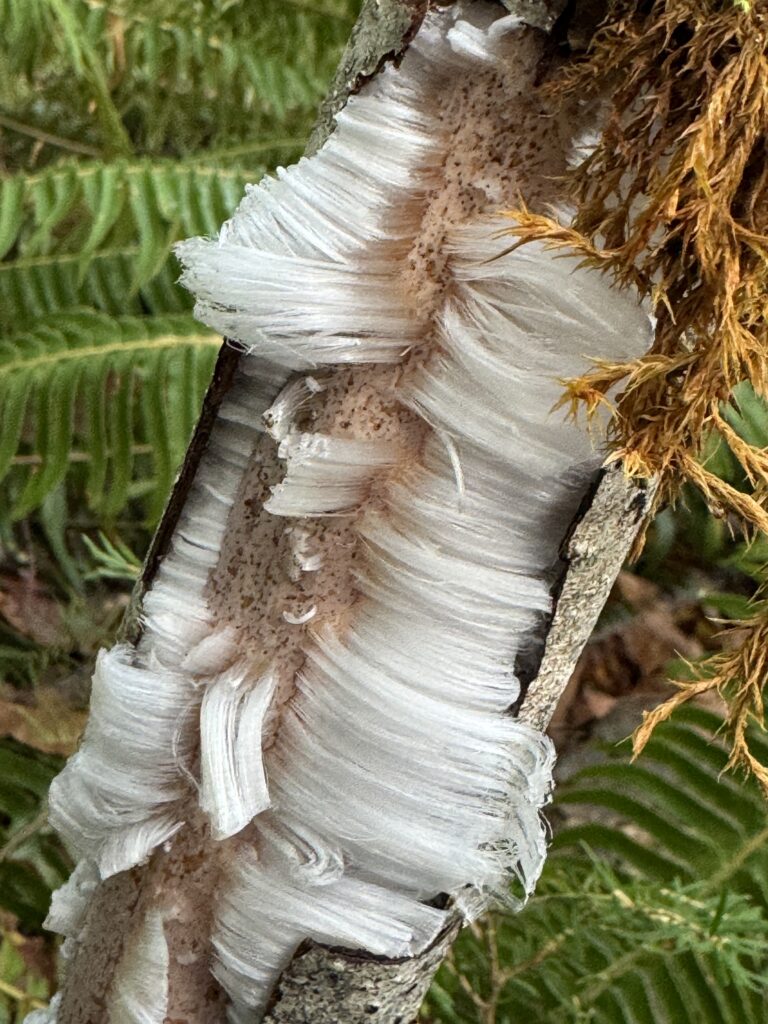
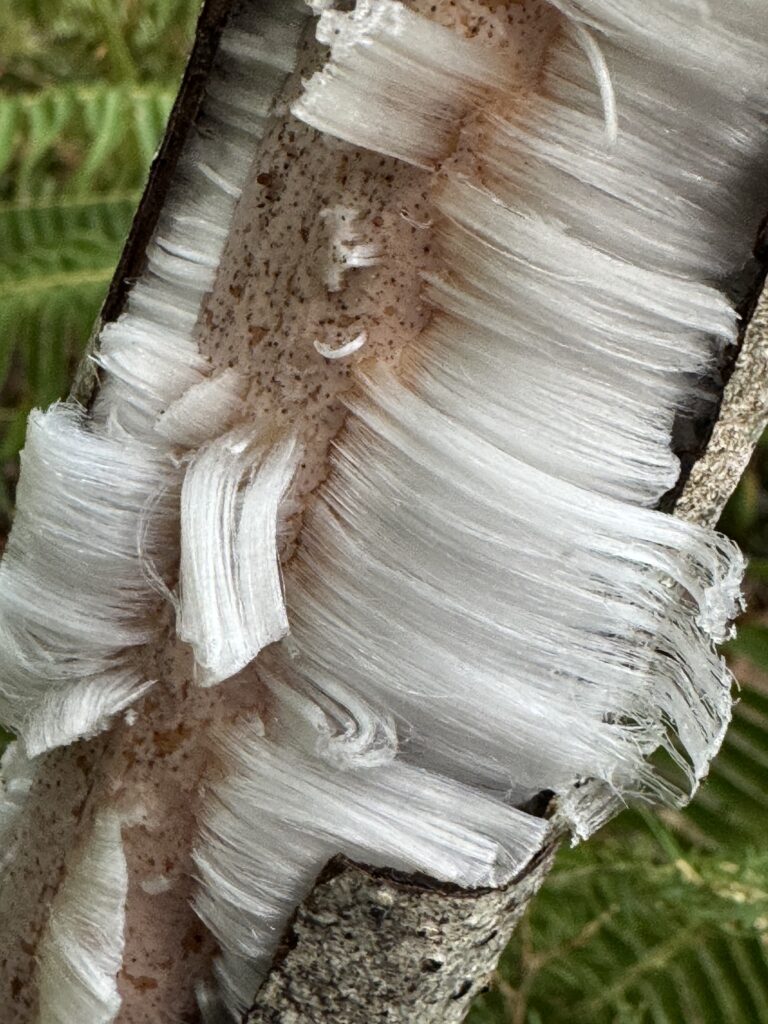
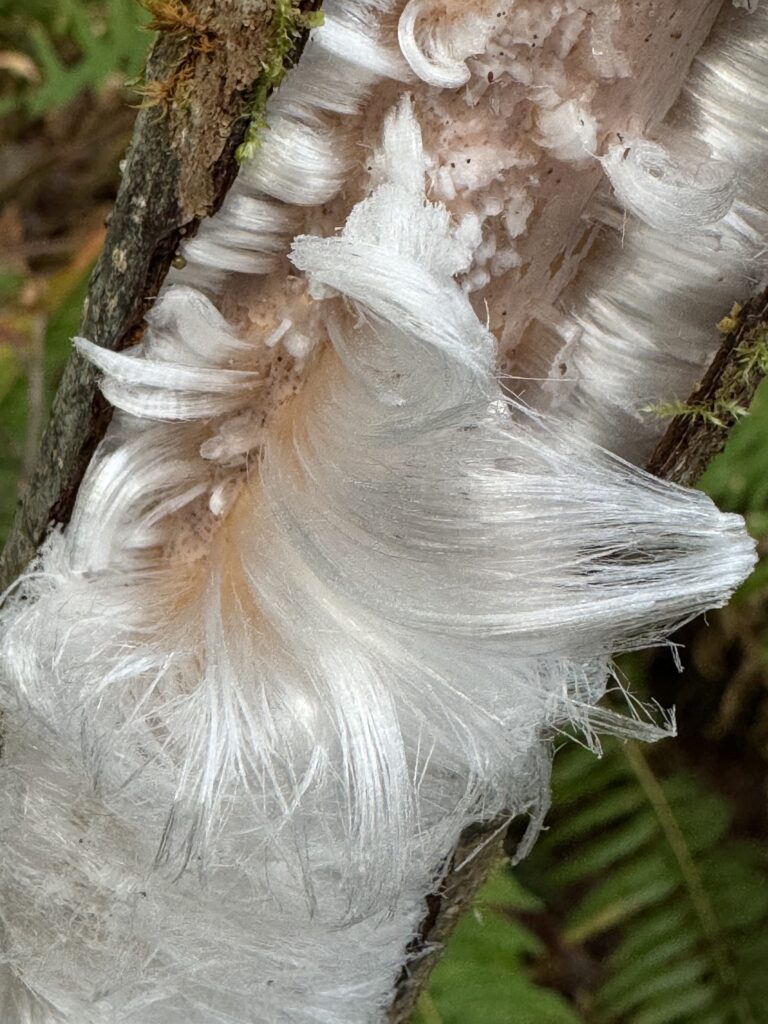
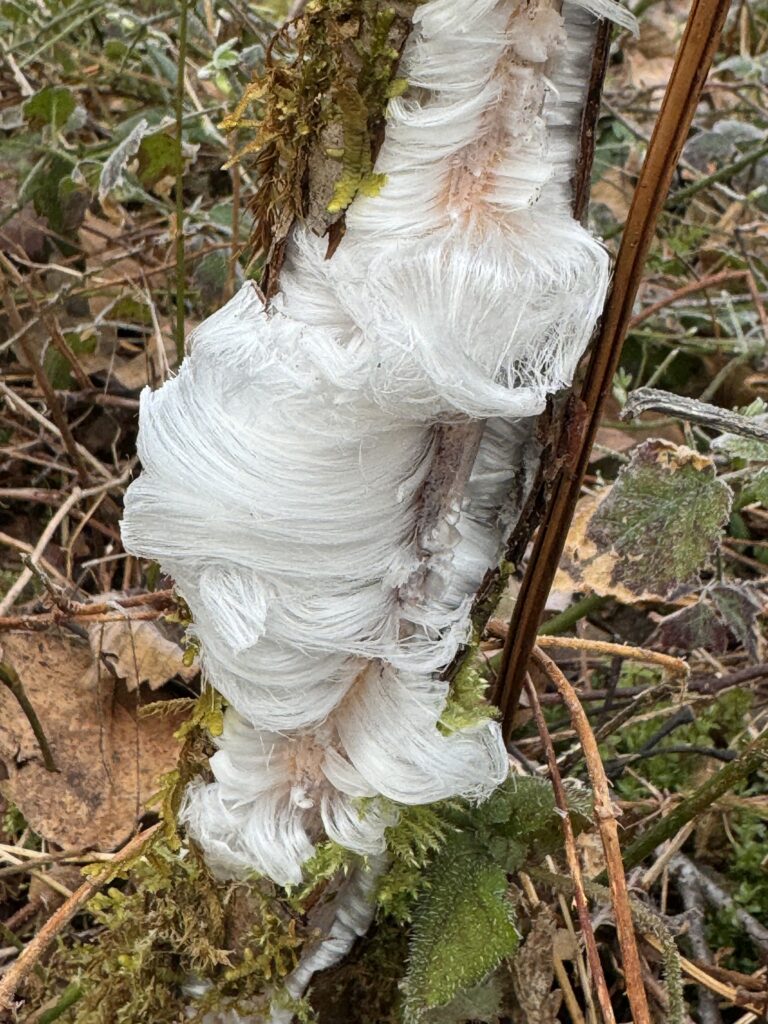
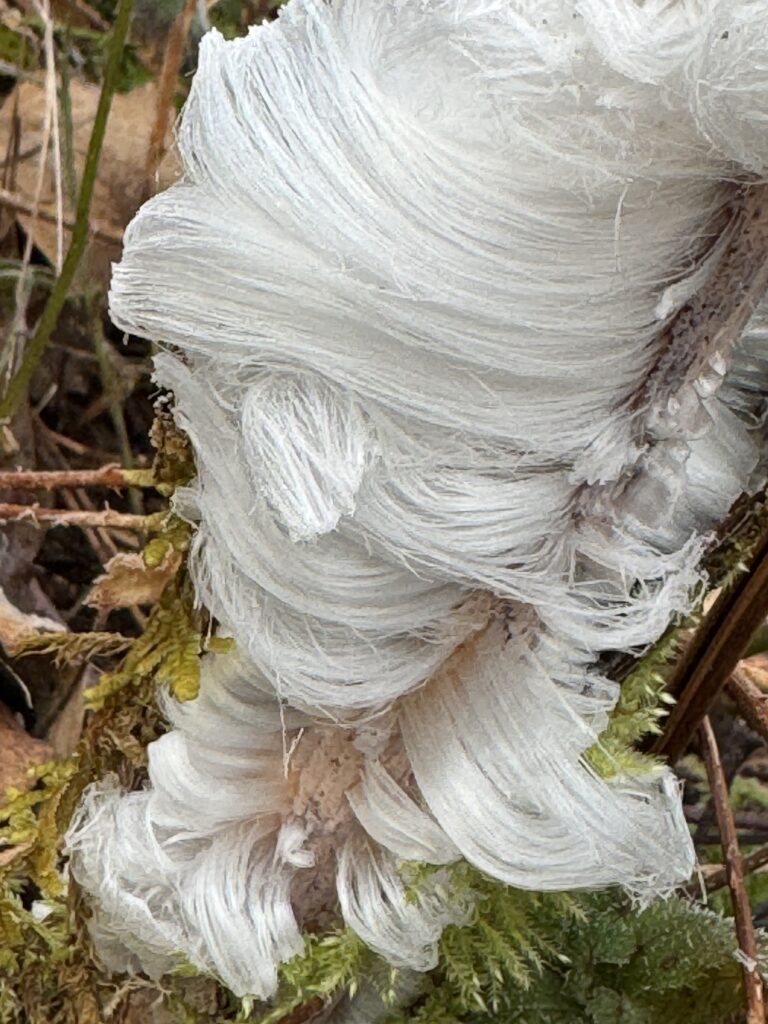
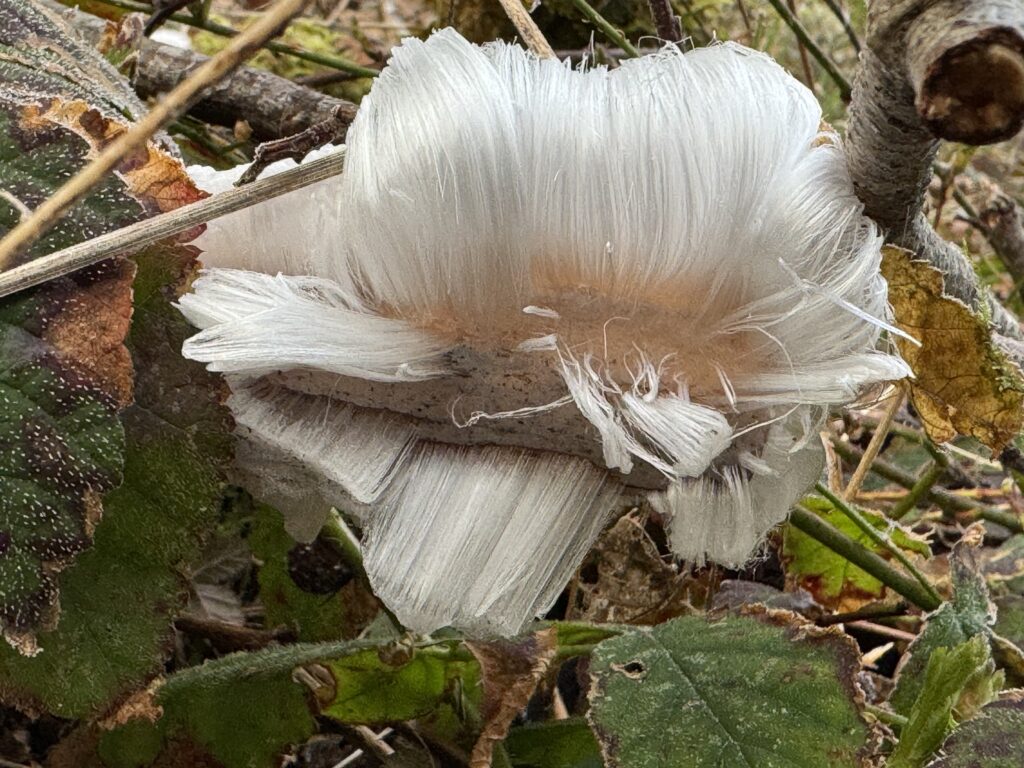
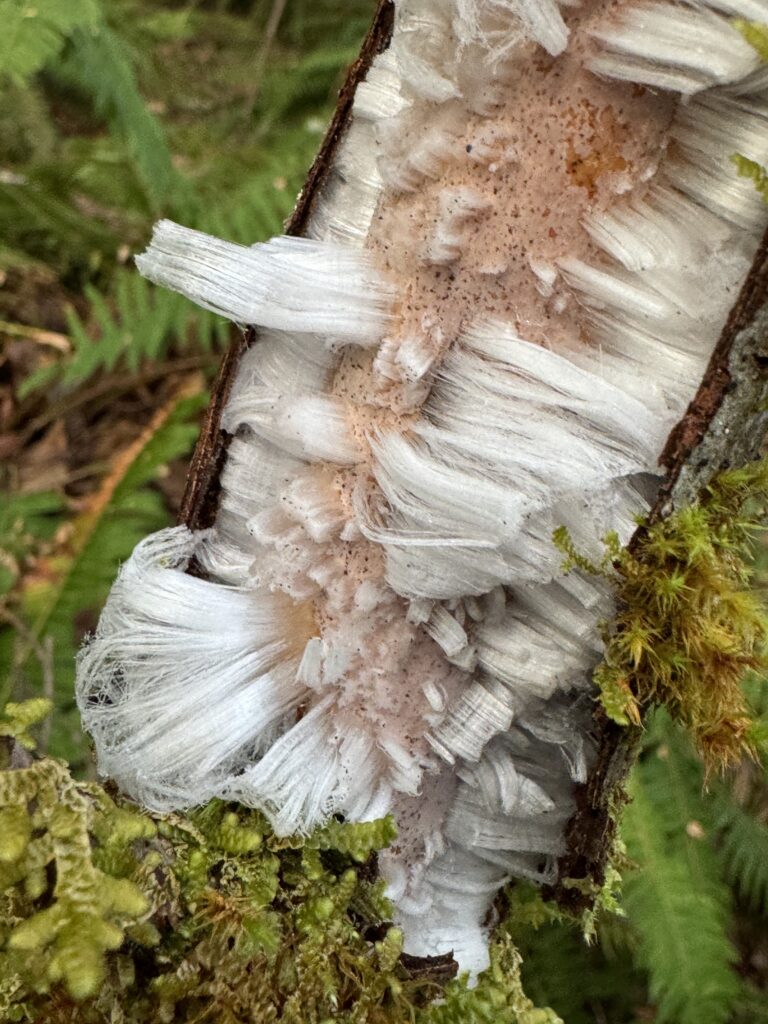
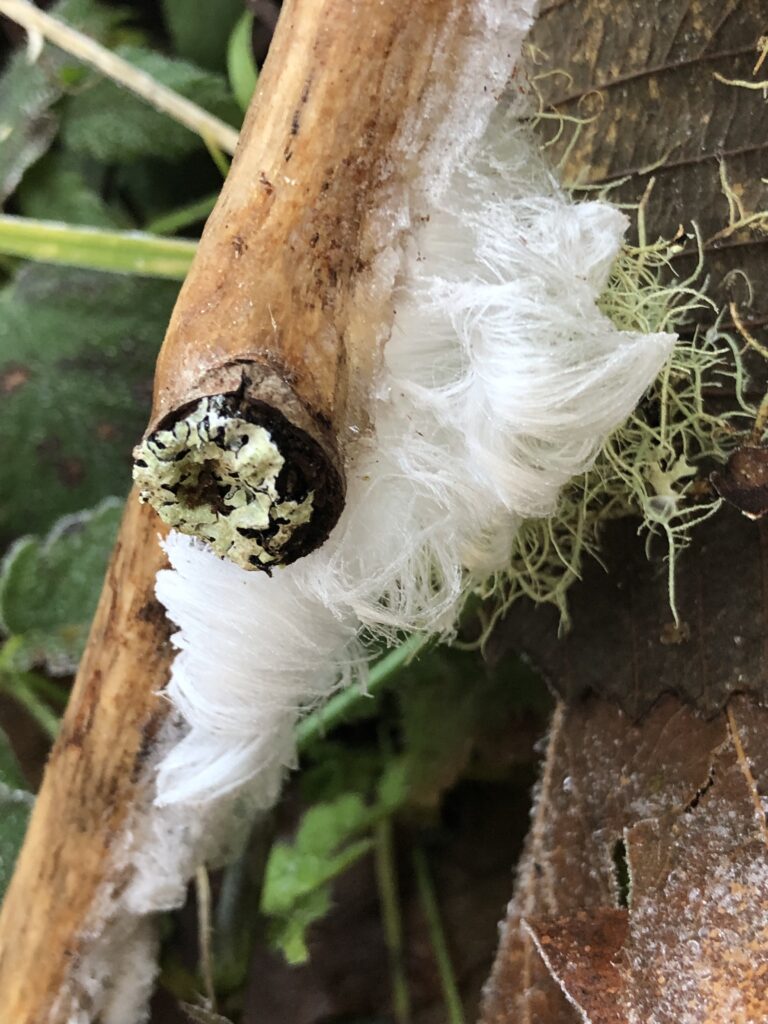
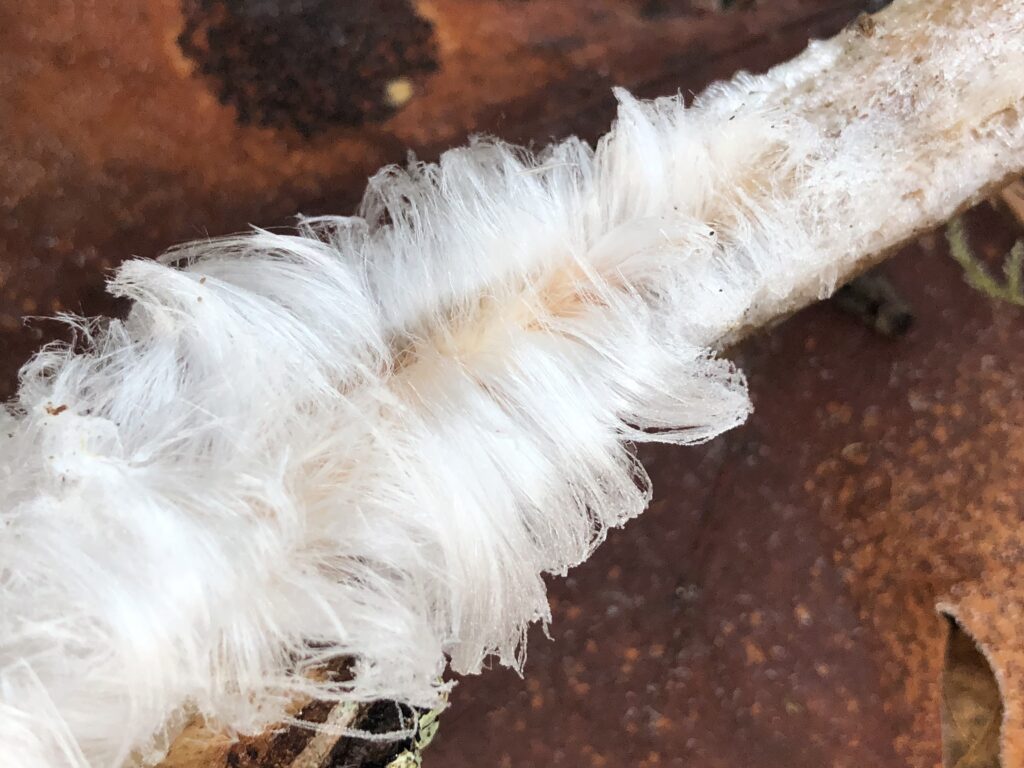
In addition to the lovely gallery of Jack Frost’s work in the garden, there was a special treat close to the road: a frost flower. These are formed of fine tendrils of ice extruded from dead/rotten sticks when conditions are just right. It requires the perfect combination of temperature, moisture content, and pores in the wood.

This isn’t an especially spectacular example in terms of form, but the hair-like crystals were close to an inch long.

Frost flower
Frost flower

Frost flowers can be very beautiful. This is one we saw near the Elwha River almost four years ago. It was one of more than a dozen frost flowers we saw at that location, and the most picturesque. It was the first time we had ever seen them, and the conditions at the old campsite must have been perfect to have so many in one spot.

Symmetrical frost flower (actually looks flower-like)
Frost flower taken 1/3/2015 near the Elwha River

Old Man in the Mist

It was a very misty day here, which really set the Old Man off nicely.

The “Old Man” is a plum tree that faces our house. We think he is probably almost as old as the house, so likely going on 100.

He is wonderfully gnarled and covered with lichen, and in August he bears lovely little golden plums.

Persistence

The garden has mostly lapsed into its winter slumber. The final holdout is humble borage, beloved of bees and hummingbirds.

November Borage

Borage is not flashy. Its flowers are unusual, but you have to look closely to appreciate them. However, they start blooming in April here, and I fully expect a few of these hardy plants to be blooming at the start of December.

Given the importance of persistence in both writing and life in general, I aspire to be not like the lovely lilies or roses, but like the borage.

A little odd, but giving sustenance in lean times, and enduring until the very snows.

The Totality: Impressionistic

The landscape fell into shadow, as if night came in from all directions at once. The air grew chill.

The sun still blazed high — and then it was snuffed, a bottomless emptiness where it should have been, ringed with a feathered halo of white fire streaming away into a deep twilight sky.

Around the horizon was a pale band, as if the sun was rising from all directions at once.

This, then, was the end of the world.

DSC00847

DSC00849

For a more complete and less evocative description of the eclipse, please go here.