Category Archives: Uncategorized

Operation Bee Rescue — Phase III

This continues (finishes?) Operation Bee Rescue.

This morning I went in for the final comb->frame transfer and queen search.

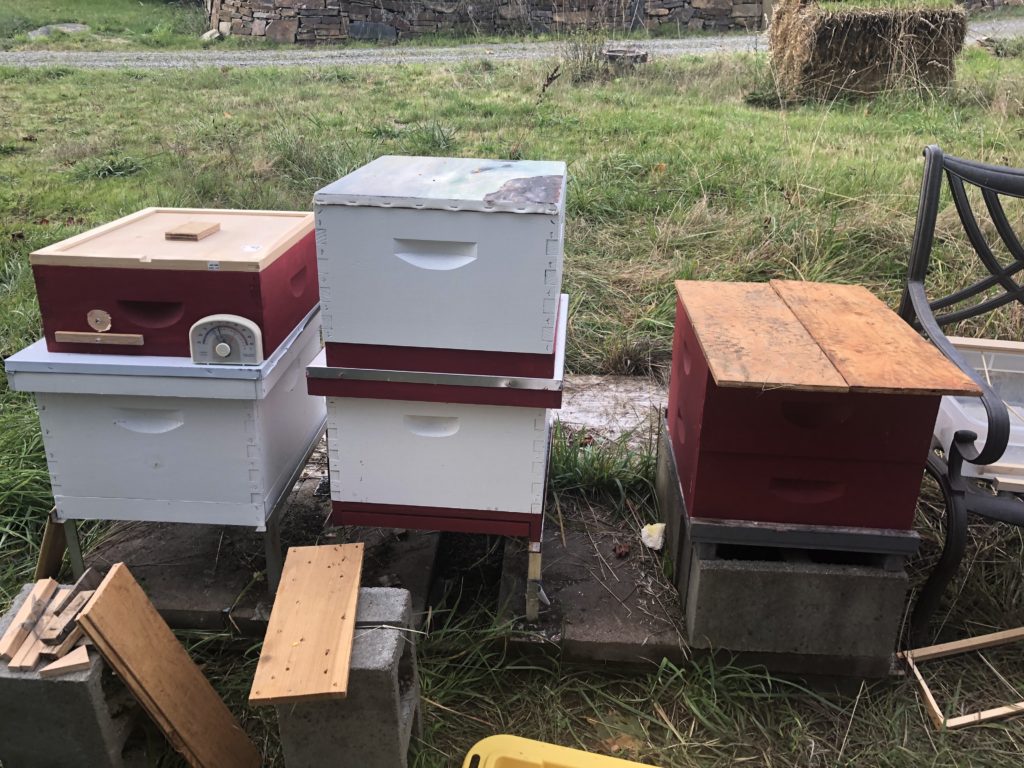
About half an hour before I started, I moved what bees I could to other boxes and closed them up. I was trying to minimize the number of bees who would be getting excited. I stacked the temporary boxes on the adjoining hives’ lids for easy access.

I started at about 9 a.m., with a temperature of about 45 degrees. That’s cool enough that the bees weren’t active, but warm enough not to endanger them (especially with a nice day forecast).

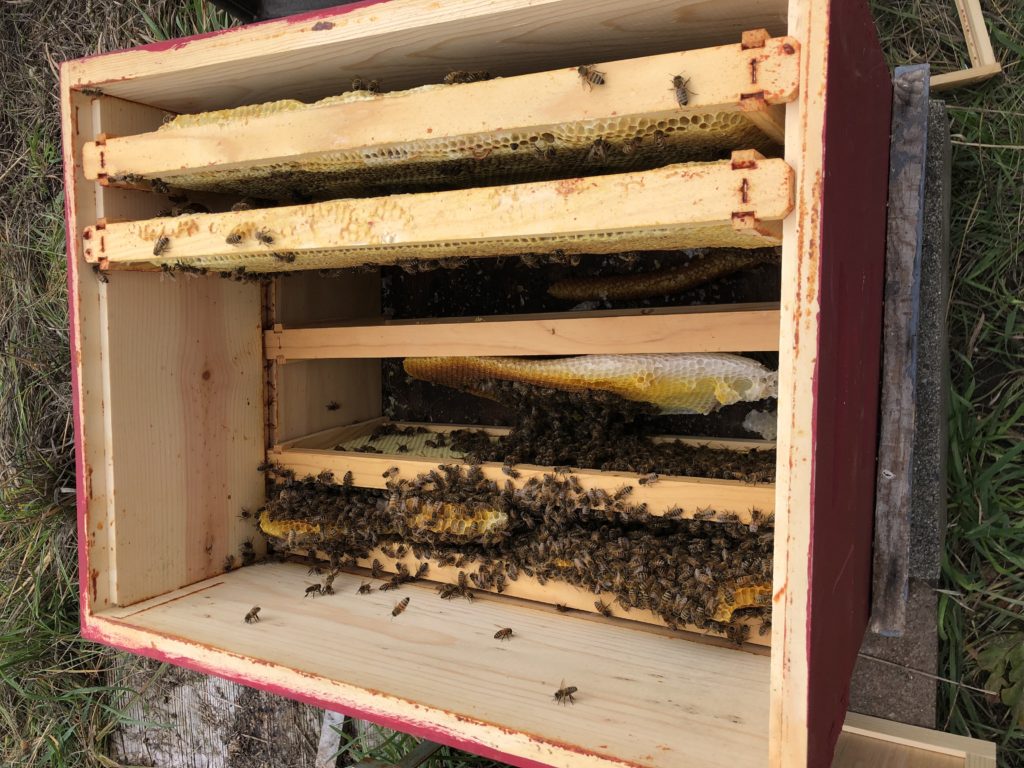
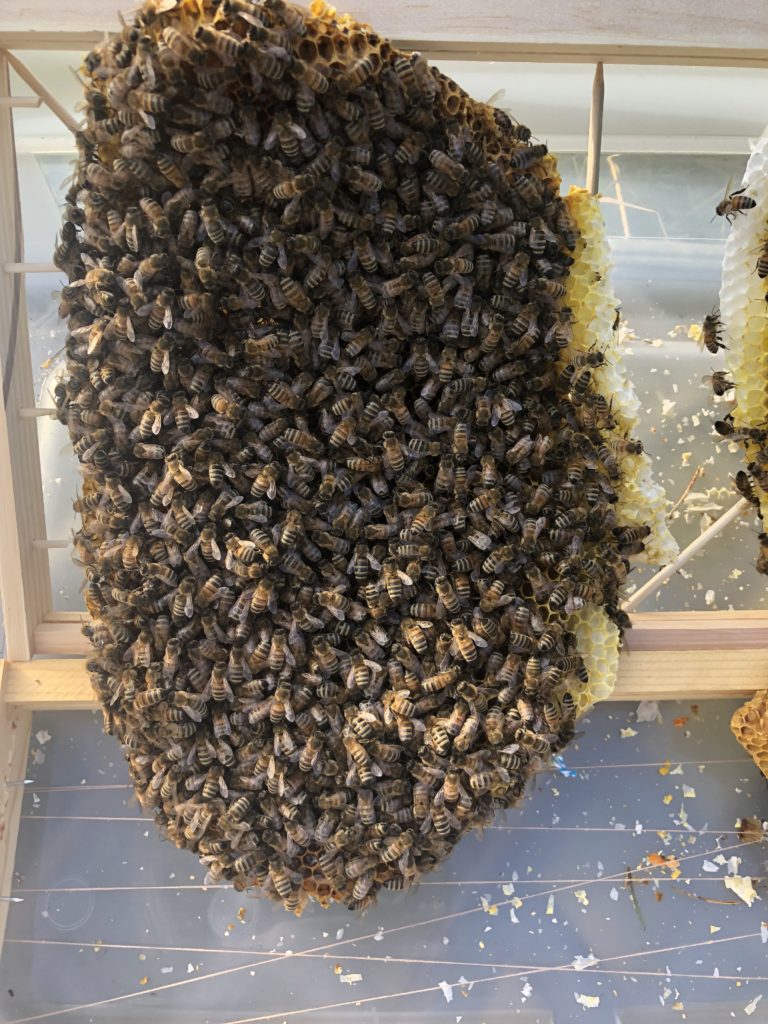
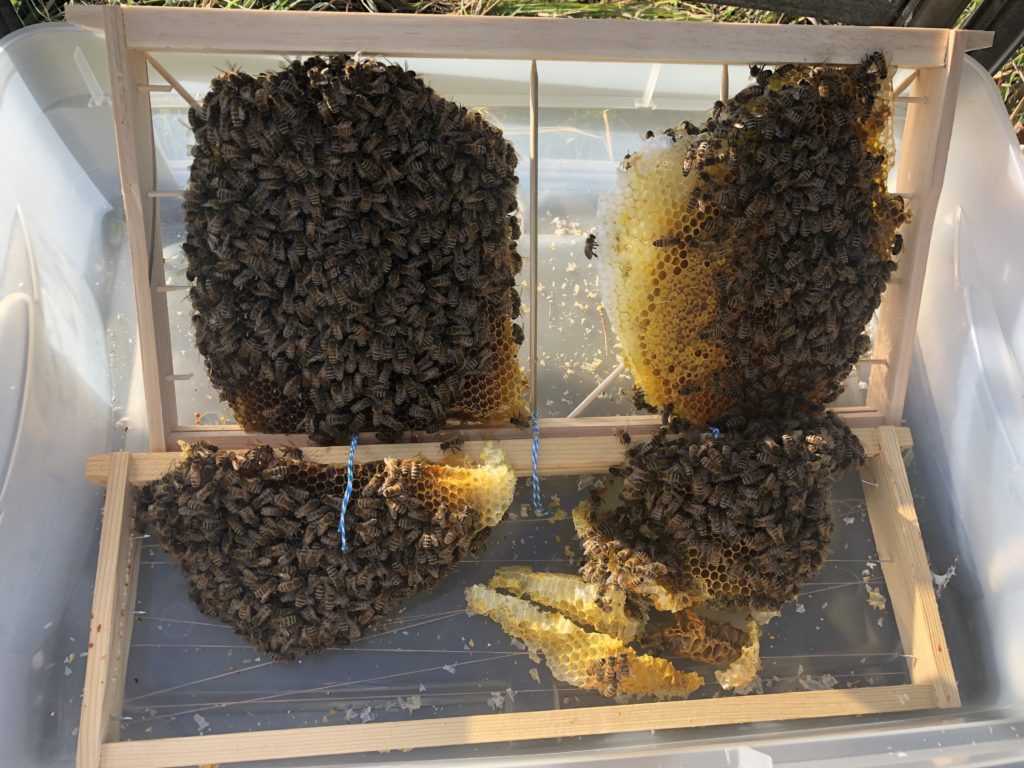
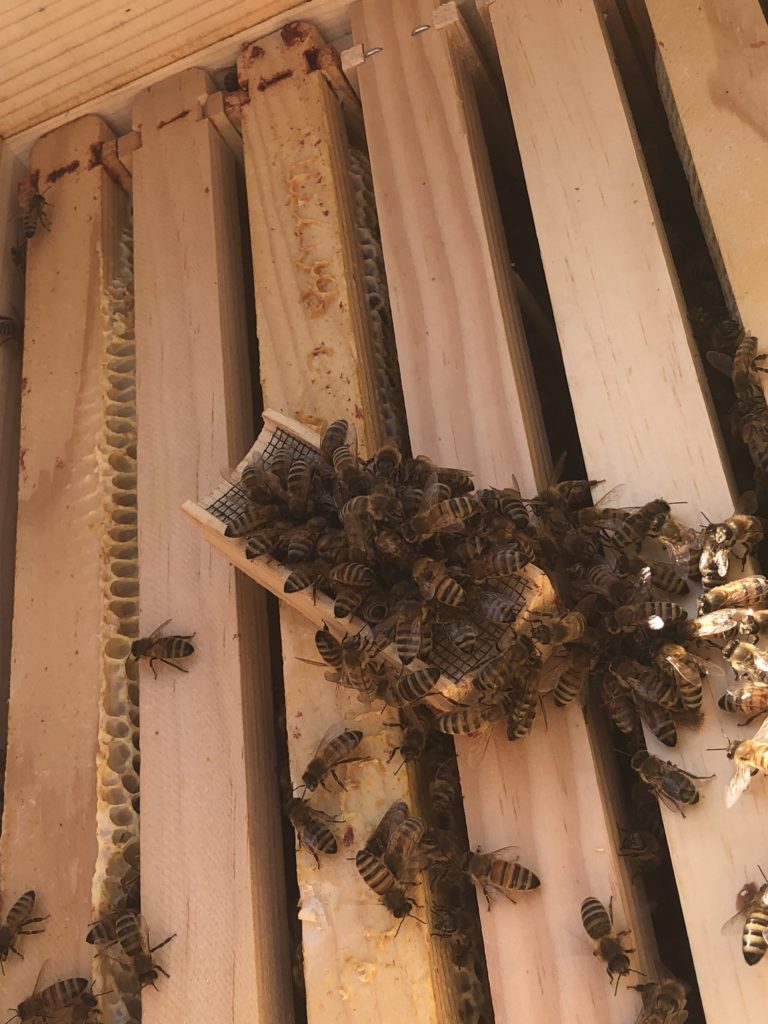
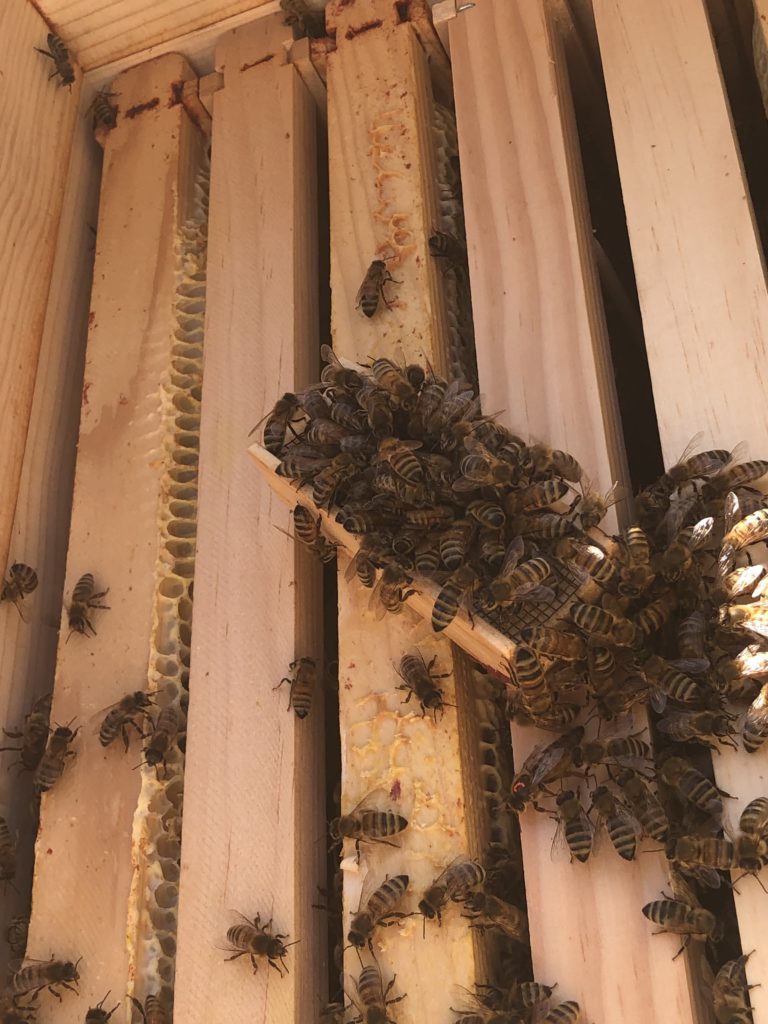
I ran into minor issues almost immediately: the three frames closest to the edge were absolutely buried in bees, and were sort of stuck to the frame. In the process of loosening things up, I got my one and only sting of the adventure.

Fortunately I had a plastic card ready in my pocket, so I was able to scrape the stinger out immediately. At that point I caved in and put on nitrile gloves. I like bare-handed where possible, but pulling out wild comb covered in bees is about as invasive as it gets.

Gloved, I was able to coax the first chunk of comb free and lay it onto the framework I had prepped.

And lo! I got the biggest piece of luck in the whole operation, for there was the queen!Fortunately she was marked with an orange dot.

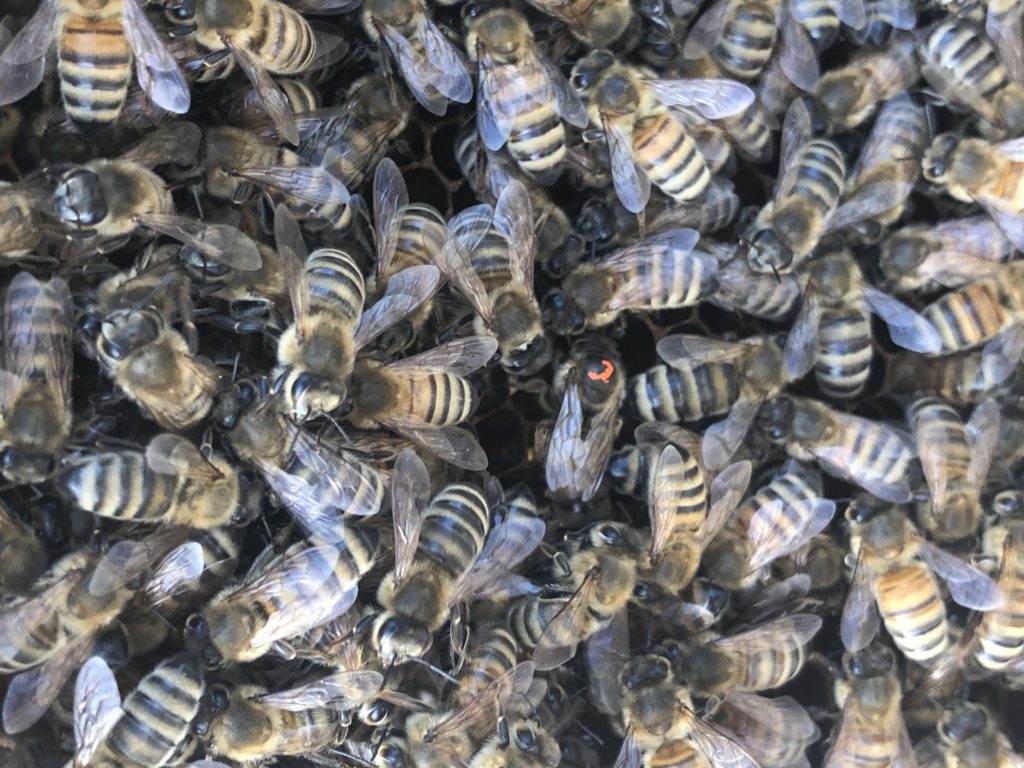
I coaxed her into the little queen cage that a  previous year’s queen shipped in, and plugged it with wax. I was anxious to keep her ladyship safe while I finished restructuring the hive.

With her out of the way, I was able to take a butter knife and trim the comb to fit the frame. I had to be careful of the girls, but sliding the knife through the middle of the comb worked pretty well.

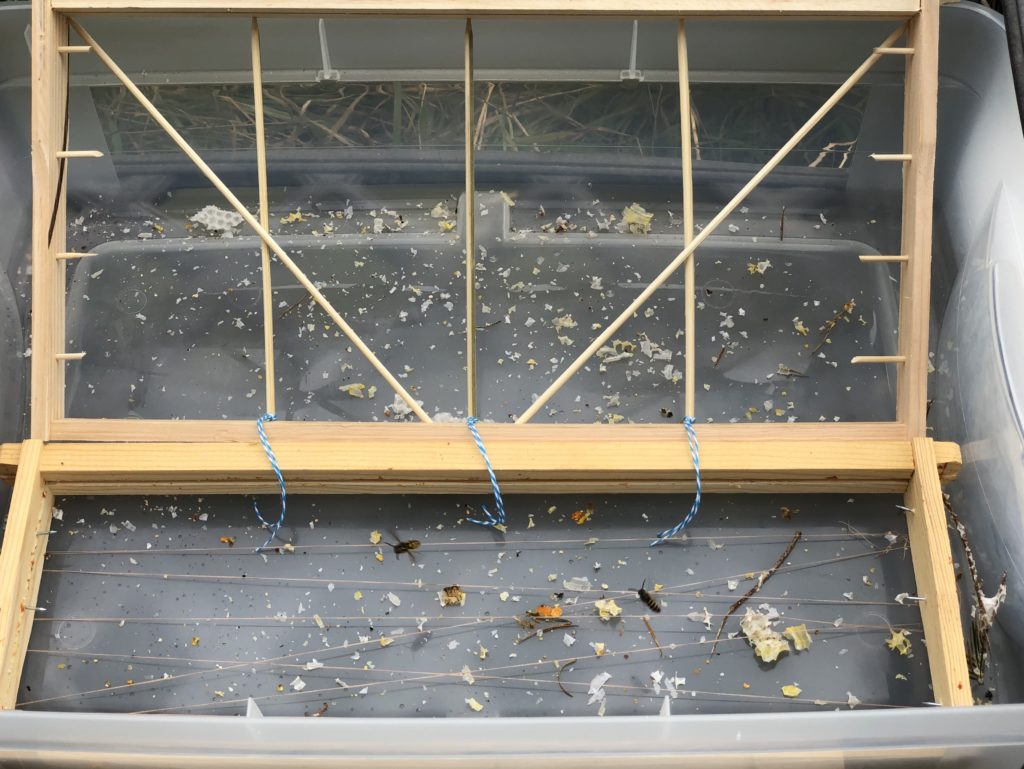
I slid a second batch of skewers into the holes I had prepped, and tied the bottoms to the back-side skewers (which were stapled to the frame).

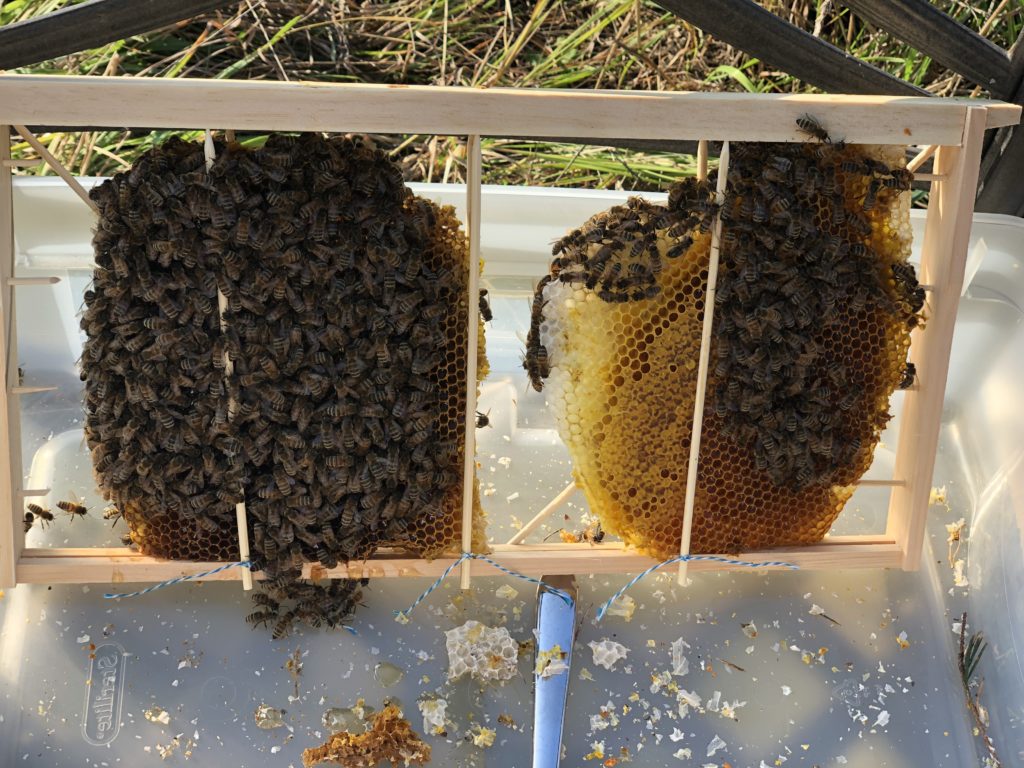
I was pretty pleased with the result. Far superior to the thread method!(Now I have to decide whether to go back and redo the thread frame).

I filled a second frame with scraps. Those weren’t mobbed with bees, so it was a lot easier.

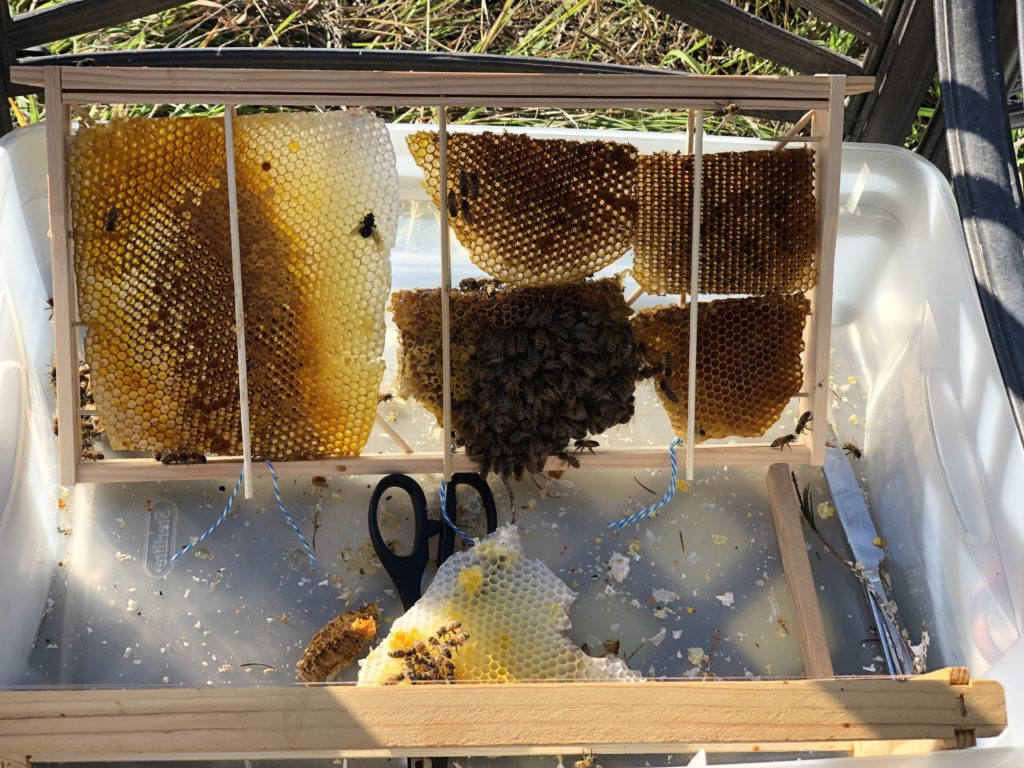
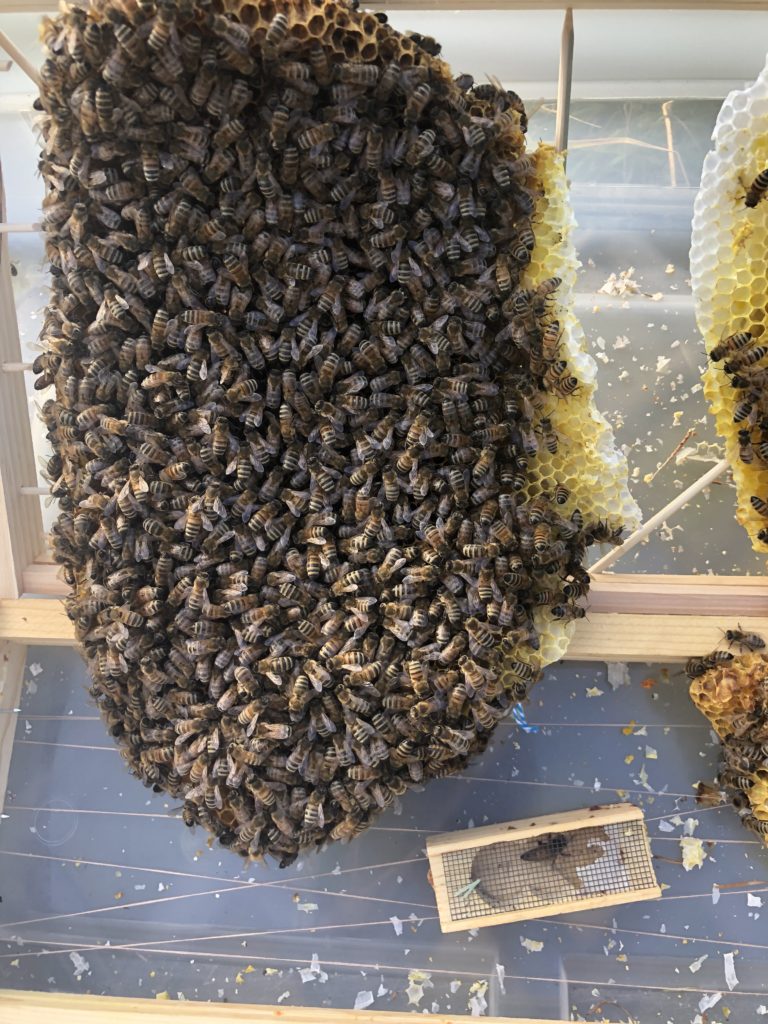
With all the critical pieces of wild comb framed up, I was able to reassemble the hive properly. Then I was ready to release the queen.

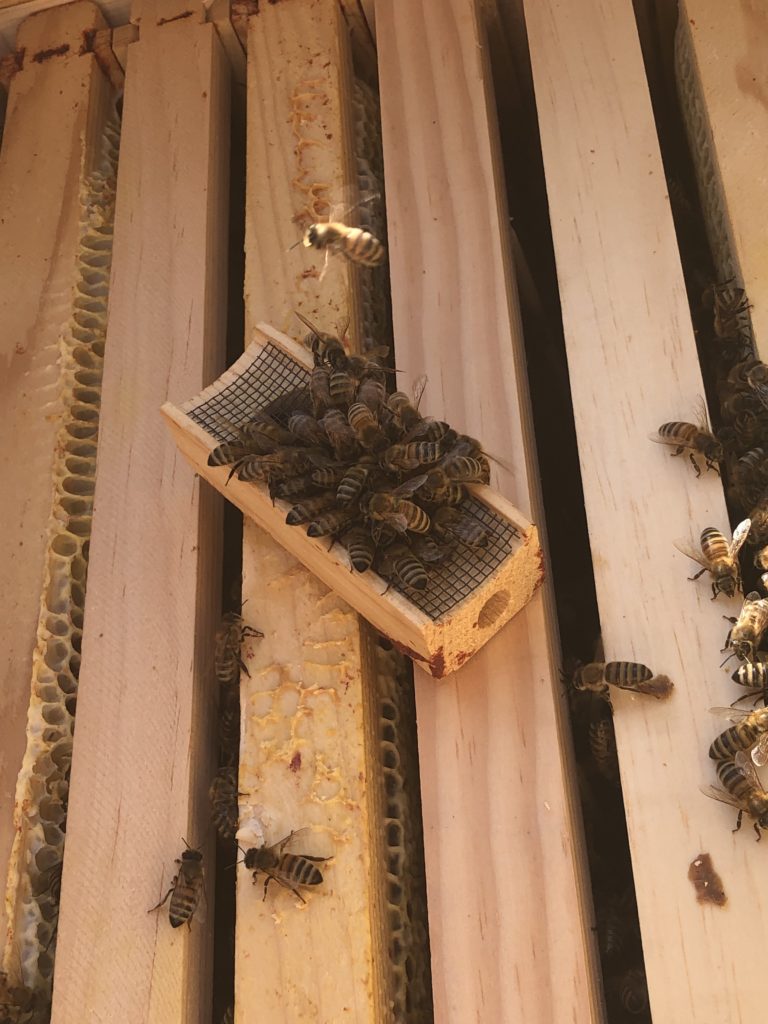
She took her own sweet time leaving the cage. I could tell when she was about to emerge because workers started to mob the entrance.

And there she goes! Out of the cage and down into the frames.

I breathed a big sigh of relief, closed up the hive, and got back to my normal work schedule. I was happy to see a normal level of activity from the rescued hive this afternoon. 

All of this would still have an unhappy ending if we didn’t have some spare frames of honey from our other bees: the tree colony had very little honey stored up. Fortunately the hive that resulted from the natural split has been doing well, so their honey will now go back to the parent colony.

Thank you for following along for Operation Bee Rescue!

Emergency Preparedness

My family moved to Washington State when I was 12.

Earthquake country.

Since then, I have lived in WA and CA. I even felt a couple minor quakes while living in the Bay Area.

I should have put together an emergency kit years — decades — ago, but I just never got around to it.

A few weeks ago, author Elizabeth Bear tweeted a link to a New Yorker article on the Big One.

It finally scared me into action.

If the Cascadia fault does bust all the way up to Washington, Port Angeles is going to be in deep trouble. If we make it through the initial quake, there will be a tsunami, and then if we survive that, the whole area will be such a mess that it might be a good long time before we get help.

So, properly motivated, I finally went through and put together an emergency kit. With Amazon’s help, I was able to get it done in an hour or so by starting with emergency radios and first aid kits, then looking at the “customers also bought” items.

I think this is a nice, solid basic emergency kit, suitable for anyone who is living in an area at risk of a large-scale disaster.

The whole thing cost a bit more than $100 . . . not cheap, but if I ever need it, it will be well worth it. Of course, I hope that I never actually need it!

If you’re looking forward to put together a kit of your own, feel free to use this as a jumping off point!

My focus below is on a non-food emergency kit – but my friend Blair McGregor recently did a nice post on food preparedness.

Did I miss anything critical?

Emergency Kit Contents:

The most basic requirements have an asterisk; many of the others are nice to have, but not critical.

IMG_8312

Communications

  • *Emergency Radio with USB charger
  •        Cell phone charging cable
  • Sharpie/pencil
  • Paper (for making notes)
  • Telephone list (emergency numbers in case you gain phone access, but your cell phone got broken)

Health

Light

  • *Head lamp (or flashlight)
  •        Extra batteries

Shelter

Tools

General

*Food

Not pictured. Ideally you would have enough for at least 3 days.

Human power pellets or a bunch of canned food . . . Whatever you can actually keep on hand and swap out as necessary.

If you have pets, include some food for them — or select canned food that either of you could eat.

If you want to be properly prepared with more than a few cans of food, here’s  a nice post on food preparedness.

*Water

This is partially covered under health (water treatment), but in an ideal world you would have actual containers with at least 3 days of water.

Clothes

In an ideal world, you would have some layers, clothes, socks, etc. Take some things that you were planning to take to the thrift store, and stick it in your emergency kit instead. Ideally you would have such things in your car, anyway, so one cheater method is to stash a copy of your car key in your emergency kit, and just keep the clothes in the car. Of course, you better be sure that your car will be home if you are!

Aftermath

In an ideal world, you would have a packet of paperwork with copies of your identification, insurance, telephone numbers, etc.

Placement

You have your handy dandy kit. Now where are you going to keep it? I’m stashing mine in a shed, so that if the house falls down I can still get to it. Wherever you put it, imagine the structure in a heap of kindling. Could you still get to the kit in a pinch? If so, you’re good.


I broke my emergency kit into a compact kit of items that can just live in a plastic bin.

I’m keeping the food and water separate, since those are bulky, and need to be swapped out periodically.

Even if I get sloppy with the food and water, at least the gear will still be there!

IMG_8313

And if the big one does come . . . well, I’m going to owe Bear a lot of drinks for spurring me to get my act together.

My First New Year’s Resolution!

I have never made a New Year’s Resolution.

January 1st isn’t an especially good time to start things, at least for me. I’m usually backlogged with work and projects from the holidays. The weather isn’t great. I just want to stay at home and catch up on things.

All that said, I am going to break my long-standing tradition and make a New Year’s Resolution.

I resolve to update this blog once a week, regardless of what else is going on in my life, for at least the next year.

I want to work blogging into my schedule, and this seems like the kind of goal that actually works well with the major January 1st benchmark.

There are lots of things that I have been meaning to talk about, but I have a full and happy life. That’s mostly good, but it means that “talking about stuff” tends to fall off the back burner.

So. Weekly blog commitment.

Anyone want to jump on the bandwagon?

Happy New Year!